
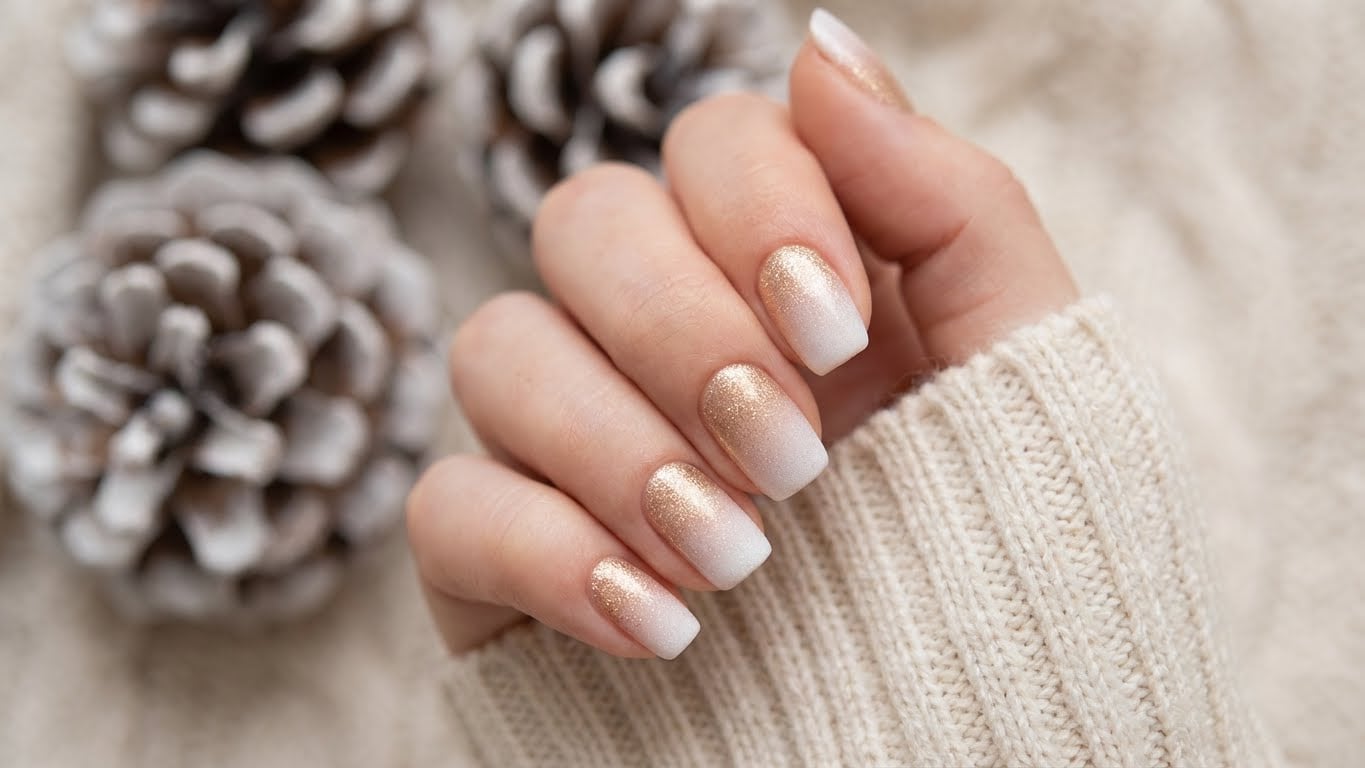
The Magic of Glitter Holiday Nails
The holiday season is a time for celebration, self-expression, and creativity. One way to add some sparkle to your look is with glitter holiday nails. This festive trend has been taking the beauty world by storm, and it’s easy to see why – who doesn’t love the idea of showcasing their personal style through their nails?
Whether you’re a seasoned nail artist or a total beginner, glitter holiday nails are a fun and achievable DIY project. With a few simple steps and some basic supplies, you can create a look that’s sure to turn heads. So, let’s get started!
Prep Work: Preparing Your Nails for Glitter
Before you can add any glitter, you need to make sure your nails are in good condition. This means removing any old nail polish, pushing back your cuticles, and shaping your nails to your desired shape. If you have any ridges or imperfections, now’s the time to address them.
Use a nail file to smooth out any rough edges and give your nails a bit of shape. Don’t be afraid to get creative and try out a new shape or style. This is your chance to express yourself and have some fun!
Selecting the Perfect Glitter
With so many different types of glitter available, choosing the right one can be overwhelming. Do you go for a classic, subtle look or something more bold and eye-catching? The choice is yours, but here are a few tips to keep in mind:
First, consider the color of your nails. If you’re going for a bold, bright look, choose a glitter that complements your nail color. For a more subtle look, try a clear or neutral glitter.
Next, think about the texture of the glitter. Some glitters are smooth and fine, while others are chunky and sparkly. Choose a glitter that suits your style and preferences.
Applying the Glitter
Now it’s time to apply the glitter. This is the fun part! Use a nail glue to attach a small amount of glitter to the tip of your nail, and then use a brush to spread it out evenly. You can also use a glitter polish to get a more even coverage.
Remember to work slowly and carefully, as the glitter can be messy and difficult to control. If you make any mistakes, don’t worry – it’s easy to fix them.
Adding the Finishing Touches
Once you’ve applied the glitter, it’s time to add the finishing touches. Use a topcoat to seal in the glitter and give your nails a glossy finish. You can also add some extra sparkle with a glittery topcoat or a sprinkle of loose glitter.
Finally, give your nails a good inspection to make sure everything is in place. If you notice any mistakes or imperfections, now’s the time to fix them.
Common FAQs
Q: Do I need to use a specific type of glue for glitter nails?
A: No, you can use any type of nail glue you like. However, some glues are specifically designed for glitter nails and can help to create a longer-lasting finish.
Conclusion
And there you have it – a step-by-step guide to achieving the perfect glitter holiday nails. With a few simple steps and some basic supplies, you can create a look that’s sure to turn heads. Whether you’re a seasoned nail artist or a total beginner, glitter holiday nails are a fun and achievable DIY project. So go ahead, get creative, and add some sparkle to your holiday look!
Get Ready to Shine This Holiday Season
Remember, the most important thing is to have fun and be creative. Don’t be afraid to try new things and experiment with different styles and techniques. With a little practice and patience, you’ll be a pro at glitter holiday nails in no time.
FAQ
Do I need to use a specific type of glue for glitter nails?
No, you can use any type of nail glue you like. However, some glues are specifically designed for glitter nails and can help to create a longer-lasting finish.
Related Posts


