Introduction
New Year’s Eve is just around the corner, and you’re probably looking for a way to make your nail game shine. Whether you’re a seasoned nail artist or a beginner, we’ve got you covered with these stunning New Year’s Eve nails ideas. In this guide, we’ll take you through a step-by-step process to help you create a look that’s sure to turn heads.
Step 1: Plan Your Design
Before you start getting creative, take some time to plan out your design. Think about the theme of your New Year’s Eve celebration and what type of nails would fit in with it. Do you want to go for a classic sparkle look or something more bold and eye-catching? Consider the colors you want to use and how you can incorporate them into your design.
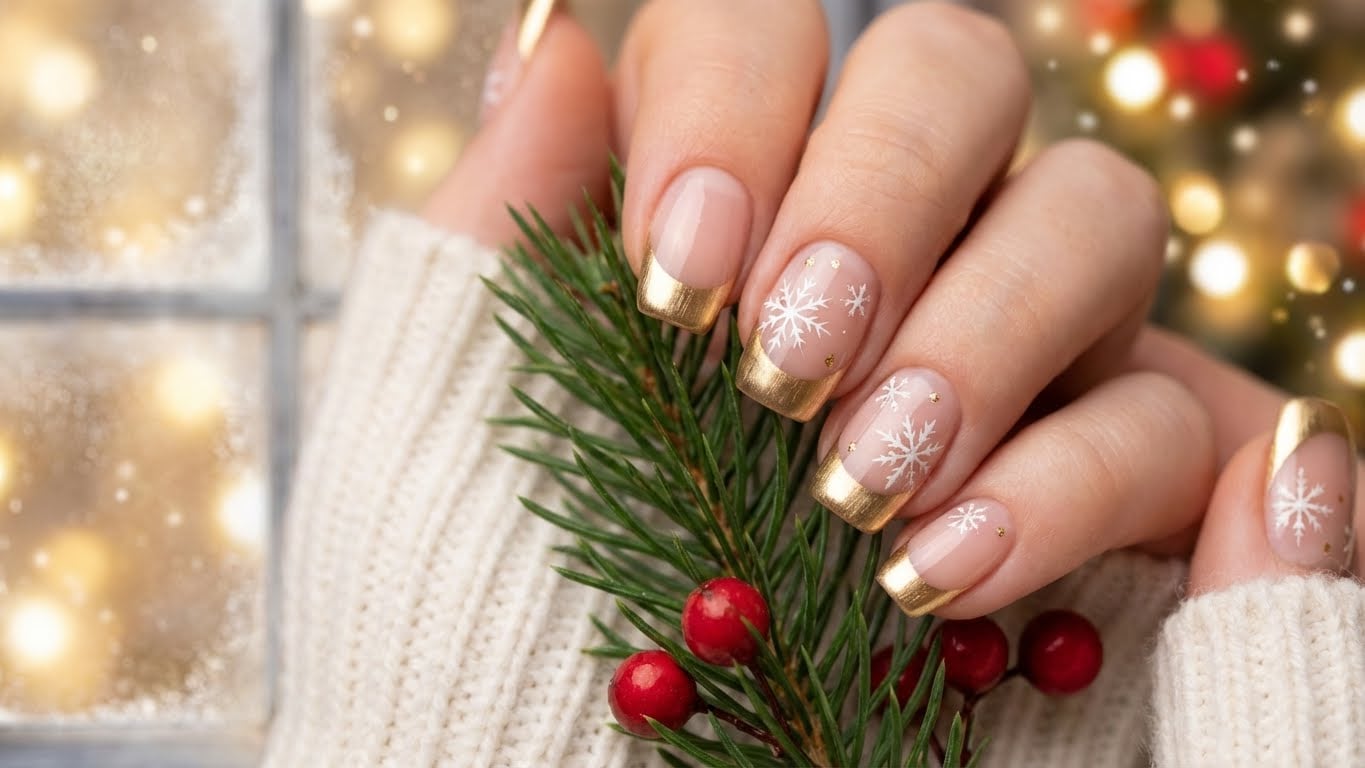
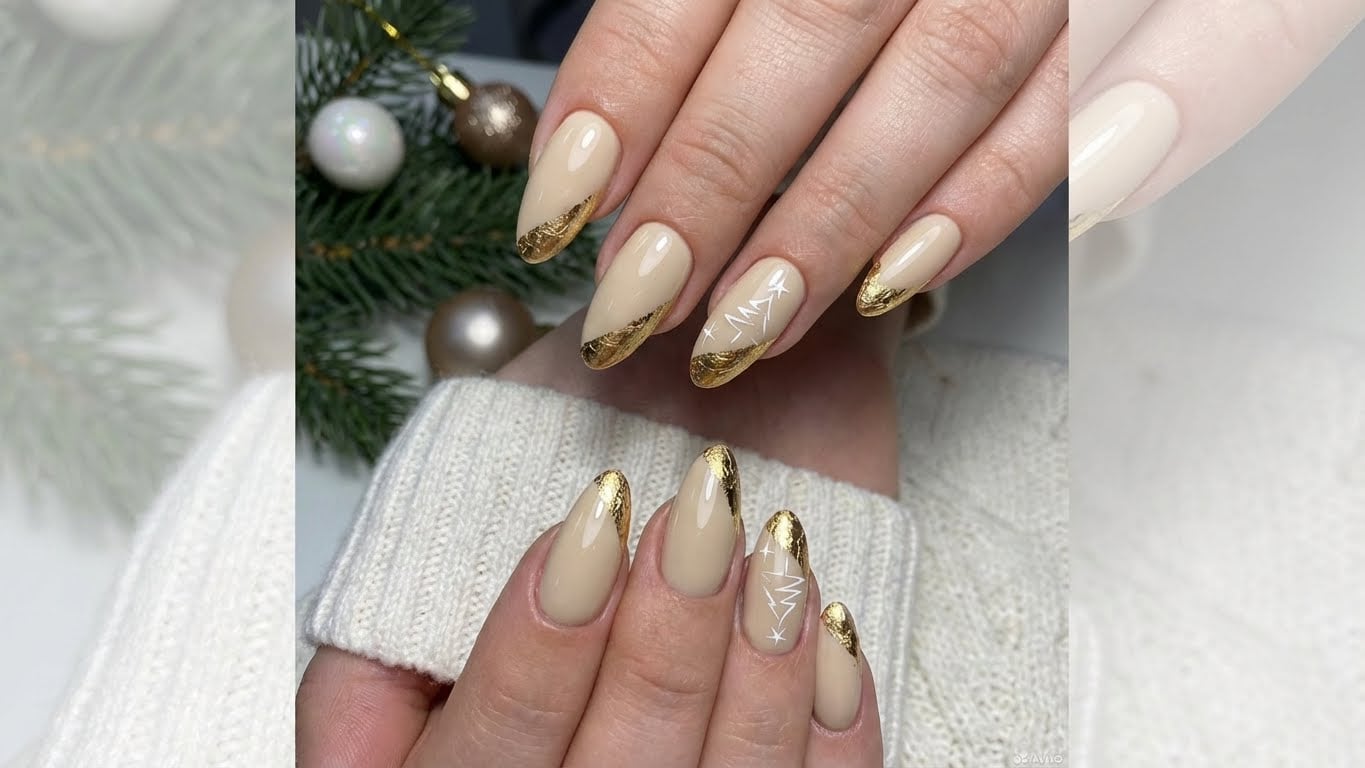
Classic Sparkle Look
If you’re going for a classic sparkle look, you can’t go wrong with a simple French manicure. Start by applying a base coat to protect your nails and then apply a thin layer of white polish. Once it’s dry, use a nail art brush to paint a thin line of clear polish along the tip of each nail. This will create a subtle sparkle effect that’s perfect for a New Year’s Eve celebration.
Bold and Eye-Catching Design
If you want to make a statement with your nails, consider a bold and eye-catching design. You can use a combination of bright colors and fun shapes to create a look that’s sure to turn heads. For example, you can paint a red and silver chevron pattern on each nail or use a nail art brush to create a fun design.
Step 2: Prep Your Nails
Once you have a design in mind, it’s time to prep your nails. Start by pushing back your cuticles and shaping your nails to your desired shape. This will help you get a smooth and even surface to work with.
Remove Old Nail Polish
If you’ve got old nail polish on your nails, remove it before starting your design. Use a nail polish remover to take off the old polish and then use a buffer to smooth out the surface of your nails.
Apply Base Coat
Once your nails are prepped, it’s time to apply a base coat. This will help protect your nails from staining and give you a smooth surface to work with. Look for a base coat that’s specifically designed for the type of polish you’re using.
Step 3: Apply Nail Polish
Now it’s time to apply your nail polish. Start by applying a thin layer to each nail and then use a nail art brush to add any additional details. Make sure to let each layer dry completely before adding the next one.
Use a Nail Polish Brush with a Fine Tip
When using a nail polish brush, make sure to use one with a fine tip. This will help you get into the small spaces between your nails and create a more precise design.
Let Each Layer Dry
Before adding the next layer of polish, make sure to let the previous layer dry completely. This will help prevent streaks and unevenness in your design.
Step 4: Add Additional Details
Once you’ve applied your nail polish, it’s time to add any additional details. This could include glitter, rhinestones, or other embellishments. Use a nail art brush to apply these details and make sure to let each layer dry before adding the next one.
Use a Nail Glue to Secure Embellishments
When using embellishments like glitter or rhinestones, make sure to use a nail glue to secure them in place. This will help prevent them from falling off and creating a mess.
Seal with Top Coat
Once you’ve added all of the additional details, it’s time to seal your design with a top coat. This will help protect your nails from chipping and give you a long-lasting finish.
Conclusion
With these steps, you’re ready to create a stunning New Year’s Eve nails design that’s sure to turn heads. Whether you’re going for a classic sparkle look or something more bold and eye-catching, we’ve got you covered. Remember to have fun and get creative with your design, and don’t be afraid to experiment with new and different techniques. Happy decorating!

Related Posts