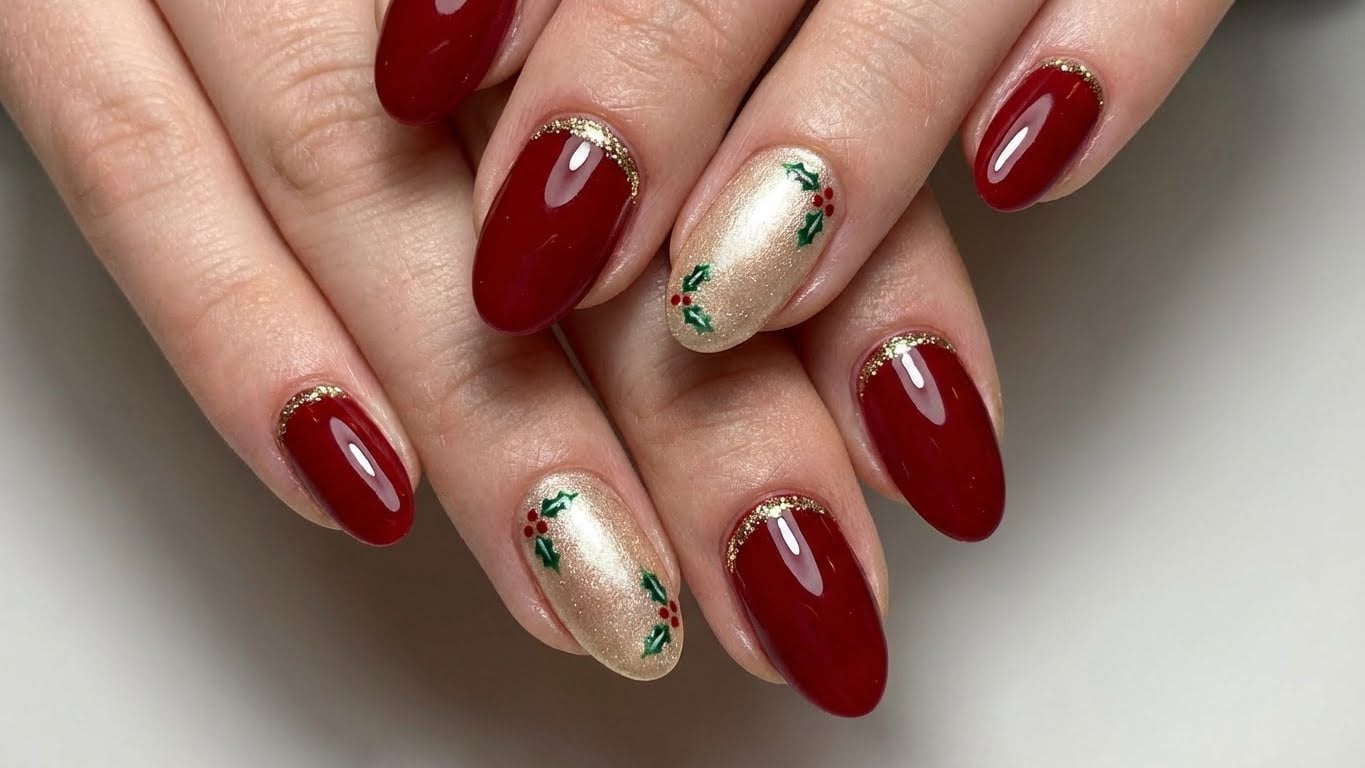
A Beginner’s Guide to Glitter Holiday Nails
Glitter nail art is a fun and festive way to get into the holiday spirit. However, many people assume that achieving a professional-looking glitter finish requires a trip to the salon. In reality, you can easily create a stunning glitter nail design at home with a few simple tools and some practice.
Gather Your Materials
Before you start, make sure you have the following materials:
* A base coat
* Nail polish remover
* Nail polish
* Glitter polish
* A nail polish brush
* A dotting tool or a bobby pin
* A nail file or emery board
* Cuticle oil
You can find glitter polish at most beauty supply stores or online. If you can’t find a glitter polish in the color you want, you can also mix a clear glitter top coat with a few drops of nail polish to create a custom color.
Prep Your Nails
Before you start painting, make sure your nails are clean and dry. Remove any old nail polish and push back your cuticles. Use a nail file or emery board to shape your nails to your desired shape.
Apply a Base Coat
Apply a thin layer of clear base coat to each nail. This will help protect your nails and create a smooth surface for painting.
Paint a Solid Color
Next, paint a solid color on each nail using a nail polish brush. Use a light, even coat and let it dry completely before moving on to the next step.
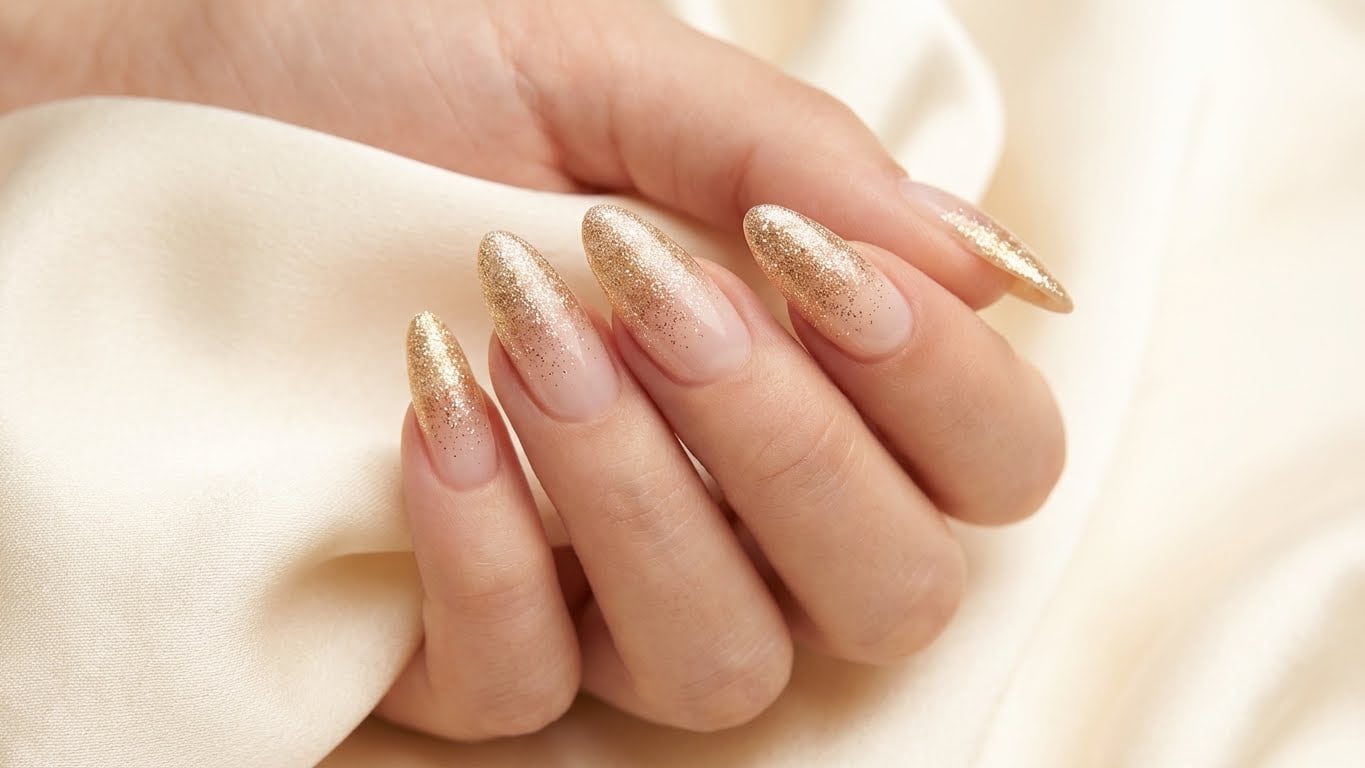
Apply Glitter Polish
This is where the magic happens. Dip a nail polish brush into the glitter polish and tap off any excess polish. Paint a small amount of glitter polish onto each nail, starting at the center and working your way outwards. You can use a dotting tool or a bobby pin to create a more precise design.
Add a Top Coat
Once you’ve applied the glitter polish, use a top coat to seal it in. This will help the glitter stay in place and prevent it from chipping.
Finishing Touches</hassistant
{
“title”: “How to Get Glitter Holiday Nails at Home: A Step-by-Step Guide
Related Posts