Introduction to Sparkly Winter Nails
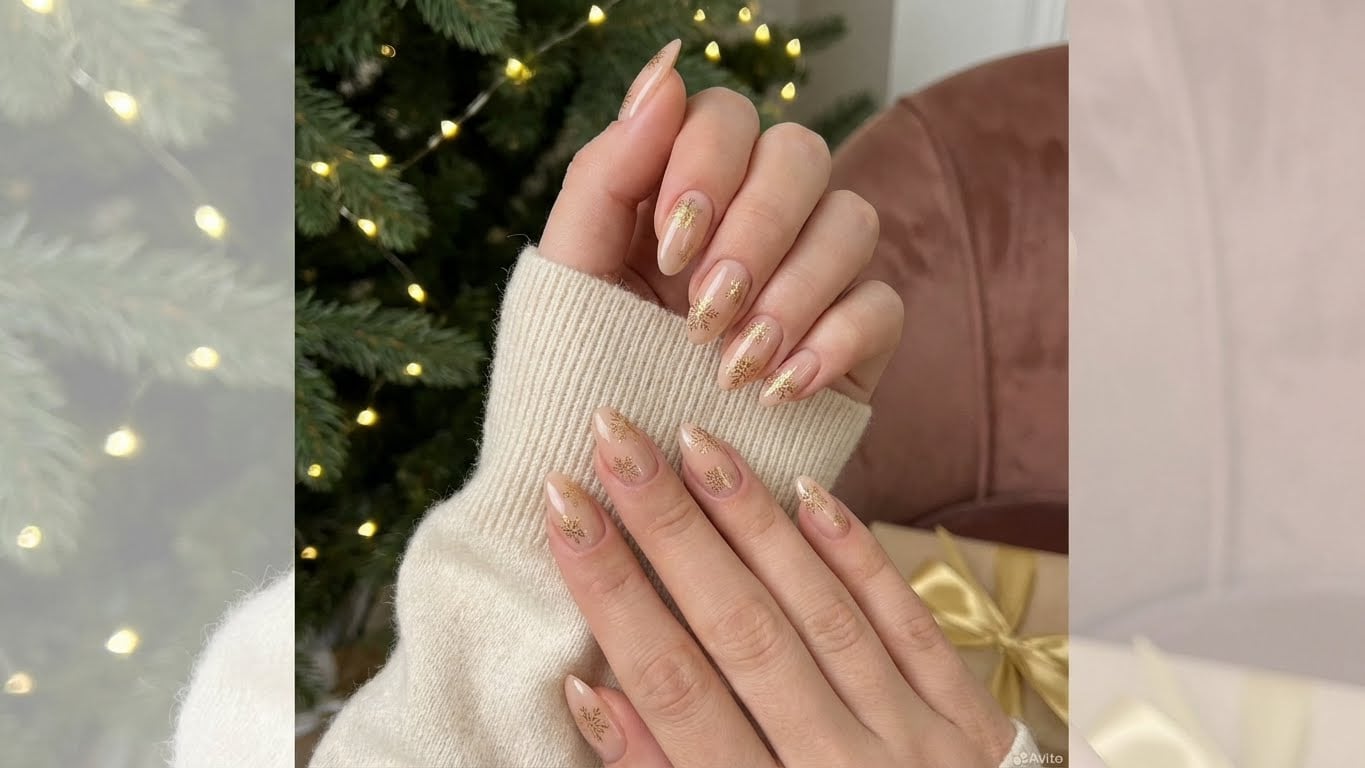
The winter season is upon us, and what better way to celebrate the magic of the snow-covered landscapes than with a sparkly, icy nail design? Sparkly winter nails are not just a fashion statement; they’re a way to express your creativity and have fun with your beauty routine.
Prep for Sparkly Winter Nails
Before you start creating your sparkly masterpiece, it’s essential to prepare your nails. Here’s a step-by-step guide to ensure your nails are ready for the application:
1. Remove old nail polish using a nail polish remover. This will ensure a clean canvas for your sparkly design.
2. Soak your nails in a bowl of warm water mixed with a few drops of olive oil for 5 minutes. This will help soften your cuticles and make the nail shaping process easier.
3. Shape your nails to your desired shape using nail clippers or a nail file.
4. Push back your cuticles using a cuticle pusher or an orange stick.
The Art of Creating a Sparkly Winter Nail Design
Now that your nails are prepped, it’s time to get creative! Here are a few techniques to help you achieve a beautiful, sparkly winter nail design:
1. Nail Glitter: Apply a base coat, followed by a layer of clear polish, and finish with a nail glitter topcoat.
2. Stamping: Use a nail stamping plate and a stamping polish to create intricate patterns and designs.
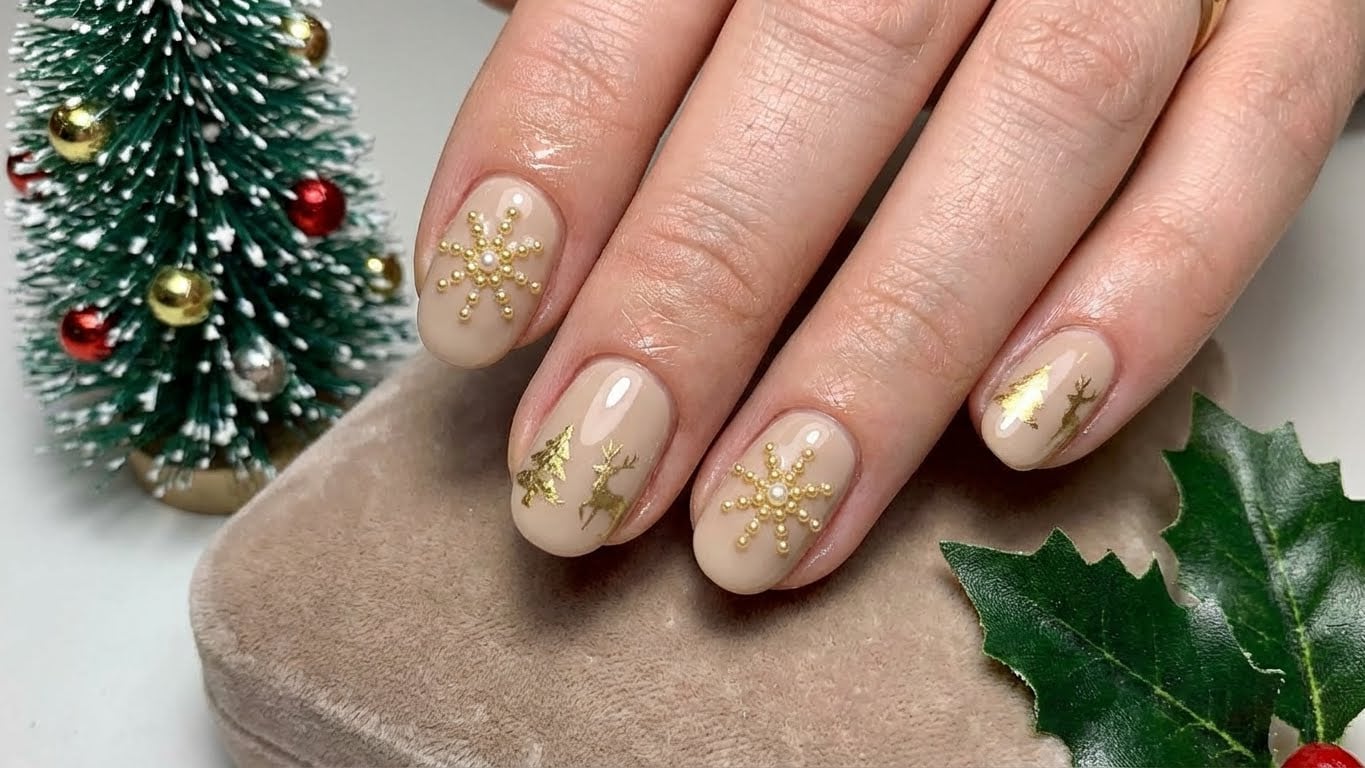
3. Nail Art Brushes: Use a nail art brush to paint on delicate designs, such as snowflakes or stars.
4. Resin Glitter: Apply a clear resin over a layer of glitter polish to create a 3D, sparkly effect.
Product Recommendations for Sparkly Winter Nails
Here are some product recommendations that will help you achieve a stunning, sparkly winter nail design:
* Base coat: Apply a good quality base coat, such as Deborah Lippmann Stick With Me Base Coat, to protect your nails and promote polish adhesion.
* Clear polish: Use a clear polish, such as Sally Hansen Miracle Gel Clear, as a base or topcoat.
* Nail glitter: Apply a layer of nail glitter, such as Harry’s Glitter Nail Polish, over a clear polish for a sparkly effect.
* Stamping polish: Use a stamping polish, such as Kiss Stamping Polish, to create intricate patterns and designs.
Step-by-Step Guide to Applying Sparkly Winter Nails
Here’s a step-by-step guide to applying sparkly winter nails:
1. Apply a base coat to protect your nails and promote polish adhesion.
2. Apply a layer of clear polish to act as a base or topcoat.
3. Apply a layer of nail glitter over the clear polish for a sparkly effect.
4. Finish with a topcoat to seal in the glitter and add shine.
Common Mistakes to Avoid When Creating Sparkly Winter Nails
Here are some common mistakes to avoid when creating sparkly winter nails:
* Not prepping your nails: Failing to remove old nail polish, soak your nails, and shape your nails can lead to a messy application process.
* Using low-quality products: Using low-quality base coat, clear polish, or nail glitter can result in a poor finish and a lack of sparkle.
* Applying too much glitter: Applying too much glitter can make your nails look cluttered and messy.
Conclusion</hassistant
{
“title”: “Add a Touch of Magic to Your Winter Look: A Step-by-Step Guide to Sparkly Winter Nails

Related Posts