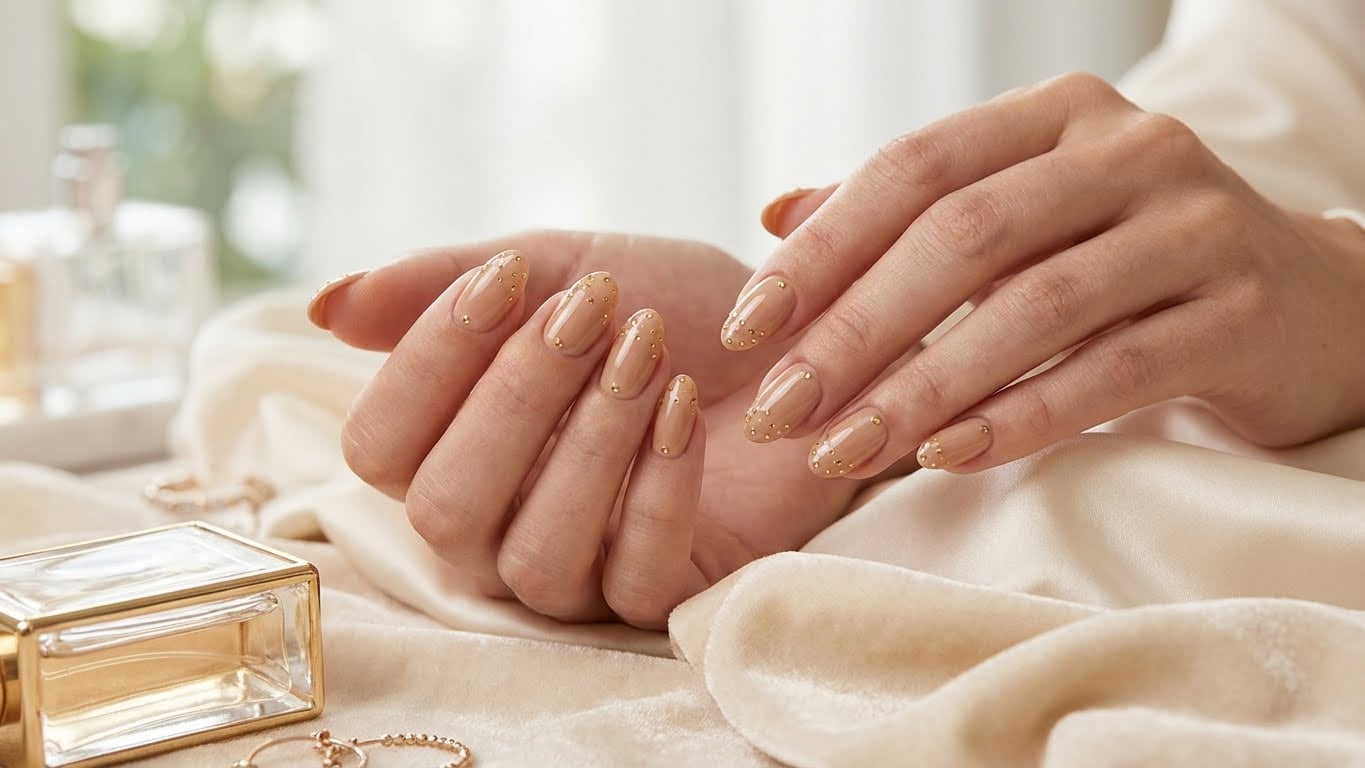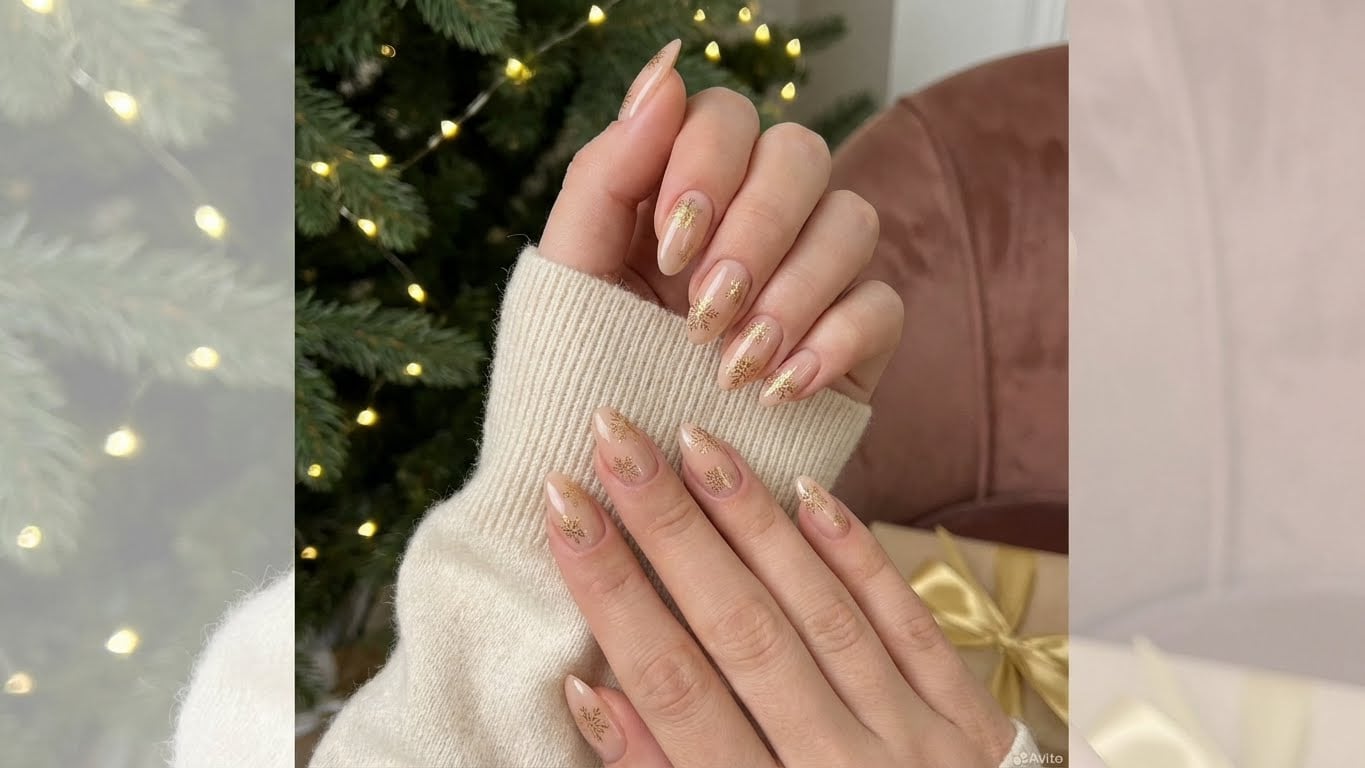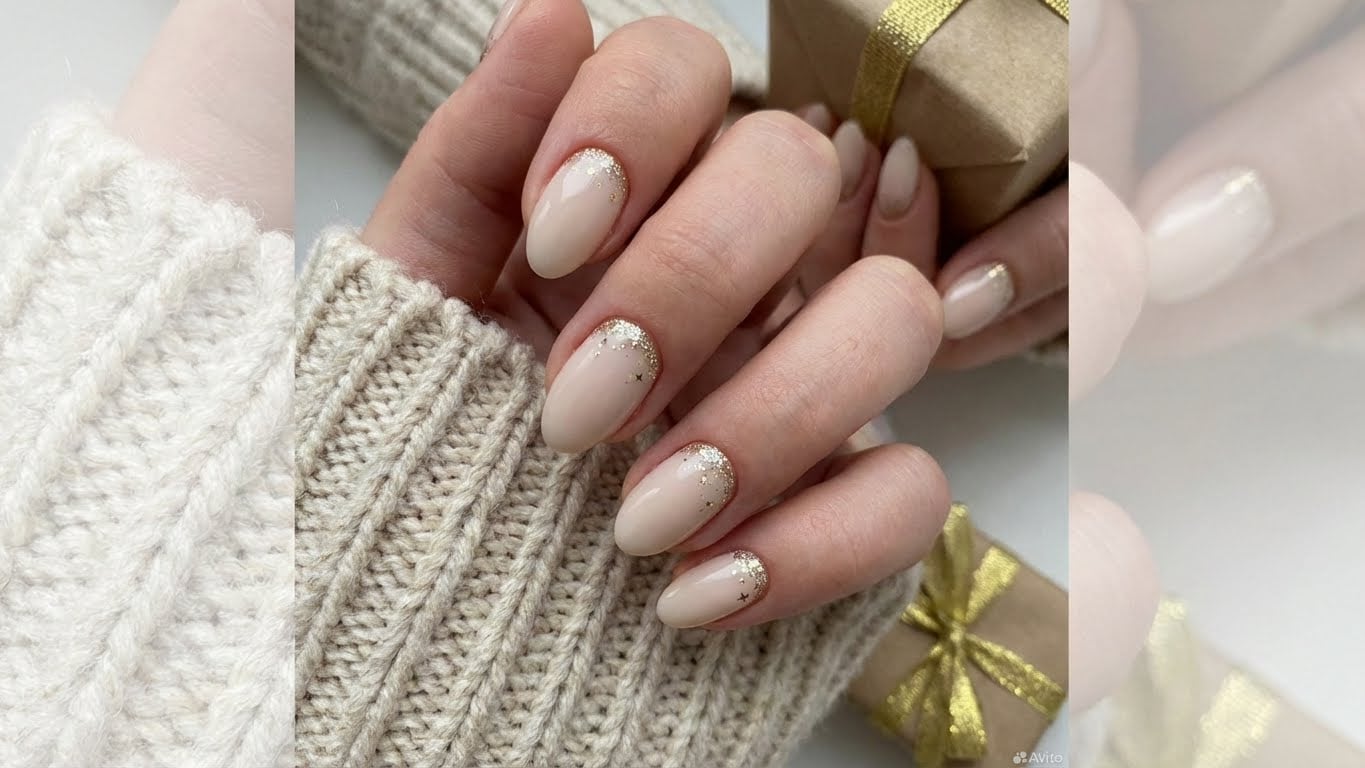
Winter is a great time to get creative with your nail art. The festive season is all about glamour, sparkle, and making a statement. If you’re looking for a fun and easy way to add some personality to your winter look, look no further. In this guide, we’ll show you how to create a beautiful and eye-catching sparkly winter nail design that’s perfect for the season.

Step 1: Prep Your Nails
Before you start creating your sparkly winter nail design, you’ll need to prep your nails. This means removing any old nail polish and pushing back your cuticles. Once you’ve done this, use a buffer to shape and smooth out your nails. This will help create a smooth surface for your nail polish to adhere to.
Choosing the Right Nail Polish
When it comes to creating a sparkly winter nail design, the right nail polish is essential. Look for a polish that’s specifically designed for nail art, as these tend to be more opaque and have a better formula for creating intricate designs. You’ll also want to choose a polish that’s in a color that complements the sparkle of your design. For a winter look, consider a polish in a deep red or burgundy shade.
Step 2: Create Your Sparkly Design
Now it’s time to create your sparkly winter nail design. You can use a variety of techniques to achieve this look, including stamping, dotting, and using a nail art brush. For a simple design, try using a nail art brush to create a small sparkle effect on the tip of your nail. To do this, simply dip the brush in some clear top coat and then tap off any excess polish onto a piece of paper. You can then use the brush to paint a small sparkle effect onto the tip of your nail.
Tips for Creating a Sparkly Effect
Creating a sparkly effect on your nails can be a bit tricky, but with a few simple tips, you can achieve a professional-looking finish. First, make sure to use a high-quality clear top coat that’s specifically designed for nail art. This will help to create a smooth, even finish that’s perfect for adding sparkle to your design. You can also use a nail art brush to add a bit of texture to your sparkle effect. To do this, simply dip the brush in some clear top coat and then use it to add a bit of texture to your design.
Step 3: Add Some Glitter
Now that you’ve created your sparkly winter nail design, it’s time to add some glitter. You can use a variety of glitter polishes to achieve this effect, or you can try using a bit of loose glitter on top of your design. To do this, simply sprinkle a bit of loose glitter onto your nail and then seal it in with a clear top coat. This will help to create a beautiful, eye-catching effect that’s perfect for the winter season.
Choosing the Right Glitter
When it comes to choosing the right glitter for your sparkly winter nail design, there are a few things to consider. First, think about the color of your design. You’ll want to choose a glitter that complements the color of your polish, so try to choose a glitter that’s in a similar shade. You can also consider the size of the glitter. If you’re looking for a more subtle effect, try using a fine glitter. If you want a more dramatic effect, try using a larger glitter.
Step 4: Seal It All In
Finally, it’s time to seal your sparkly winter nail design in with a clear top coat. This will help to create a smooth, even finish that’s perfect for showing off your design. Make sure to use a high-quality clear top coat that’s specifically designed for nail art, as this will help to create a professional-looking finish.
Finishing Touches
Once you’ve sealed your design in with a clear top coat, you can add a few finishing touches to make it really stand out. Try adding a bit of nail art to the tip of your nail, or use a nail art brush to create a small sparkle effect. You can also try adding a bit of glitter to the edges of your nail to create a beautiful, eye-catching effect.
Step 5: Show Off Your Design
Finally, it’s time to show off your sparkly winter nail design. Whether you’re heading out to a party or just want to add a bit of sparkle to your everyday look, this design is sure to impress. So go ahead and get creative with your nail art, and don’t be afraid to experiment with different colors and designs. With a little practice, you’ll be creating beautiful, eye-catching nail art in no time.
FAQs
- Q: What’s the best way to create a sparkly effect on my nails?
A: To create a sparkly effect on your nails, try using a nail art brush to paint a small sparkle effect onto the tip of your nail. You can also use a bit of loose glitter on top of your design to add a bit of extra sparkle.
- Q: What’s the best type of glitter to use for nail art?
A: When it comes to choosing the right glitter for your nail art, consider the color of your design and the size of the glitter. Fine glitter is great for a subtle effect, while larger glitter is perfect for a more dramatic effect.
- Q: How do I prevent my glitter from coming off?
A: To prevent your glitter from coming off, make sure to use a high-quality clear top coat that’s specifically designed for nail art. This will help to create a smooth, even finish that’s perfect for showing off your design.
- Q: Can I use any type of glitter for nail art?
A: While you can use a variety of glitter for nail art, it’s best to stick with a high-quality glitter that’s specifically designed for nail art. This will help to create a smooth, even finish that’s perfect for showing off your design.
Conclusion
In conclusion, creating a sparkly winter nail design is a fun and easy way to add some personality to your winter look. With these simple steps, you can create a beautiful and eye-catching design that’s perfect for the season. So go ahead and get creative with your nail art, and don’t be afraid to experiment with different colors and designs. With a little practice, you’ll be creating beautiful, eye-catching nail art in no time.
FAQ
What's the best way to create a sparkly effect on my nails?
To create a sparkly effect on your nails, try using a nail art brush to paint a small sparkle effect onto the tip of your nail. You can also use a bit of loose glitter on top of your design to add a bit of extra sparkle.
What's the best type of glitter to use for nail art?
When it comes to choosing the right glitter for your nail art, consider the color of your design and the size of the glitter. Fine glitter is great for a subtle effect, while larger glitter is perfect for a more dramatic effect.
How do I prevent my glitter from coming off?
To prevent your glitter from coming off, make sure to use a high-quality clear top coat that's specifically designed for nail art. This will help to create a smooth, even finish that's perfect for showing off your design.
Can I use any type of glitter for nail art?
While you can use a variety of glitter for nail art, it's best to stick with a high-quality glitter that's specifically designed for nail art. This will help to create a smooth, even finish that's perfect for showing off your design.
Related Posts