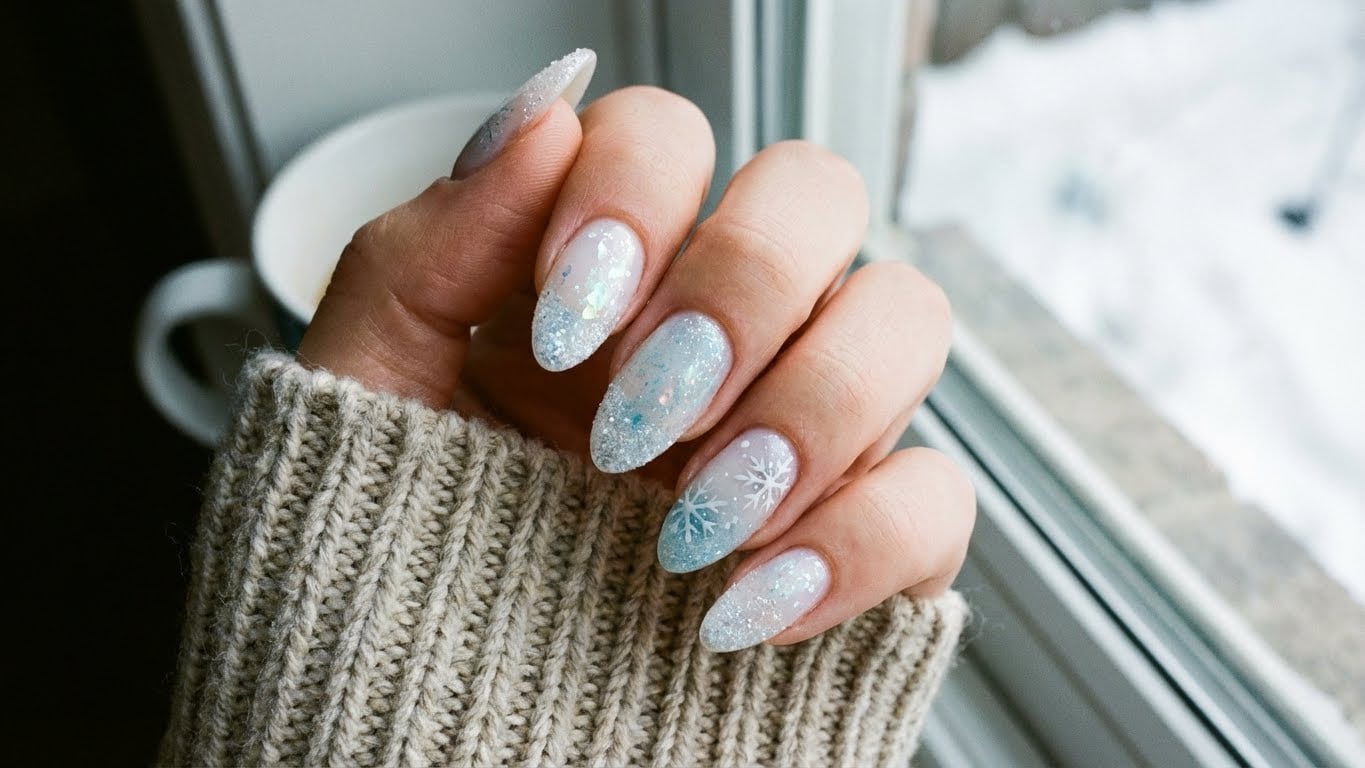
As the winter months approach, it’s the perfect time to give your nails a festive makeover. Sparkling winter nails are a great way to add some much-needed glamour to your look, and with our easy-to-follow guide, you’ll be able to achieve salon-quality results from the comfort of your own home.

Materials Needed
To get started, you’ll need a few basic nail care tools and some fun winter-themed nail polish colors. Here’s a list of what you’ll need:
- Nail polish remover
- Nail clippers
- Nail file
- Nail buffer
- Nail polish base coat
- Nail polish top coat
- Winter-themed nail polish colors (choose your favorites!)
- Nail art brushes (if desired)
- Nail polish dotting tool (if desired)
Step 1: Prep Your Nails
Before you start painting, make sure your nails are clean and dry. Remove any old nail polish using a nail polish remover, and use a nail file to shape your nails to your desired shape. Use a nail buffer to smooth out any ridges or imperfections.
Step 2: Apply Base Coat
Apply a thin layer of clear base coat to each nail, making sure to cover the entire nail surface. This will help protect your nails and create a smooth surface for painting.
Step 3: Choose Your Nail Polish Color
For a sparkling winter look, choose a nail polish color that’s perfect for the season. Some popular options include:
- Rich berry shades like burgundy or plum
- Crisp winter whites or creams
- Deep blues or purples for a dramatic look
- Glittery or metallic finishes for added sparkle
Apply one or two coats of polish, depending on the color’s opacity.
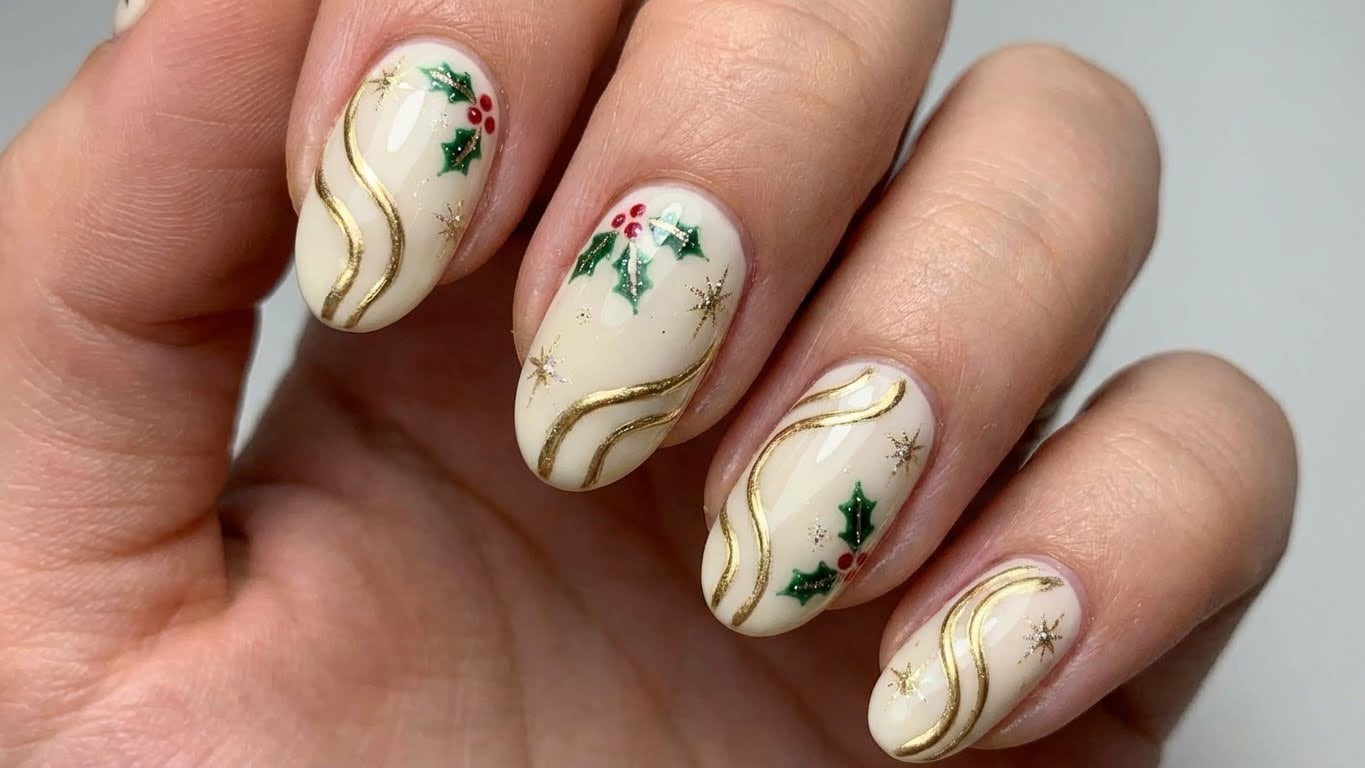
Step 4: Add Nail Art (Optional)
If you want to add some extra flair to your nails, now’s the time to get creative! Use nail art brushes and polish to paint on snowflakes, trees, or other winter-themed designs. You can also use a nail polish dotting tool to create small dots or patterns.
Step 5: Finish with Top Coat
Once you’ve completed your nail art (if using), apply a thin layer of clear top coat to each nail. This will help seal in your design and add shine to your nails.
Step 6: Finish with a Sparkling Touch
To give your nails an extra sparkle, apply a clear top coat with glitter or a sparkly finish. You can also use a nail polish with a built-in glitter or sparkle effect.
Final Touches
Once your top coat is dry, your sparkling winter nails are complete! Use a nail polish remover to clean up any polish that got on your cuticles or skin, and voila! You’ve got a beautiful, sparkly winter nail look that’s sure to turn heads.
Why Sparkling Winter Nails are a Must-Try
Sparkling winter nails are a great way to add some festive fun to your look, and they’re perfect for the holiday season. Plus, with our easy-to-follow guide, you can create a stunning winter nail look without breaking the bank or spending hours in the salon.
Getting Creative with Sparkling Winter Nails
Don’t be afraid to get creative with your sparkling winter nails! Try using different colors, patterns, or designs to make your nails truly unique. You can also experiment with different finishes, such as matte or metallic, to add some extra visual interest.
Conclusion
With these easy steps, you’ll be able to create stunning sparkling winter nails that are sure to impress. Remember to have fun and get creative with your design, and don’t be afraid to experiment with different colors and finishes. Happy polishing!
FAQs
-
Q: What’s the best way to remove glitter nail polish?
A: To remove glitter nail polish, soak a cotton pad with nail polish remover and place it on your nail for a few minutes. Then, gently scrape off the glitter with a cuticle pusher or a nail file.
-
Q: Can I use nail polish with glitter in the winter?
A: Yes, you can use nail polish with glitter in the winter! Just be sure to choose a glitter polish that’s designed for cold temperatures, and apply a top coat to help seal in the glitter.
-
Q: How do I prevent glitter nail polish from getting everywhere?
A: To prevent glitter nail polish from getting everywhere, use a nail polish with a built-in glitter catcher or apply a layer of clear top coat to help contain the glitter.
-
Q: Can I use nail art brushes with glitter polish?
A: Yes, you can use nail art brushes with glitter polish! Just be sure to choose a brush that’s designed for use with glitter polish, and apply a thin layer of polish to avoid clumping.
Keywords
- Sparkling winter nails
- Nail art
- Winter nail styles
- Nail polish
- Nail care
- Beauty
- Nail design
- Glitter polish
Affiliate Links
Related Posts