Winter Nails: A Timeless Beauty Trend
As the snow starts falling and the temperatures drop, it’s the perfect time to update your manicure and get into the winter spirit. Winter nails are all about embracing the season’s sparkle and shine, from metallic finishes to glittering accents. In this article, we’ll take you through the steps to achieve stunning winter nails at home, complete with gorgeous nail art ideas and tips.
The Ultimate Winter Nail Colors
When it comes to choosing the perfect winter nail color, there are a few key shades that always come to mind. From rich jewel tones to icy pastels, here are some of the most popular winter nail colors:
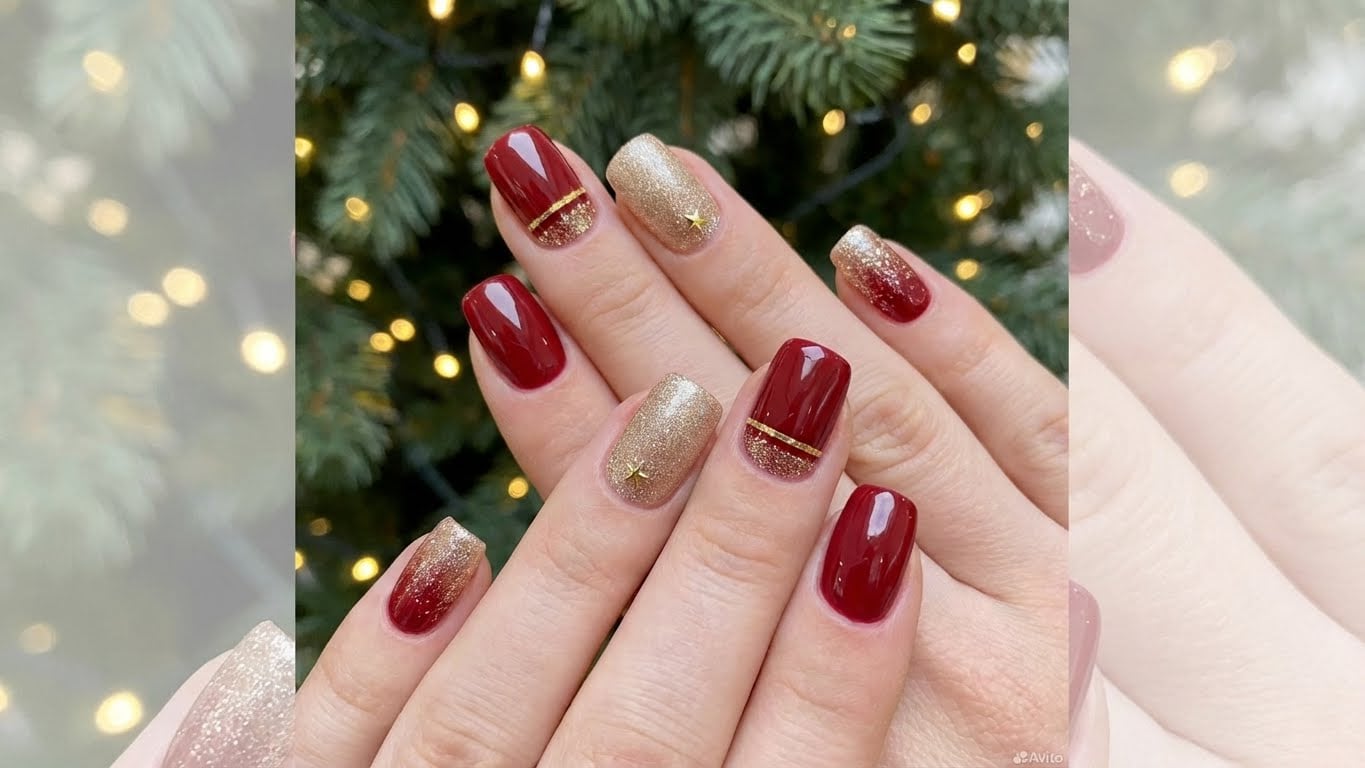
- Deep berry shades, such as burgundy or plum.
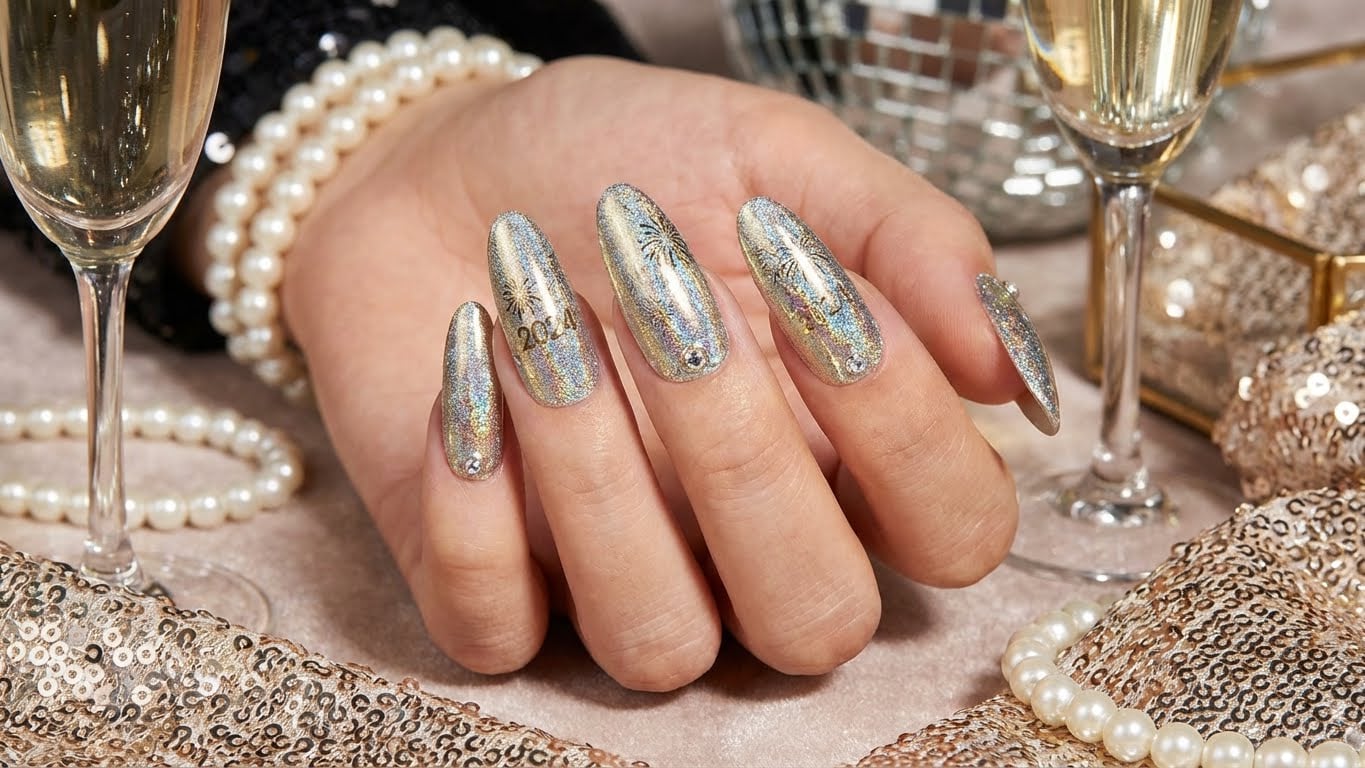
- Cool-toned metallics, like silver or rose gold.
- Sparkling whites or creams, perfect for a winter wonderland look.
- Rich emerald greens, for a bold and eye-catching finish.
Step-by-Step Guide to Glittering Winter Nails
Want to add some extra sparkle to your winter nails? Here’s a step-by-step guide to help you achieve a glittering finish:
Materials Needed:
- Nail polish in your chosen color.
- Glitter polish or topcoat.
- Nail glue.
- Decorative glitter or rhinestones (optional).
Step 1: Prep Your Nails
Before you start, make sure to prep your nails by removing any old polish and pushing back your cuticles.
Step 2: Apply Base Coat
Apply a base coat to protect your nails and create a smooth canvas for your polish.
Step 3: Apply Glitter Polish
Apply a thin layer of glitter polish to your nail, making sure to cover the entire surface. If you’re using a topcoat, apply it over the glitter polish for added shine.
Step 4: Add Decorative Touches
Want to take your winter nails to the next level? Add some decorative glitter or rhinestones to create a truly show-stopping look.
Nail Art Ideas for Winter
Looking for some inspiration for your winter nails? Here are some gorgeous nail art ideas to try:
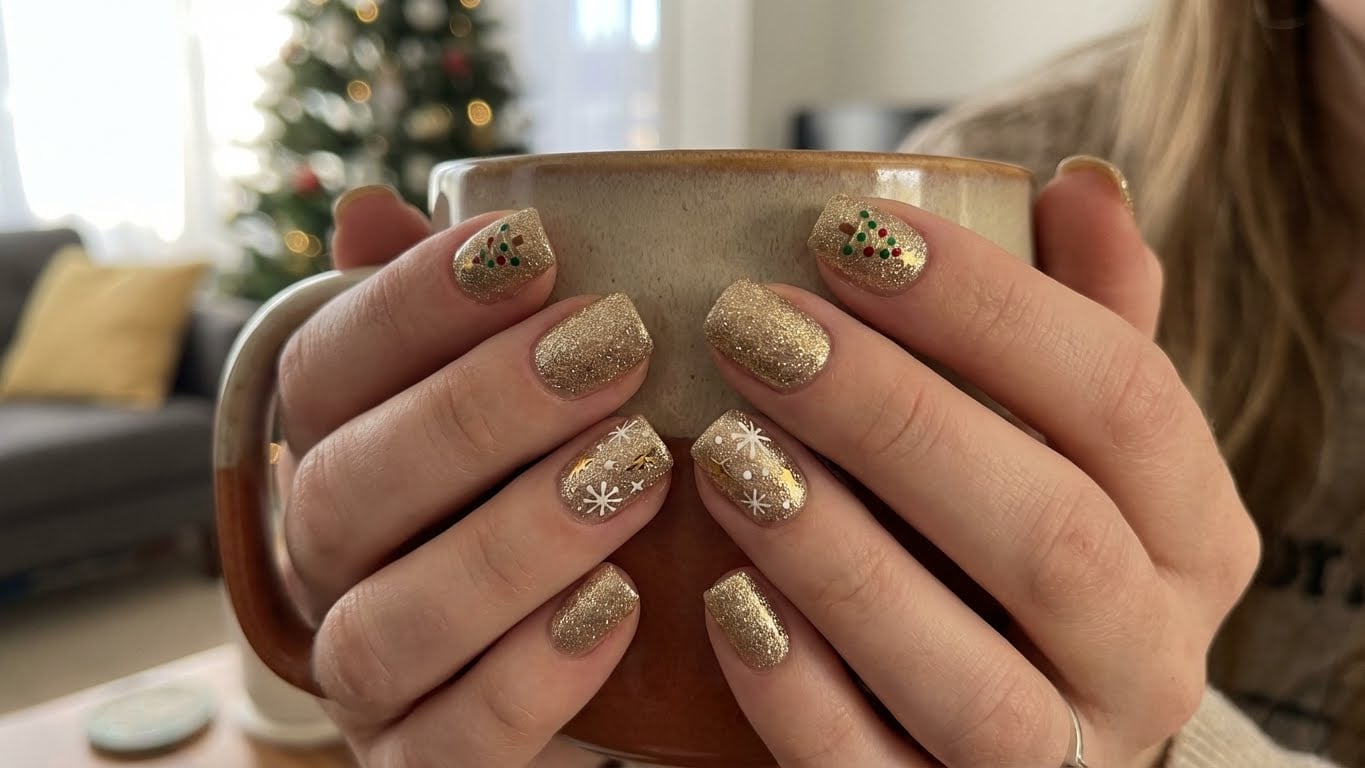
- Winter wonderland scene: Create a miniature winter wonderland on your nails, complete with snowflakes, trees, and even a tiny snowman.
- Glitter snowflakes: Add some extra sparkle to your nails with glitter snowflakes in various shapes and sizes.
- Winter berries: Create a beautiful winter-inspired design by painting berries and leaves on your nails.
- Ice skates: Celebrate the winter season with a fun ice skate design on your nails.
Common Questions About Winter Nails
Got questions about winter nails? Here are some common questions and answers to help you out:
Q: What’s the difference between glitter polish and topcoat?
A: Glitter polish is a special type of polish that contains glitter particles, while topcoat is a clear layer that’s applied over the polish to add shine and protection.
Q: Can I use regular polish instead of glitter polish?
A: Yes, you can use regular polish instead of glitter polish, but it won’t have the same level of sparkle and shine.
Q: How do I remove glitter polish?
A: To remove glitter polish, use a special nail polish remover or acetone. Be gentle, as glitter polish can be stubborn.
Q: Can I use nail glue to attach decorative glitter or rhinestones?
A: Yes, you can use nail glue to attach decorative glitter or rhinestones to your nails. Just be sure to apply a thin layer and let it dry completely before applying topcoat.
FAQ
What's the difference between glitter polish and topcoat?
Glitter polish is a special type of polish that contains glitter particles, while topcoat is a clear layer that's applied over the polish to add shine and protection.
Can I use regular polish instead of glitter polish?
Yes, you can use regular polish instead of glitter polish, but it won't have the same level of sparkle and shine.
How do I remove glitter polish?
To remove glitter polish, use a special nail polish remover or acetone. Be gentle, as glitter polish can be stubborn.
Can I use nail glue to attach decorative glitter or rhinestones?
Yes, you can use nail glue to attach decorative glitter or rhinestones to your nails. Just be sure to apply a thin layer and let it dry completely before applying topcoat.
Related Posts