Winter is here, and with it comes the perfect excuse to get creative with your nail art. From classic glitters to bold and bright colors, we’re rounding up the top sparkly winter nail trends and sharing expert tips on how to achieve them in this season’s must-have looks.
Sparkly Winter Nail Trends to Try
This season’s nail trends are all about excess – and we’re not just talking about the number of sparkles. We’re seeing a rise in bold, bright colors and eye-catching embellishments that are sure to turn heads. Here are some of the top sparkly winter nail trends to try:
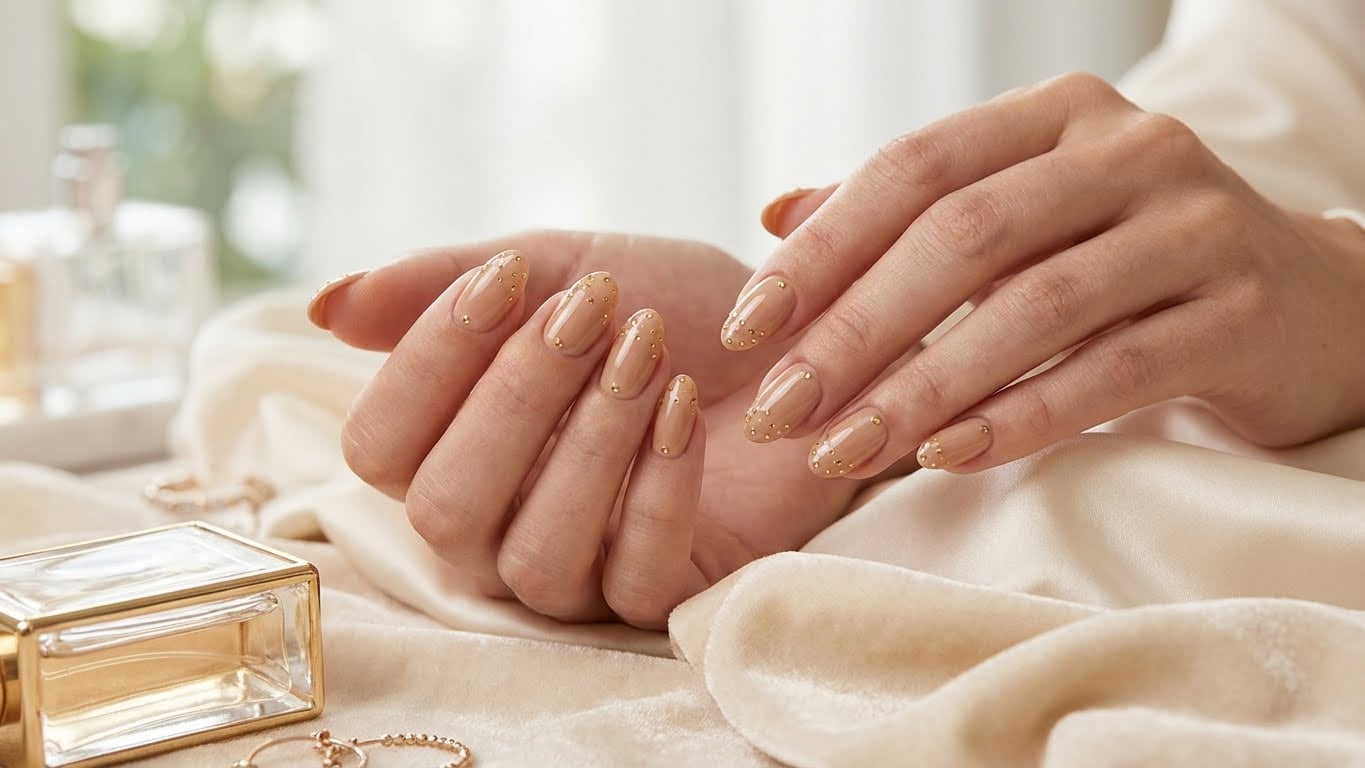
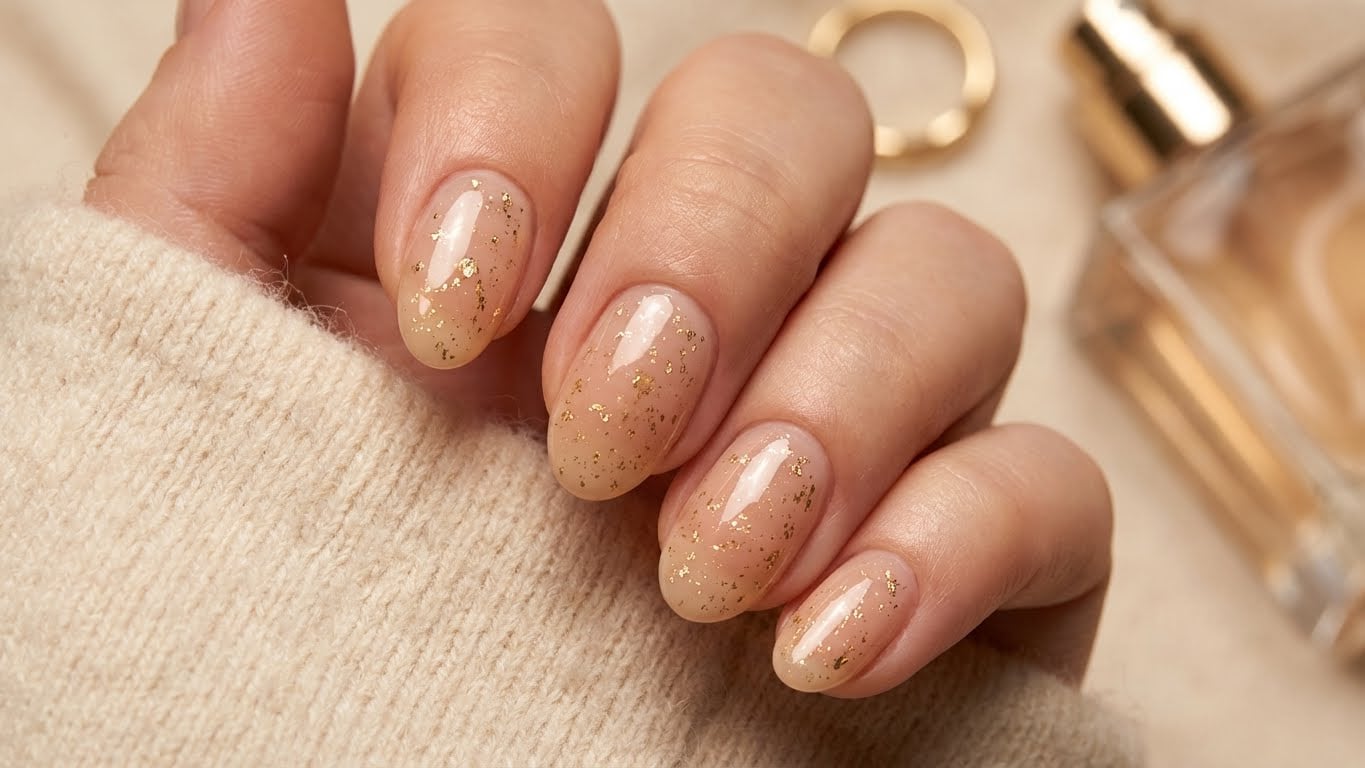
1. Glittery Neutrals
While traditional glitters are always a hit, this season’s take on the trend is all about neutral shades with a subtle sparkle. Try pairing a pale pink or beige base coat with a fine glitter top coat for a sophisticated look that’s perfect for everyday wear.
2. Festive Red and Green
Red and green are a classic holiday color combination, and this season they’re making a major comeback in the nail world. Try pairing a bold red or green creme polish with a glittery top coat or a festive holiday-themed nail art design.
3. Metallic Metallics
Metallic shades are always a great choice for the holiday season, and this year is no exception. From rose gold to silver and bronze, try pairing a metallic polish with a clear top coat or a bold glitter accent nail.
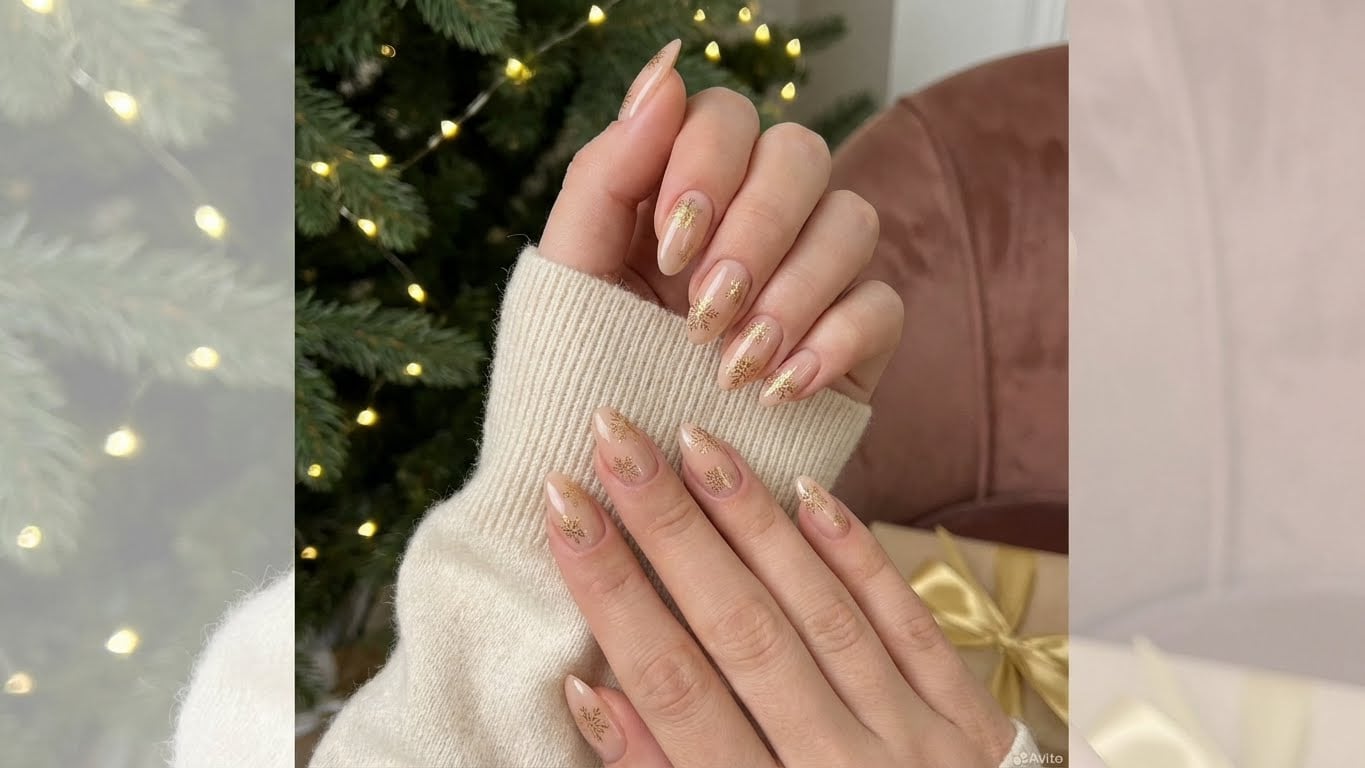
4. Winter Wonderland Nails
This season’s nail trends are all about evoking a sense of winter wonderland, and this sparkly winter nail design is no exception. Try pairing a pale blue or purple base coat with a glittery snowflake design and a few strategically-placed rhinestones.
Expert Tips for Achieving Sparkly Winter Nails
Whether you’re a seasoned nail artist or a total newbie, achieving the perfect sparkly winter nail look can seem daunting. But don’t worry – we’ve got you covered with these expert tips:
1. Prep Those Nails!
Before you start getting creative with your nail art, make sure to prep those nails with a good base coat. This will help to create a smooth, even surface for your polish to adhere to and prevent any pesky chips or cracks.
2. Use the Right Tools for the Job
When it comes to creating intricate nail art designs, the right tools can make all the difference. Invest in a good quality nail art brush and some precision tips, and you’ll be well on your way to creating salon-quality nail art at home.
3. Don’t Be Afraid to Get Creative
The beauty of nail art is that it’s all about self-expression, so don’t be afraid to get creative and try out new things. Whether it’s a bold new color combination or a unique nail art design, the possibilities are endless!
4. Practice Makes Perfect
As with any skill, practice makes perfect when it comes to nail art. Don’t get discouraged if your first few attempts don’t turn out as planned – keep practicing, and you’ll soon be a pro in no time!
FAQs
-
Q: What’s the best way to remove glitter polish?
A: The best way to remove glitter polish is to use a gentle nail polish remover and a cotton pad. Soak the cotton pad in the remover and place it on your nail for a few minutes before gently scraping off the glitter with a cuticle pusher.
-
Q: Can I use nail glitter on my own?
A: Yes, you can use nail glitter on your own by applying a thin layer to your nail using a nail polish brush. Make sure to let it dry completely before applying a top coat to seal it in place.
-
Q: How do I get glitter to stick to my nail?
A: To get glitter to stick to your nail, make sure to apply a thin layer of clear top coat to seal it in place. This will help to create a strong bond between the glitter and your nail.
-
Q: Can I use glitter polish on my natural nails?
A: Yes, you can use glitter polish on your natural nails, but make sure to choose a polish that’s specifically designed for use on natural nails. Look for a polish that’s labeled as “nail-friendly” or “safe for natural nails.”
Related Posts