It’s the most wonderful time of the year – and what’s more wonderful than a sparkling, glittery holiday look? Glitter holiday nails are a classic festive favorite, and for good reason. They’re easy to achieve, add a touch of magic to any outfit, and are the perfect way to get into the holiday spirit.
The Magic of Glitter Holiday Nails
Glitter holiday nails are more than just a fun and festive trend – they’re a way to express your personality and add some sparkle to your holiday look. Whether you’re heading to a holiday party, attending a festive gathering, or just want to get into the holiday mood, glitter nails are a great way to do so.
Festive Flavors and Colors
When it comes to glitter holiday nails, the possibilities are endless. From classic red and green to metallic silver and gold, there’s a color to match every holiday theme. And with so many different flavors and colors to choose from, you’re sure to find the perfect one to match your style.
Here are some of our favorite festive flavors and colors:
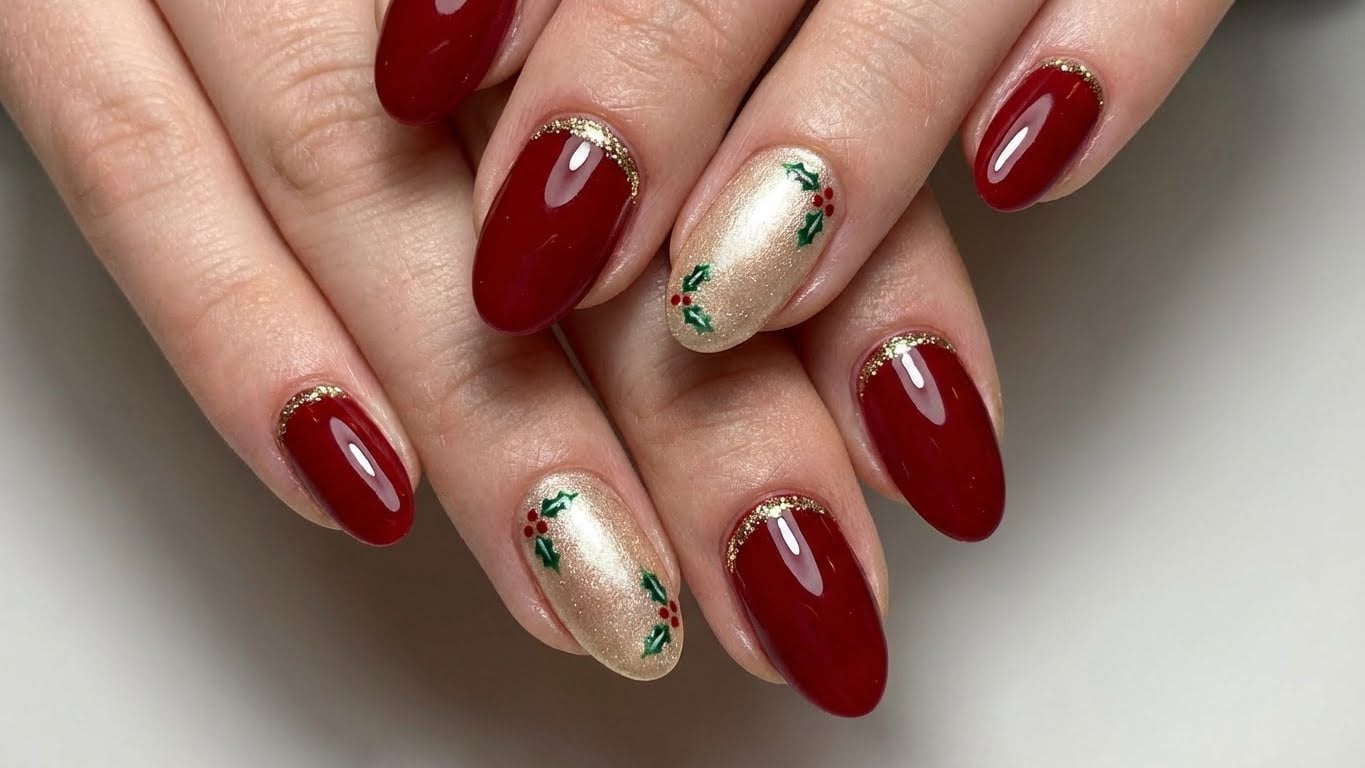
- Classic red and green: A timeless holiday combination that’s perfect for a traditional look.
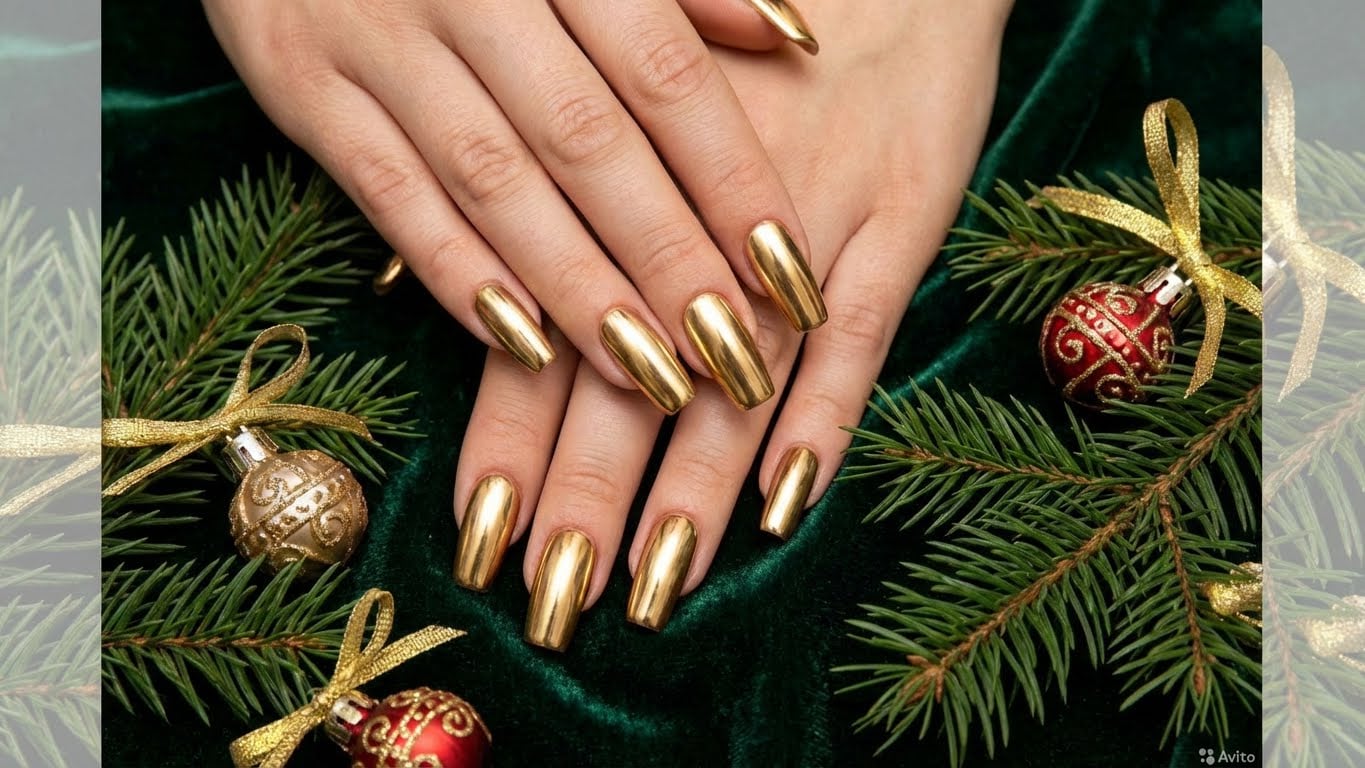
- Metallic silver and gold: Add some luxury and glamour to your holiday look with these metallic shades.
- Winter wonderland: Get into the holiday spirit with shades of blue, purple, and silver.
- Gold glitter: Add some extra sparkle to your holiday look with a gold glitter finish.
DIY Glitter Holiday Nails
One of the best things about glitter holiday nails is that you can easily create them at home. With a few simple ingredients and some basic nail art skills, you can achieve a professional-looking finish in no time.
Here’s a simple DIY glitter nail guide:
Materials Needed:
- Nail polish remover
- Base coat
- Nail polish in your chosen color
- Glitter polish
- Top coat
- Nail art brush
Step-by-Step Instructions:
- Start by applying a base coat to your nails.
- Next, apply a coat of nail polish in your chosen color.
- Allow the polish to dry completely, then apply a coat of glitter polish.
- Use a nail art brush to apply the glitter polish in a loose, sweeping motion.
- Finish with a coat of top coat to seal in the glitter.
Glitter Holiday Nail Tips and Tricks
While glitter holiday nails are easy to achieve, there are a few tips and tricks to keep in mind to ensure a professional-looking finish.
Here are some of our top tips:
- Use a good quality base coat to protect your nails and prevent staining.
- Choose a glitter polish that’s specifically designed for use on nails.
- Apply the glitter polish in a thin, even layer to prevent pooling.
- Use a nail art brush to apply the glitter polish in a loose, sweeping motion.
- Finish with a coat of top coat to seal in the glitter.
Conclusion
Glitter holiday nails are a fun and festive way to add some sparkle to your holiday look. With so many different flavors and colors to choose from, you’re sure to find the perfect one to match your style. And with our simple DIY guide, you can easily create a professional-looking finish at home. So why not give glitter holiday nails a try this season?
FAQ
How do I remove glitter nail polish?
To remove glitter nail polish, use a nail polish remover and gently scrape off the glitter with a cuticle pusher or a cotton swab.
Related Posts