Why Sparkly Winter Nails are a Must-Have
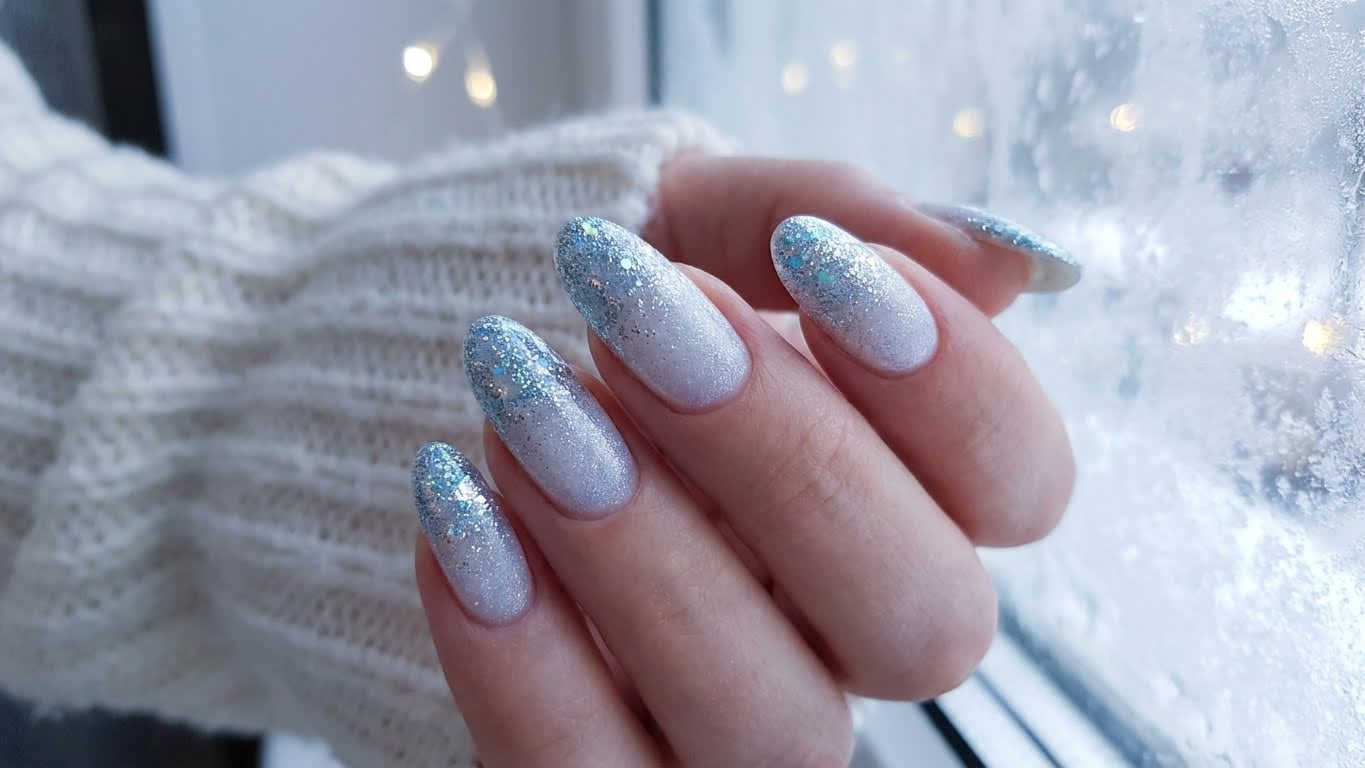
Winter is here, and with it comes the perfect excuse to give your nails a festive makeover. Sparkly winter nails are not just a fun way to get into the holiday spirit; they can also make a great impression at parties, gatherings, and even in the workplace. Whether you’re a fan of bold, bright colors or more subtle, shimmery finishes, there’s a sparkly nail look out there for everyone.
At-Home Gel Extensions: A DIY Guide
If you’re short on time or prefer a more DIY approach, at-home gel extensions are a great way to achieve salon-quality results without the hefty price tag. With a few simple tools and some practice, you can achieve long, luscious nails that shine like the stars. Here’s what you’ll need:
- Gel extension kit
- Prep and primer
- Gel polish in your chosen color
- Top coat
- Nail glue and tips (optional)
Step-by-Step Instructions
1. Prep your nails by cleaning and shaping them. This will ensure a smooth surface for your gel extension.
2. Apply a thin layer of prep and primer to each nail. This will help the gel adhere and last longer.
3. Apply a thin layer of gel polish to each nail, following the instructions provided with your kit.
4. Cure the gel under a UV or LED light for the recommended amount of time.
5. Apply a top coat to seal in the gel and add shine.
Salon-Quality Finishes: Tips from a Pro</hassistant
{
“title”: “Deck the Halls with Sparkly Winter Nails: A Guide to Festive Fingertips
Related Posts