Introduction to Glitter Holiday Nails
A holiday season without festive nails is like a Christmas tree without ornaments – it’s just not the same. Glitter holiday nails are a staple of the season, and for good reason. Not only do they add a touch of glamour to your outfit, but they’re also a fun and creative way to get into the holiday spirit. In this article, we’ll explore the world of glitter holiday nails, from classic to trendy designs, and provide you with tips and tricks for achieving professional-looking results at home.
Choosing the Right Glitter
When it comes to glitter holiday nails, the right glitter is essential. You can choose from a variety of glitters, including fine, chunky, and holographic. Fine glitters are perfect for creating a subtle, everyday look, while chunky glitters add a bold and eye-catching touch. Holographic glitters, on the other hand, give your nails a futuristic and high-tech look.
Some popular glitter options include:
- Deborah Lippmann’s Glitter Overload: A fine glitter that’s perfect for everyday wear.
- Essie’s Sparkles and Shine: A chunky glitter that adds a bold touch to any look.
- OPI’s GoldenEye: A holographic glitter that gives your nails a futuristic look.
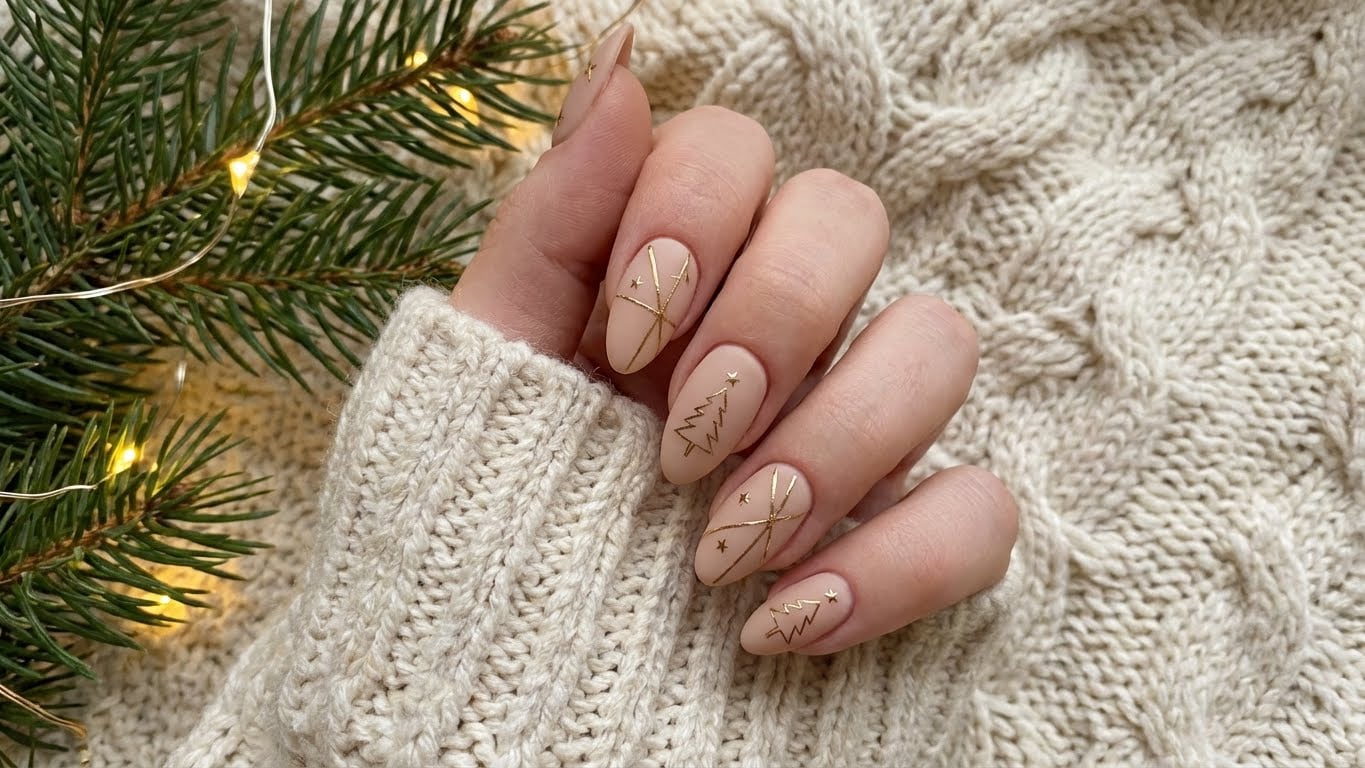
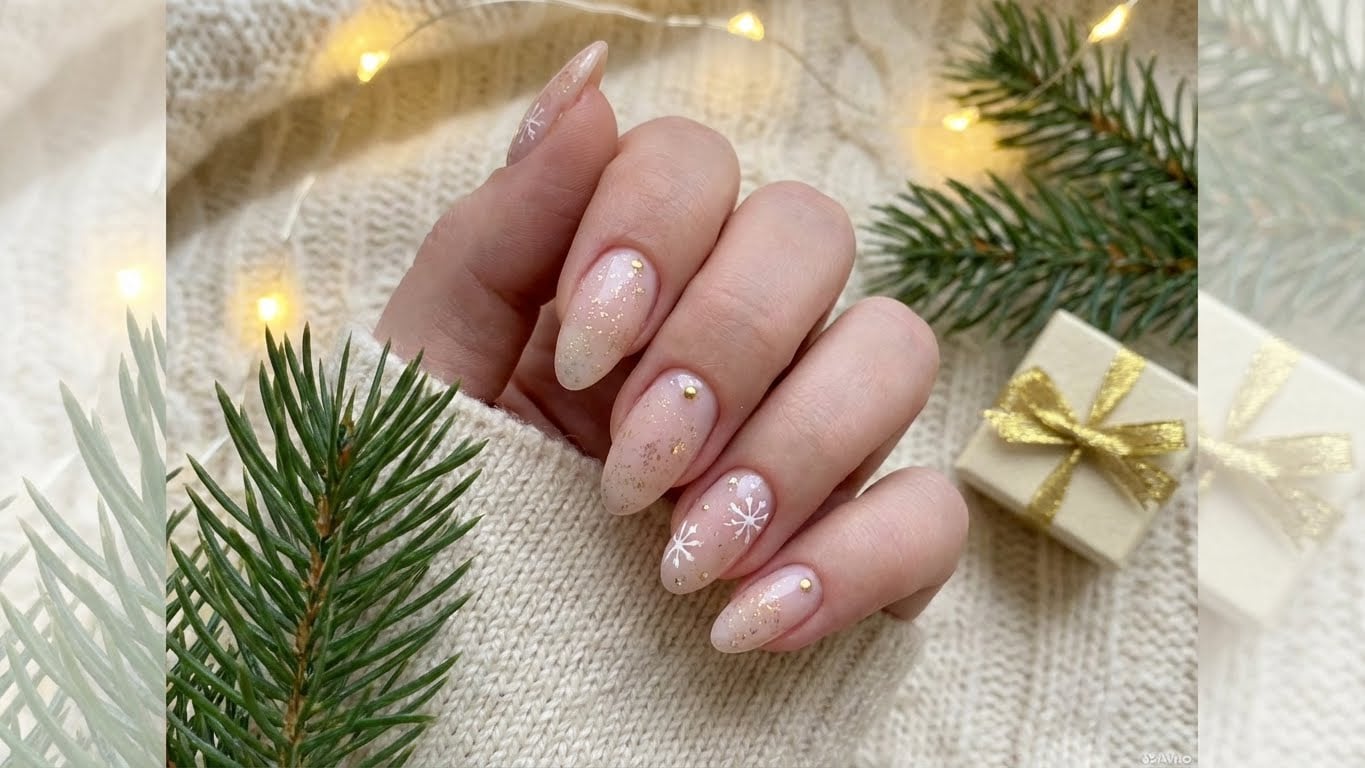
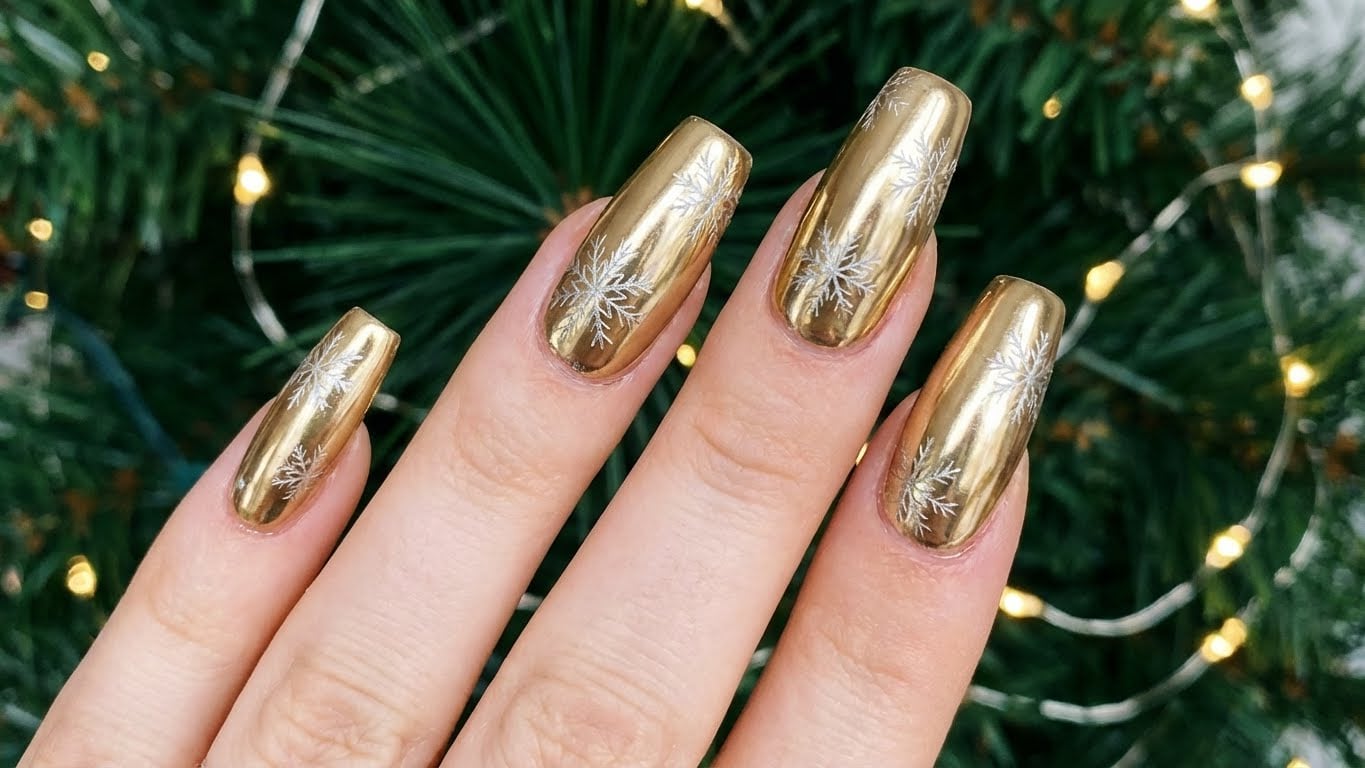
Design Ideas for Glitter Holiday Nails
From classic to trendy designs, there are countless ways to create glitter holiday nails. Here are some ideas to get you started:
- Striped Nails: Alternate between two or three colors to create a striped effect.
- Glitter Ombre: Gradually blend glitters from dark to light for a stunning ombre effect.
- Glitter Accents: Add a touch of glitter to a solid-colored nail for a subtle and chic look.
- Glitter Tips: Apply glitter to just the tips of your nails for a fun and playful look.
How to Apply Glitter to Your Nails
Applying glitter to your nails can be a bit tricky, but with the right techniques, you can achieve professional-looking results at home. Here’s a step-by-step guide:
- Prep your nails by removing any old nail polish and pushing back your cuticles.
- Apply a base coat to protect your nails and promote adhesion.
- Apply a layer of clear polish to create a smooth surface for the glitter.
- Using a glitter polish or a separate glitter topcoat, apply the glitter to your nails in a circular motion.
- Finish with a topcoat to seal the glitter in place.
Tips and Tricks for Glitter Holiday Nails
Here are some additional tips and tricks to help you achieve the perfect glitter holiday nails:
- Use a glitter polish that’s specifically designed for nail art.
- Apply a thin layer of glitter polish to avoid a thick, clumpy finish.
- Use a nail art brush to apply glitter to small areas, such as the tips of your nails.
- Experiment with different glitter colors and combinations to create unique and personalized looks.
Conclusion
Glitter holiday nails are a fun and creative way to get into the holiday spirit. With the right techniques and tools, you can achieve professional-looking results at home. Remember to choose the right glitter, experiment with different designs, and follow our tips and tricks for a perfect finish. Happy holidays!
FAQ
-
Q: Can I use regular glitter on my nails?
A: While you can use regular glitter on your nails, it’s not recommended. Glitter polish or a separate glitter topcoat is specifically designed for nail art and will give you a smoother, more even finish.
Related Posts