Why Glitter Holiday Nails are a Must-Try this Season
Are you tired of the same old boring nail art for the holidays? Look no further than glitter holiday nails! Not only do they add a touch of sparkle to your festive look, but they’re also surprisingly easy to achieve.
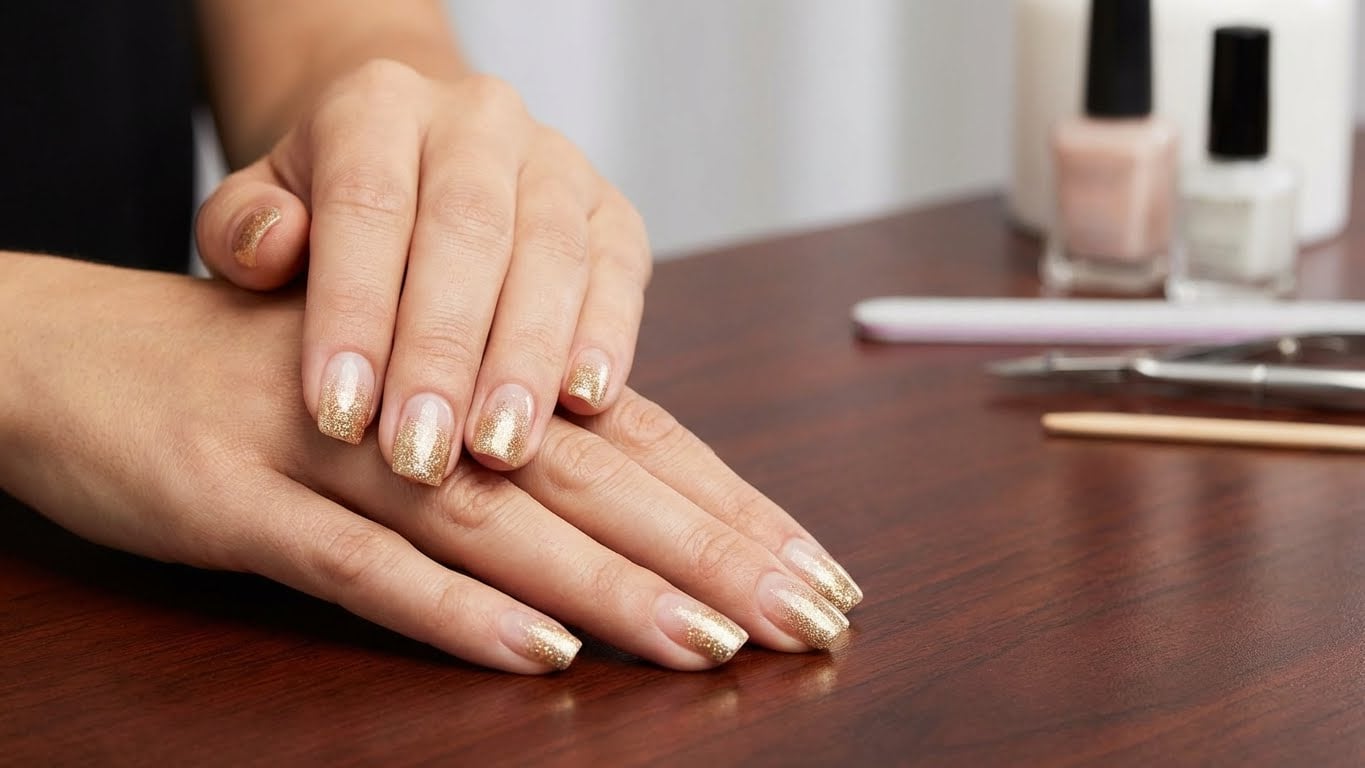
Benefits of Glitter Holiday Nails
Glitter holiday nails offer a range of benefits, from adding a pop of color to your look to creating a fun and playful vibe. Plus, they’re the perfect way to get into the holiday spirit. Whether you’re attending a holiday party or just want to add some sparkle to your everyday look, glitter holiday nails are a great choice.
Classic Red and Green Glitter Nails
For a traditional holiday look, try a classic red and green glitter nail design. This timeless combination is sure to get you in the mood for the holidays. Pair a bright red polish with a sprinkle of green glitter for a look that’s both festive and elegant.
How to Get the Look
To achieve a classic red and green glitter nail design, follow these simple steps:
1. Start with a base coat to protect your nails.
2. Apply a bright red polish to each nail.
3. Allow the polish to dry completely before adding a sprinkle of green glitter.
4. Seal the design with a top coat to ensure it lasts all season long.
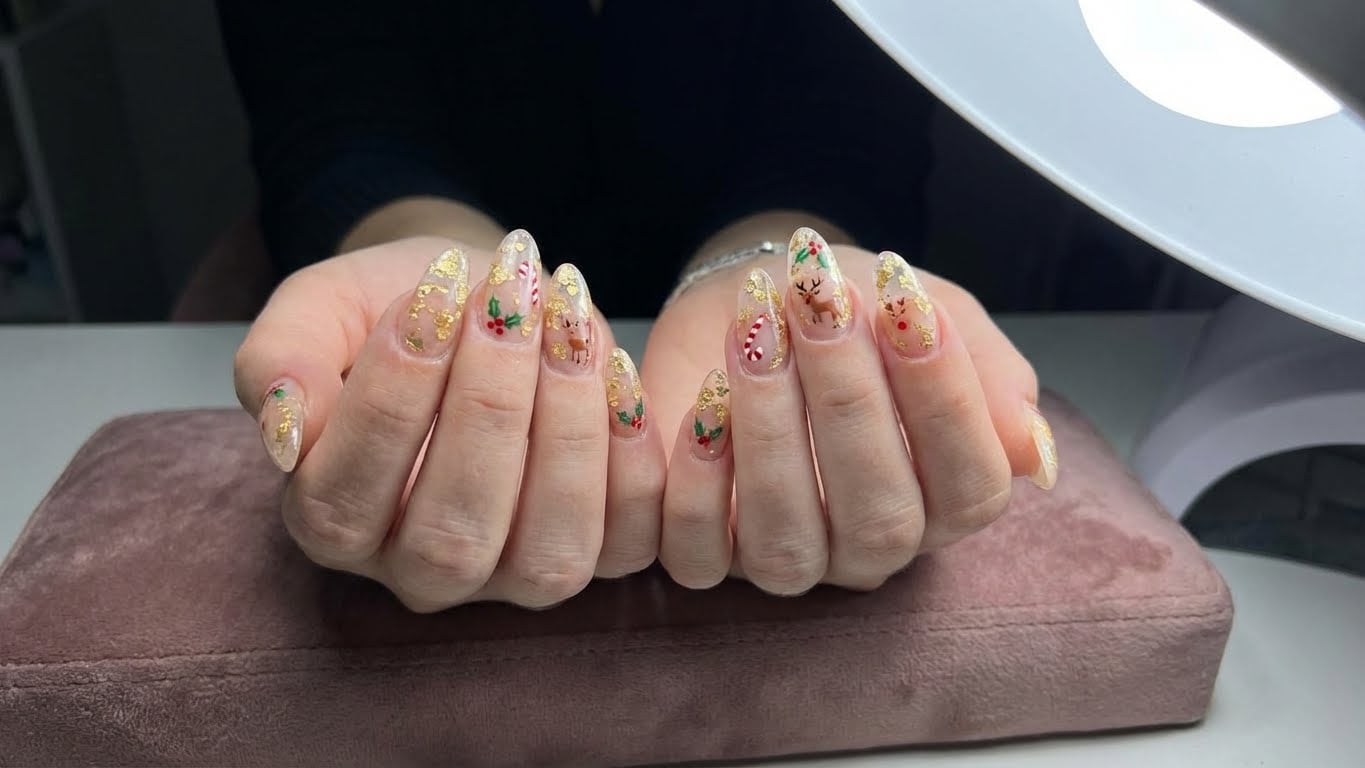
Bold and Bright Glitter Nails
For a more modern take on the classic glitter nail design, try a bold and bright combination. Pair a bright blue or pink polish with a sprinkle of silver or gold glitter for a look that’s sure to turn heads.
How to Get the Look
To achieve a bold and bright glitter nail design, follow these simple steps:
1. Start with a base coat to protect your nails.
2. Apply a bright blue or pink polish to each nail.
3. Allow the polish to dry completely before adding a sprinkle of silver or gold glitter.
4. Seal the design with a top coat to ensure it lasts all season long.
DIY Glitter Nail Tutorial
Want to try a more advanced glitter nail design? Follow along with our DIY glitter nail tutorial for a step-by-step guide on how to create a stunning glitter nail look.
Materials Needed
* Nail polish (choose your favorite color)
* Glitter (choose your favorite color and type)
* Nail glue
* Nail tips (optional)
* Nail file
* Cuticle oil
Step-by-Step Instructions
1. Start by applying a base coat to each nail to protect them from staining.
2. Apply a thin layer of nail glue to the center of each nail.
3. Sprinkle a small amount of glitter onto the glue.
4. Repeat steps 2-3 until you’ve achieved the desired amount of glitter.
5. Allow the glue to dry completely before sealing the design with a top coat.
Glitter Holiday Nail Tips and Tricks
Looking for more tips and tricks to help you achieve the perfect glitter holiday nail design? Check out our top tips below:
* Use a nail glue to attach the glitter to your nails for a more secure hold.
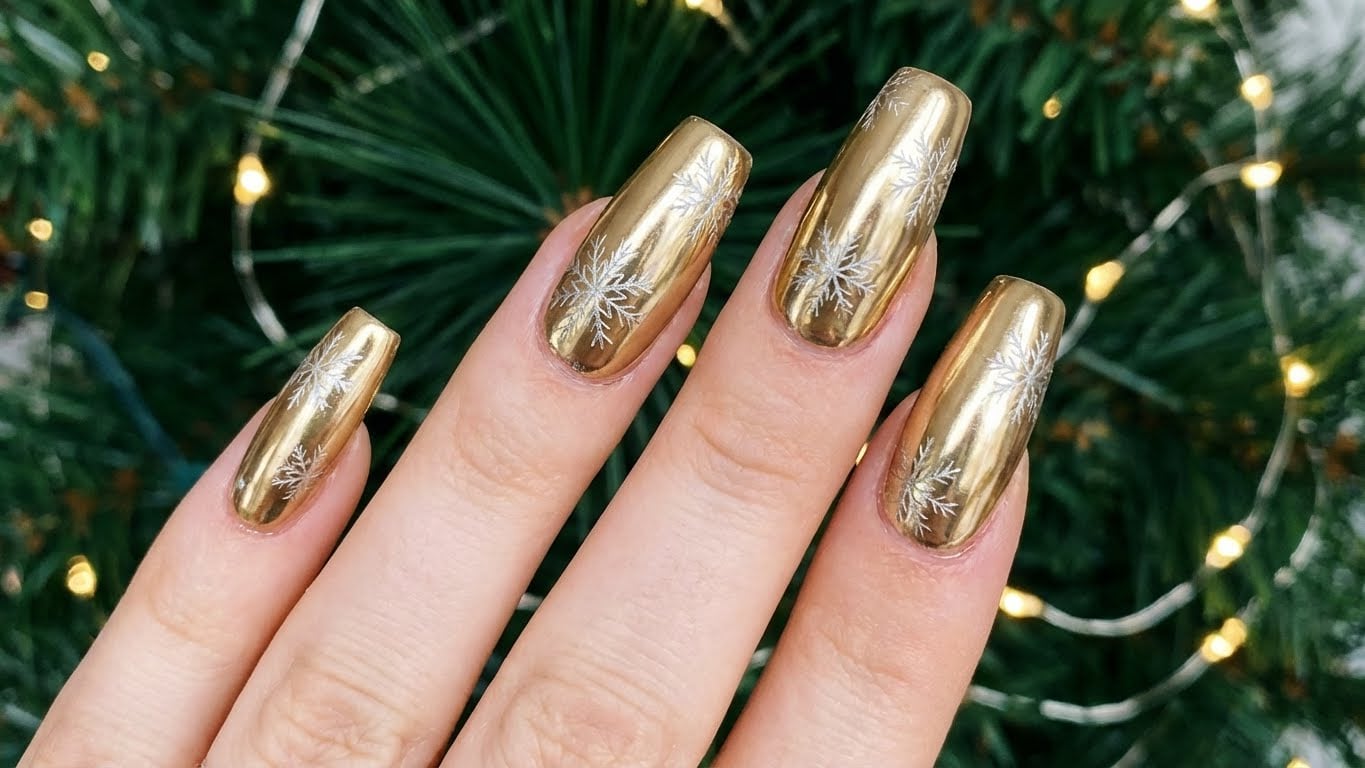
* Experiment with different types of glitter, such as holographic or iridescent, for a unique look.
* Don’t be afraid to get creative with your glitter nail design – try pairing different colors or shapes for a truly one-of-a-kind look.
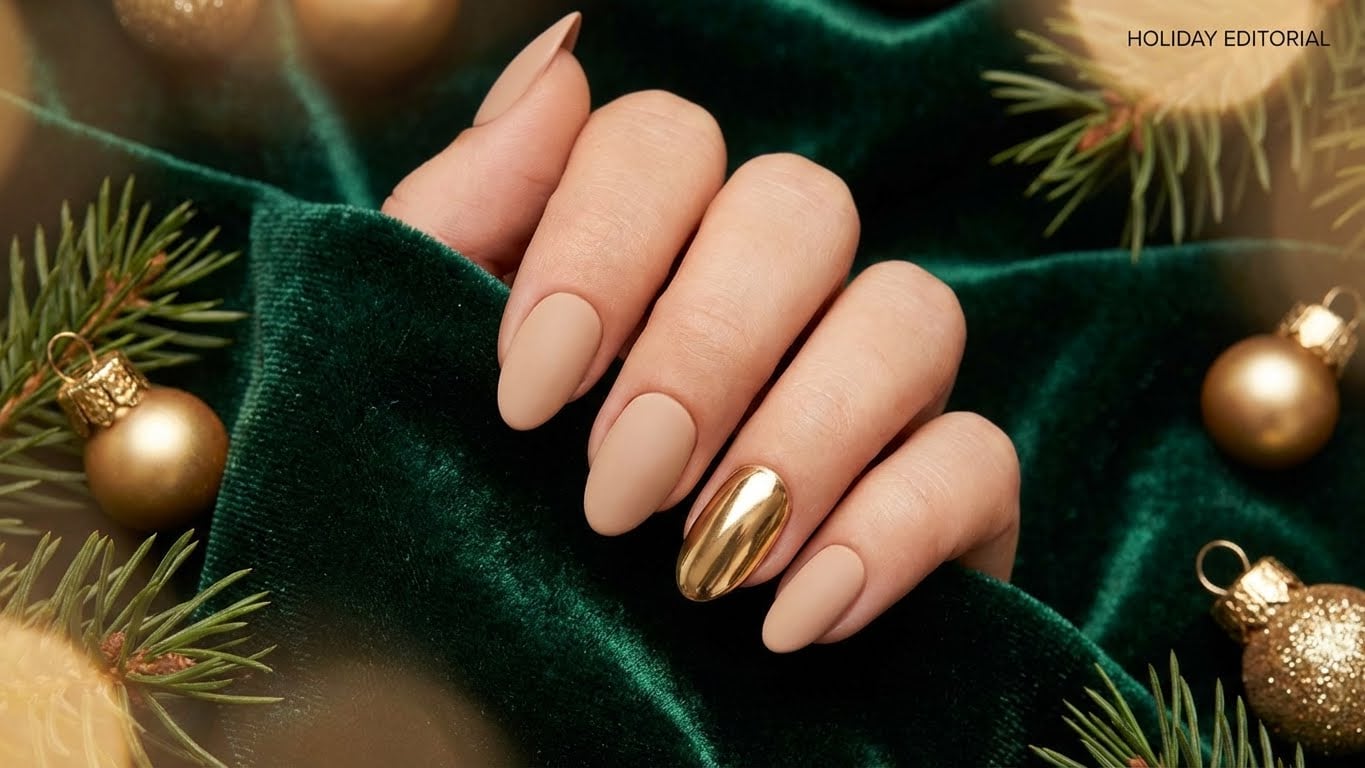
Get Ready to Shine this Holiday Season
With our guide to glitter holiday nails, you’ll be ready to shine this holiday season. From classic red and green to bold and bright, we’ve got you covered with the latest trends and tips. So why wait? Get creative and add some sparkle to your holiday look today!
FAQ
{
“q”: “Can I use any type of glitter for my glitter holiday nails?”,
“a”: “No, not all glitters are created equal. Look for high-quality glitters that are specifically designed for nail use, and avoid using loose glitter or glitter that’s too small. This will help ensure a secure hold and prevent the glitter from getting everywhere.”
}

Related Posts