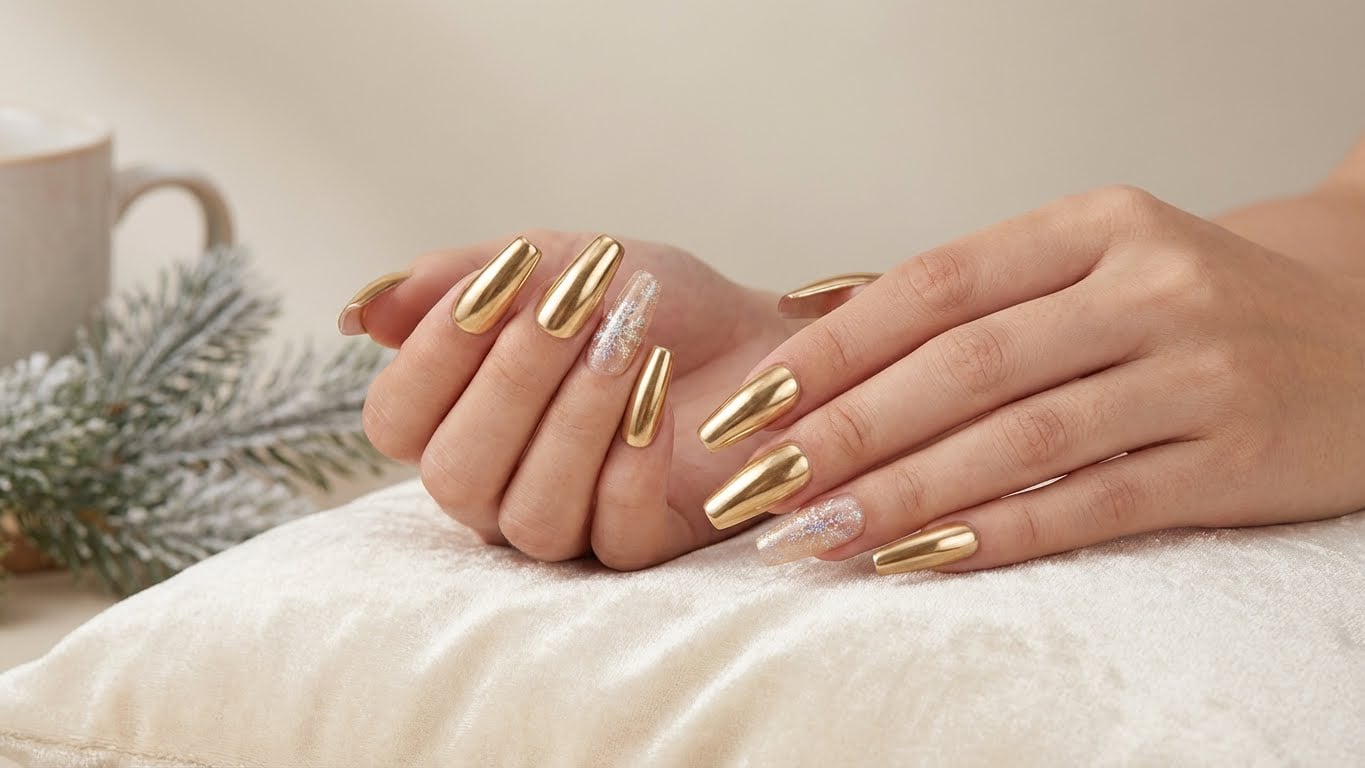
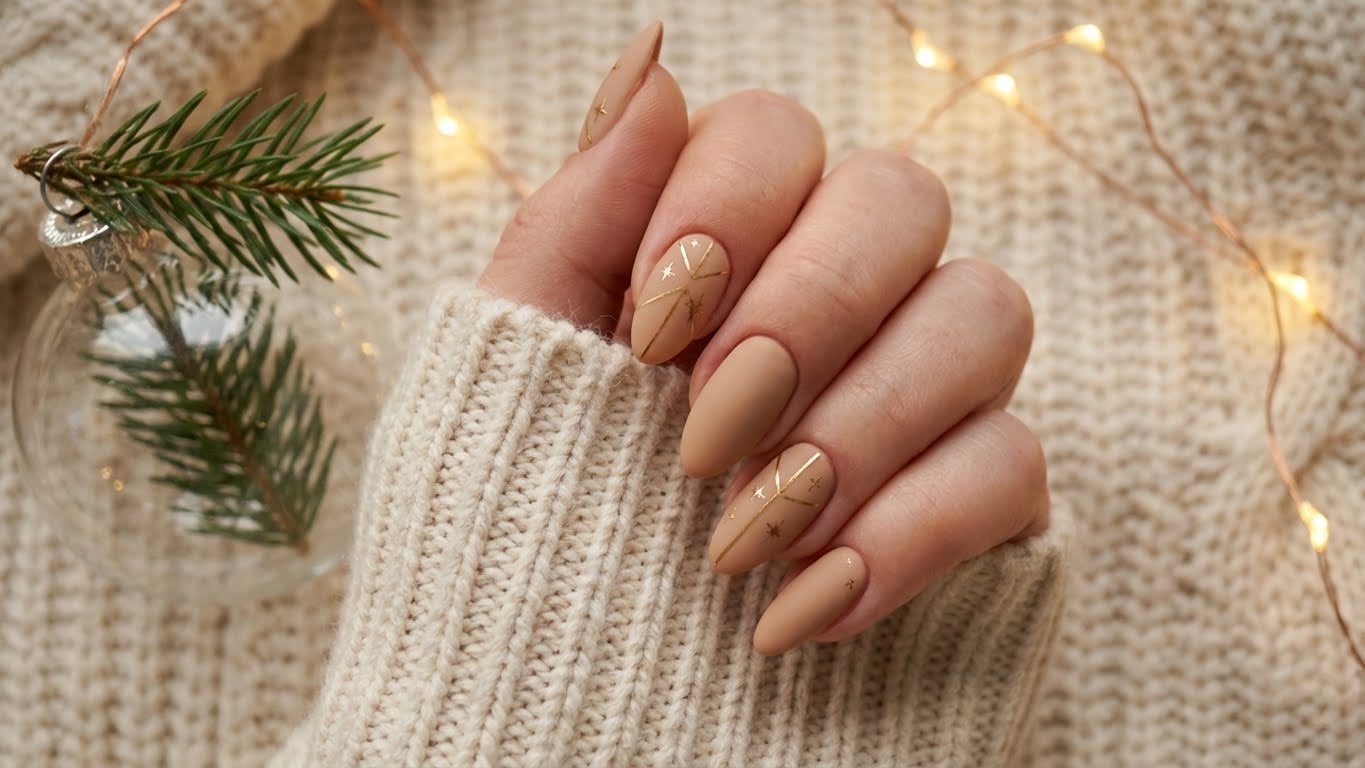
Why Sparkly Winter Nails Are a Must-Try This Season
Winter is the perfect time to get creative with your nail art. The cold weather and festive atmosphere make it an ideal opportunity to try out new and exciting designs. With the right tools and a bit of patience, you can achieve stunning sparkly winter nails that will make you feel like a million bucks.
Step 1: Prep Your Nails
Before you start getting creative with your nail art, you need to make sure your nails are ready. This means cleaning and shaping them to create a smooth surface for painting. You can use a nail file to shape your nails and a buffer to smooth out any ridges.
Tools Needed:
– Nail file
– Nail buffer
– Cuticle pusher
– Cuticle oil
Step 2: Choose Your Base Coat
Your base coat is the foundation of your nail art, so choose a good one. Look for a coat that is long-lasting and has a smooth, glossy finish. This will help your nail polish adhere better and prevent chipping.
Recommended Base Coats:
– Sally Hansen Miracle Gel Base Coat
– Essie First Base
Step 3: Select Your Nail Polish</hassistant
{
“title”: “Add Some Sparkle to Your Winter Nails with These 6 Easy Steps

Related Posts