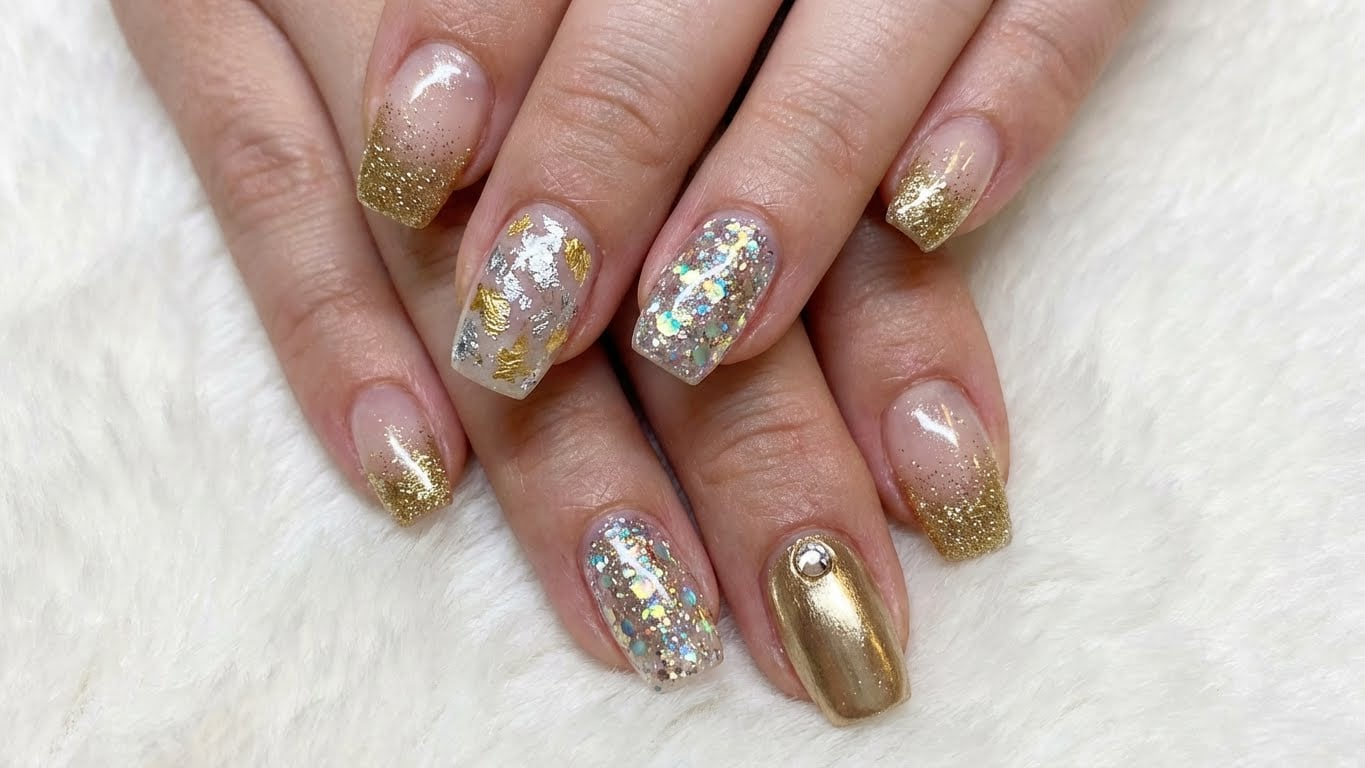
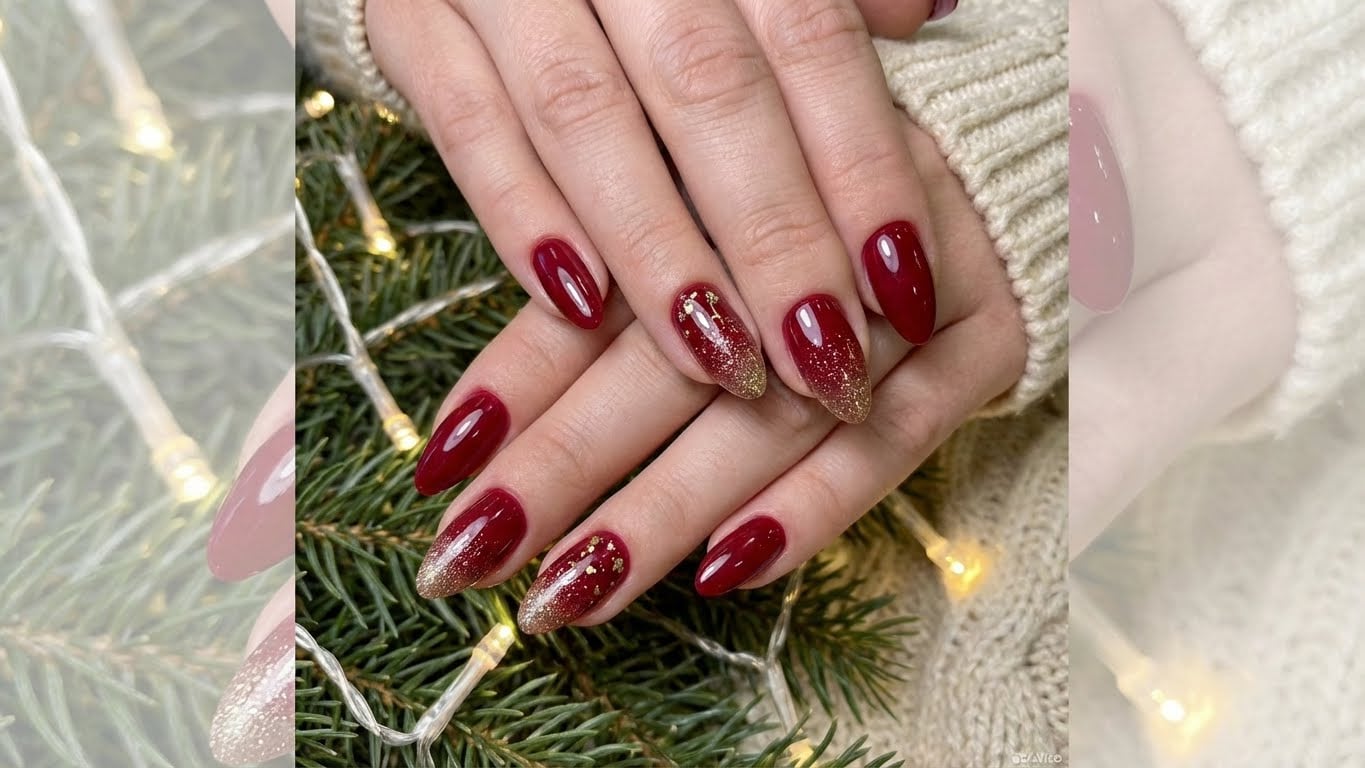
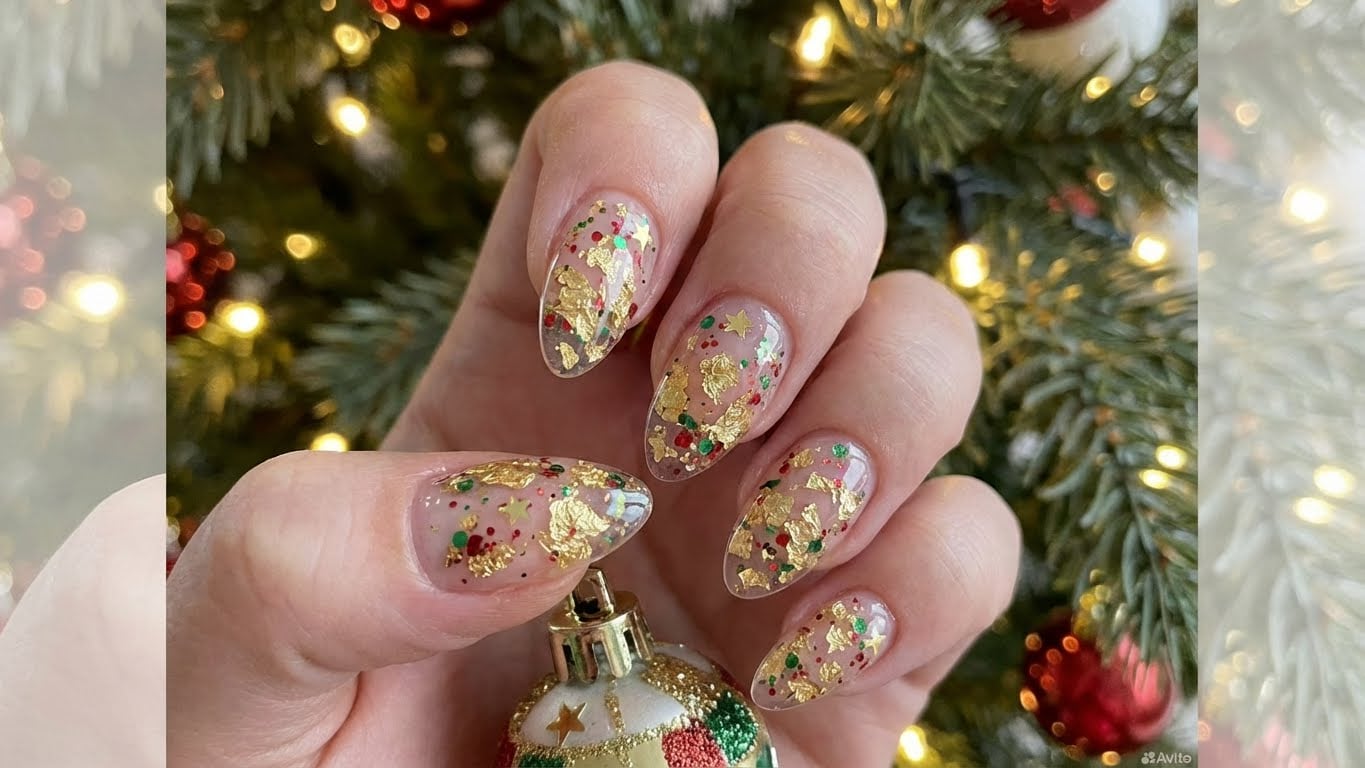
The holiday season is upon us, and what better way to get into the festive spirit than with a dazzling display of glitter on your nails? Glitter holiday nails are a timeless classic that adds a touch of magic to any outfit, and with our expert guide, you’ll be able to create a show-stopping look that’s sure to impress.
Choose Your Glitter Wisely
With so many different types of glitter available, it can be overwhelming to decide which one to choose. Here are a few things to consider:
- Size: From fine, delicate glitter to chunky, bold particles, there’s a size to suit every style.
- Color: From classic red and green to more modern metallic shades, the color options are endless.
- Type: From loose glitter to glitter polish, there are plenty of options to choose from.
When it comes to choosing the perfect glitter for your holiday nails, consider the overall aesthetic you’re going for. Do you want a subtle, understated look or a bold, eye-catching display?
Preparing Your Nails for Glitter
Before you can start applying glitter, you need to prepare your nails for the process. Here’s a step-by-step guide:
- Prep your nails with a base coat to ensure a smooth finish.
- Apply a thin layer of clear polish to act as a primer for your glitter.
- Use a nail glue to attach any loose glitter particles to your nail.
With your nails prepped and ready to go, it’s time to start applying the glitter.
Applying Glitter to Your Nails
There are a few different ways to apply glitter to your nails, depending on the type you’ve chosen:
- Glitter polish: Simply apply the glitter polish to your nail as you would any other polish.
- Loose glitter: Dip your brush into the glitter and apply it to your nail in a thin layer.
- Glitter nail stickers: Apply the glitter nail stickers to your nail and top with a clear coat.
Regardless of the method you choose, make sure to apply the glitter in thin layers to avoid clumping.
Sealing Your Glitter Nails
Once you’ve applied the glitter, it’s time to seal it in with a top coat. This will help prevent the glitter from chipping or fading over time.
Choose a clear top coat that’s specifically designed for glitter nails, and apply it in thin layers to avoid pooling.
Tips and Tricks for the Perfect Glitter Holiday Nails
Here are a few additional tips and tricks to help you achieve the perfect glitter holiday nails:
- Use a nail art brush to apply glitter to specific areas of your nail.
- Experiment with different glitter combinations to create a unique look.
- Don’t be afraid to get creative and try new things!
With these tips and tricks, you’ll be well on your way to creating stunning glitter holiday nails that are sure to impress.
Getting Inspired for Holiday Nail Art</hassistant
{
“title”: “Add a Touch of Magic to Your Holiday Look: The Ultimate Guide to Glitter Holiday Nails
Related Posts