Why Sparkly Winter Nails Are a Must-Have
Winter is a time for cozy sweaters, hot chocolate, and sparkly nails. There’s something about the cold weather that makes us want to add a little extra glamour to our look, and sparkly winter nails are the perfect way to do just that. Not only are they a fun and festive way to express your personality, but they’re also a great way to add some extra shine to your winter wardrobe.
Choosing the Right Sparkly Nail Look
When it comes to sparkly winter nails, the possibilities are endless. Here are a few of our favorite ideas:
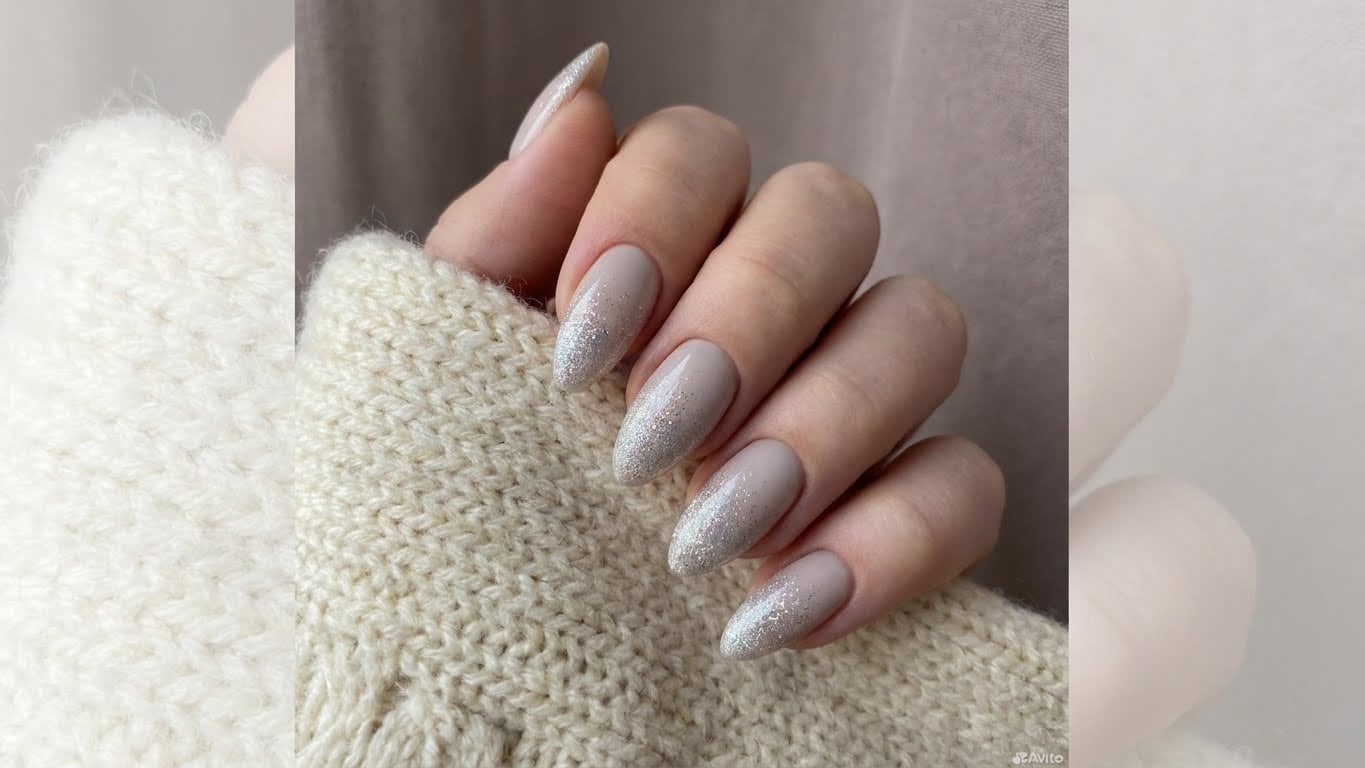
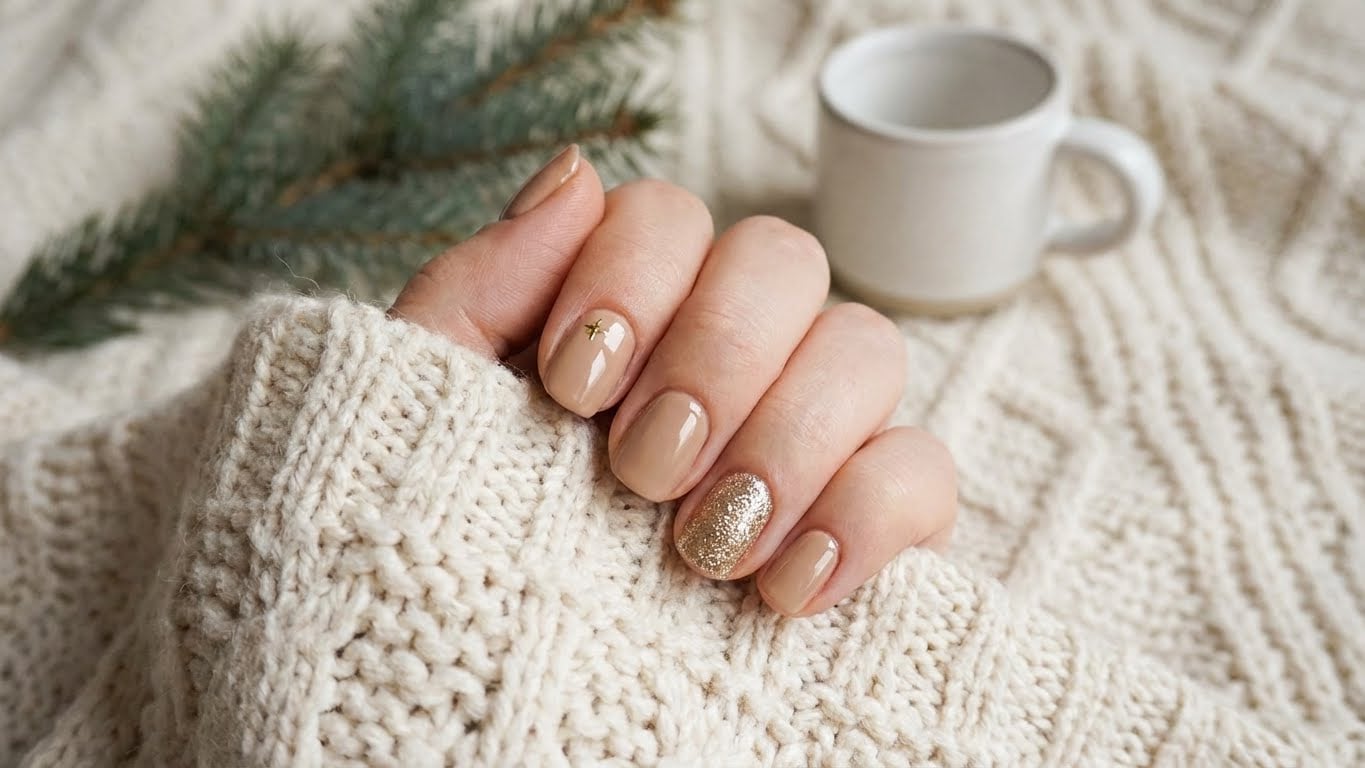
* Blingy Glitter Tips: Add some extra sparkle to your tips with a glitter topcoat or by applying individual glitter pieces to the end of your nails.
* Shimmering Holographic Nails: Try a holographic polish for a shimmery, 3D effect that’s sure to turn heads.
* Glitter Ombre Nails: Gradate from a clear base coat to a glitter topcoat for a fun and edgy look.
* Chrome Nails: Add some high-shine glamour to your look with a chrome polish.
* Nail Art: Get creative and add some snowflakes, holly, or other winter-themed designs to your nails.
Materials and Tools You’ll Need
To achieve these sparkly winter nail looks, you’ll need the following materials and tools:
* Nail polish remover
* Base coat
* Glitter polish
* Top coat
* Nail art brushes
* Nail guides
* Glue for nail art
Step-by-Step Guide to Sparkly Winter Nails
Here’s a step-by-step guide to help you achieve your sparkly winter nail look:
1. Prep your nails by removing old polish and applying a base coat.
2. Choose your sparkly polish and apply it to your nails, using a steady hand to avoid drips and unevenness.
3. If using a glitter polish, let it dry completely before applying a top coat.
4. If using a holographic or chrome polish, apply it to clean, dry nails and let it dry completely.
5. To add a glitter ombre effect, start by applying a clear base coat and then gradate the glitter polish down to the tips of your nails.
6. If using nail art, apply glue to your design and let it dry before painting over it with a top coat.
7. Finish off with a top coat to seal in your design and add extra shine.
Common Mistakes to Avoid
Here are a few common mistakes to avoid when trying to achieve a sparkly winter nail look:
* Using too much polish: This can lead to a thick, uneven finish that’s not very sparkly.
* Not letting the polish dry: This can cause the polish to smudge or chip, ruining your design.
* Not using a base coat: This can cause your polish to stain your nails, making them look dull and unhealthy.
* Not using a top coat: This can cause your design to chip or fade quickly, losing its sparkle.
Conclusion
Sparkly winter nails are a fun and easy way to add some extra glamour to your winter wardrobe. With these simple steps and tips, you can achieve a variety of sparkly looks that are perfect for the cold months. Don’t be afraid to get creative and try out new designs – after all, that’s what winter is all about!
FAQ
Q: What’s the best way to remove glitter polish?</hassistant
{
“title”: “Sparkle Up Your Winter Look: The Ultimate Guide to Sparkly Winter Nails

Related Posts