## Introduction
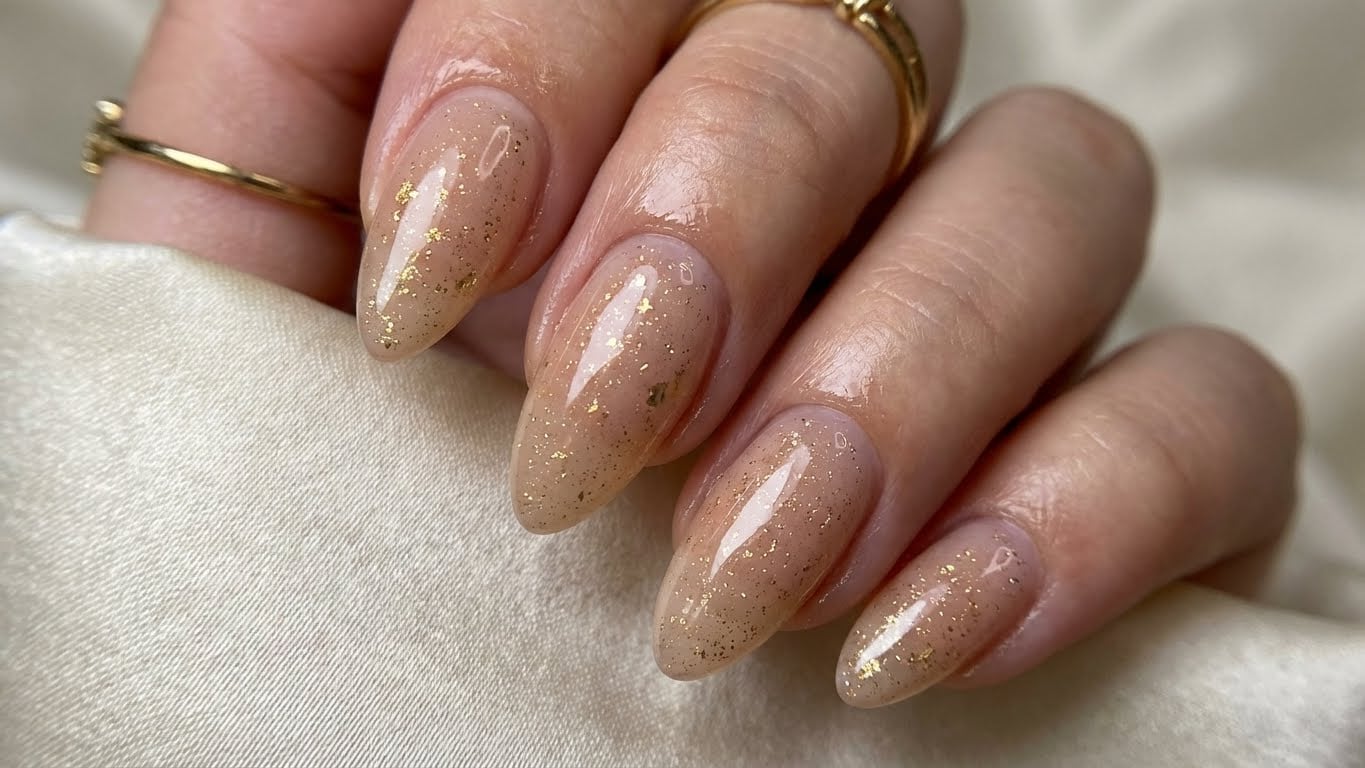
The holiday season is upon us, and what better way to get into the festive spirit than with a show-stopping manicure? Gold Christmas nails are a classic, elegant, and sophisticated look that’s perfect for the most magical time of the year. In this guide, we’ll take you through a step-by-step process on how to achieve this stunning look at home.
## Preparation is Key
Before you start, make sure you have the following materials:
* A base coat to protect your nails
* A nail polish remover to clean up any mistakes
* A nail file to shape your nails
* A buffer to smooth out ridges
* A cuticle pusher to push back your cuticles
* A nail polish in a gold shade (we recommend a metallic or glitter finish)
* A top coat to seal in the color
* Nail guides or stickers to create a precise shape
## Step 1: Prep Your Nails
Begin by removing any old nail polish and cleaning your nails with a nail polish remover. Use a nail file to shape your nails to your desired shape, and then use a buffer to smooth out any ridges. This will ensure your nails are smooth and even.
## Step 2: Push Back Your Cuticles
Use a cuticle pusher to gently push back your cuticles. Be careful not to push too hard, as this can cause bleeding or irritation. Apply a small amount of cuticle oil to the area to keep it moisturized.
## Step 3: Apply a Base Coat
Apply a thin layer of clear base coat to each nail. This will help protect your nails from staining and create a smooth surface for your polish to adhere to.
## Step 4: Apply a Gold Polish
Now it’s time for the fun part! Apply a thin layer of gold polish to each nail, starting at the center and working your way out towards the tips. Use a steady hand and take your time to ensure an even coat. Repeat this process until you achieve the desired color intensity.
## Step 5: Add a Top Coat
Once you’ve achieved the desired color, apply a thin layer of clear top coat to seal in the color and add shine.
## Step 6: Finishing Touches
Use nail guides or stickers to create a precise shape and add a touch of elegance to your nails. Finish off by applying a small amount of clear top coat to seal in the shape and add extra shine.
## Tips and Variations
* To add some extra sparkle to your nails, try adding a layer of clear glitter polish on top of your gold polish.
* Experiment with different gold shades to find the perfect match for your skin tone.
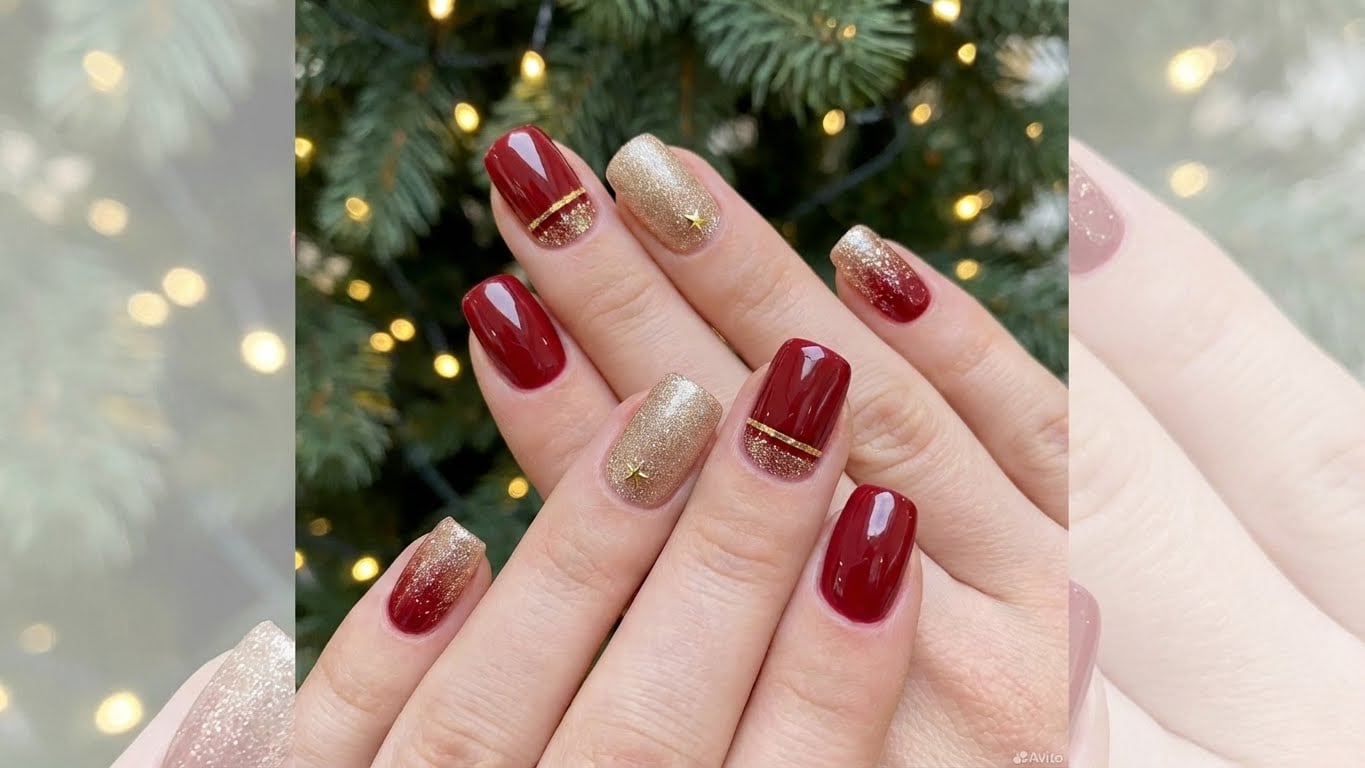
* Consider adding some festive holiday-themed nail art to give your nails an extra special touch.
* If you’re struggling to get a precise shape, try using nail guides or stickers to help you achieve a more precise line.
## FAQ
* Q: How do I choose the right gold polish for my nails?
A: Choose a gold polish that complements your skin tone. If you have a cool skin tone, look for a blue-based gold polish. If you have a warm skin tone, look for a yellow-based gold polish.
* Q: Can I use a gold nail polish without a base coat?
A: No, it’s essential to use a base coat to protect your nails from staining and create a smooth surface for your polish to adhere to.
* Q: How long does gold polish last?
A: Gold polish can last anywhere from 5-7 days, depending on the quality of the polish and how well you care for your nails.
* Q: Can I get gold Christmas nails done at a salon?
A: Yes, you can get gold Christmas nails done at a salon. However, this can be a more expensive option, and the results may vary depending on the salon and the technician.
## Conclusion
With these simple steps, you can create stunning gold Christmas nails that are sure to impress. Remember to take your time, be patient, and don’t be afraid to experiment with different shades and techniques. Happy nailing!
FAQ
How do I choose the right gold polish for my nails?
Choose a gold polish that complements your skin tone. If you have a cool skin tone, look for a blue-based gold polish. If you have a warm skin tone, look for a yellow-based gold polish.

Can I use a gold nail polish without a base coat?
No, it's essential to use a base coat to protect your nails from staining and create a smooth surface for your polish to adhere to.
How long does gold polish last?
Gold polish can last anywhere from 5-7 days, depending on the quality of the polish and how well you care for your nails.
Can I get gold Christmas nails done at a salon?
Yes, you can get gold Christmas nails done at a salon. However, this can be a more expensive option, and the results may vary depending on the salon and the technician.
Related Posts