### Step 1: Prepare Your Nails
Before starting your gold Christmas nail design, make sure your nails are in good condition. Remove any old nail polish and push back your cuticles. If you have any ridges or imperfections, use a nail file to smooth them out. It’s also essential to clean your nails with nail cleanser to ensure a smooth application of polish.
### Step 2: Choose Your Nail Polish
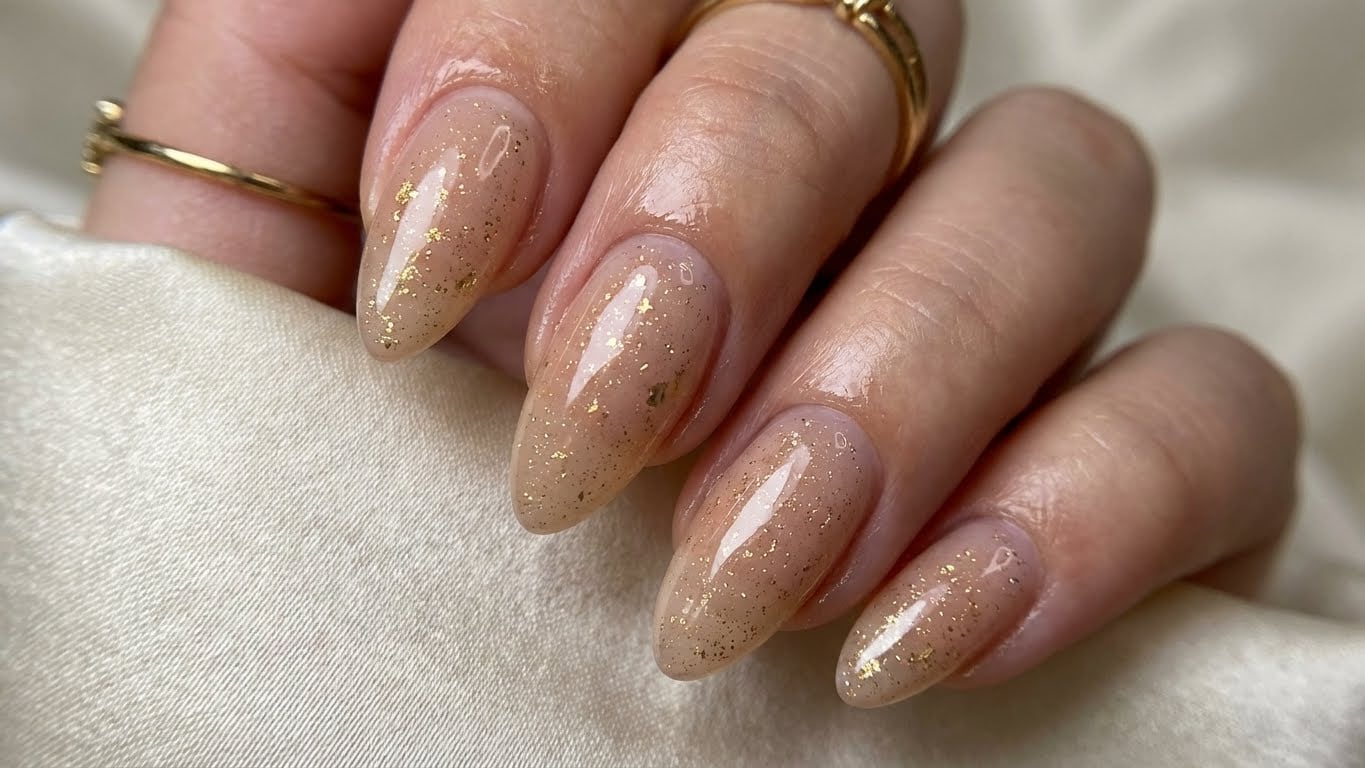
For a stunning gold Christmas nail design, you’ll need a high-quality gold nail polish. Look for a polish that is highly pigmented and has a smooth, even finish. You can choose from a range of gold shades, from classic champagne to rich, metallic gold. Some popular options include Essie’s ‘Golden Girl’ and Sally Hansen’s ‘Insta-Dri Gold Rush’.
### Step 3: Apply a Base Coat
To ensure your gold nail polish lasts all season, apply a base coat before starting. A good base coat will help to protect your nails from staining and promote a smooth application of polish. Look for a base coat that is formulated with ingredients like keratin or calcium to help strengthen your nails.
### Step 4: Apply the Gold Nail Polish
Now it’s time to apply the gold nail polish. Start by applying a thin layer to each nail, making sure to cover the entire surface. Use a steady hand and work in sections to avoid streaks or uneven application. If you’re using a gel polish, use a UV or LED light to cure each layer.
### Step 5: Add a Top Coat
Once you’ve applied the gold nail polish, add a top coat to seal and protect your design. A good top coat will help to extend the wear of your polish and prevent chipping or fading. Look for a top coat that is formulated with ingredients like silicones or resins to help lock in moisture and shine.
### Step 6: Add a Touch of Holiday Cheer
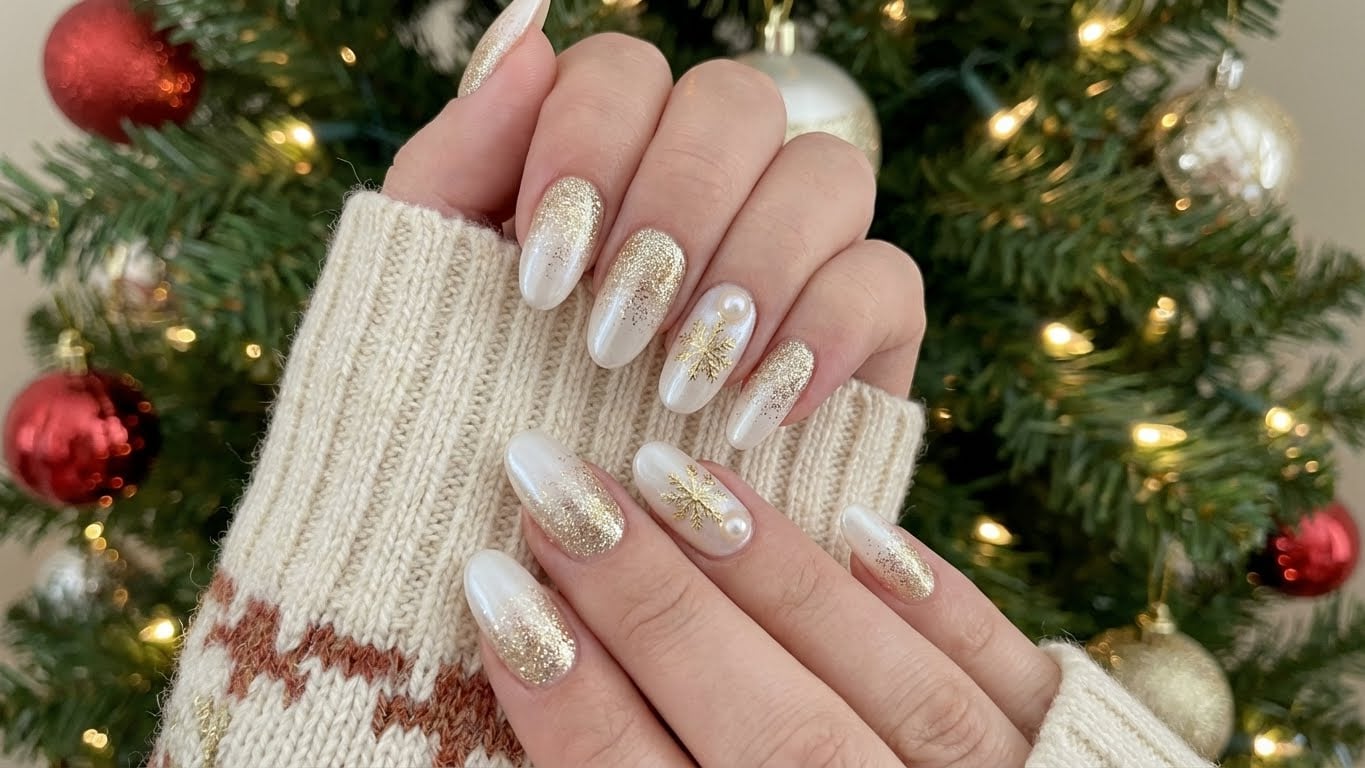
To make your gold Christmas nails stand out, add a touch of holiday cheer with some festive nail art. You can use nail stickers, rhinestones, or even a small ornament to create a unique and eye-catching design. Some popular nail art ideas for Christmas include snowflakes, trees, and bells.
### Tips and Tricks
* To prevent your gold nail polish from chipping or fading, make sure to apply a top coat and avoid using your nails as tools.
* If you’re using a gel polish, use a UV or LED light to cure each layer for a longer-lasting finish.
* To add some extra shine to your gold Christmas nails, use a nail polish top coat with a built-in shine booster.
#### Frequently Asked Questions
{
“faq”: [
{
“q”: “What type of nail polish is best for a gold Christmas nail design?”,
“a”: “For a stunning gold Christmas nail design, look for a high-quality gold nail polish that is highly pigmented and has a smooth, even finish.”
},
{
“q”: “How do I prevent my gold nail polish from chipping or fading?”,
“a”: “To prevent your gold nail polish from chipping or fading, make sure to apply a top coat and avoid using your nails as tools.”
},
{
“q”: “Can I use a gel polish for my gold Christmas nails?”,
“a”: “Yes, you can use a gel polish for your gold Christmas nails. Just make sure to use a UV or LED light to cure each layer for a longer-lasting finish.”
},
{
“q”: “How do I add a touch of holiday cheer to my gold Christmas nails?”,
“a”: “To add a touch of holiday cheer to your gold Christmas nails, use nail stickers, rhinestones, or even a small ornament to create a unique and eye-catching design.”
}
]
}
Related Posts