Winter is here, and with it comes the perfect excuse to get creative with your nail game. There’s nothing like a set of sparkly winter nails to brighten up a cold winter’s day. But, if you’re new to nail art or just looking for some inspiration, don’t worry – we’ve got you covered.

Prepare Your Nails for Sparkle
Before you start getting creative with your nails, you need to make sure they’re in good condition. This means giving them a good buffing to remove any ridges or imperfections, and applying a base coat to help your polish adhere. You can also use a nail strengthener to help fortify your nails and prevent breakage.
Choose the Right Polish
When it comes to sparkly winter nails, the right polish is key. Look for a polish that’s specifically designed for nail art or glitter finishes. These polishes usually have a thicker consistency and are easier to work with than regular polish. You can also look for polishes that are labeled as ‘glitter’ or ‘sparkle’ – these will give you the most dramatic effect.
Get Creative with Nail Art
Nail art is a great way to add some extra sparkle to your winter nails. You can use nail stickers, stampers, or even just a dotting tool to create intricate designs. If you’re feeling really adventurous, you can even try your hand at freehand nail art. Just remember to practice makes perfect, so don’t be discouraged if it takes a few tries to get the hang of it.
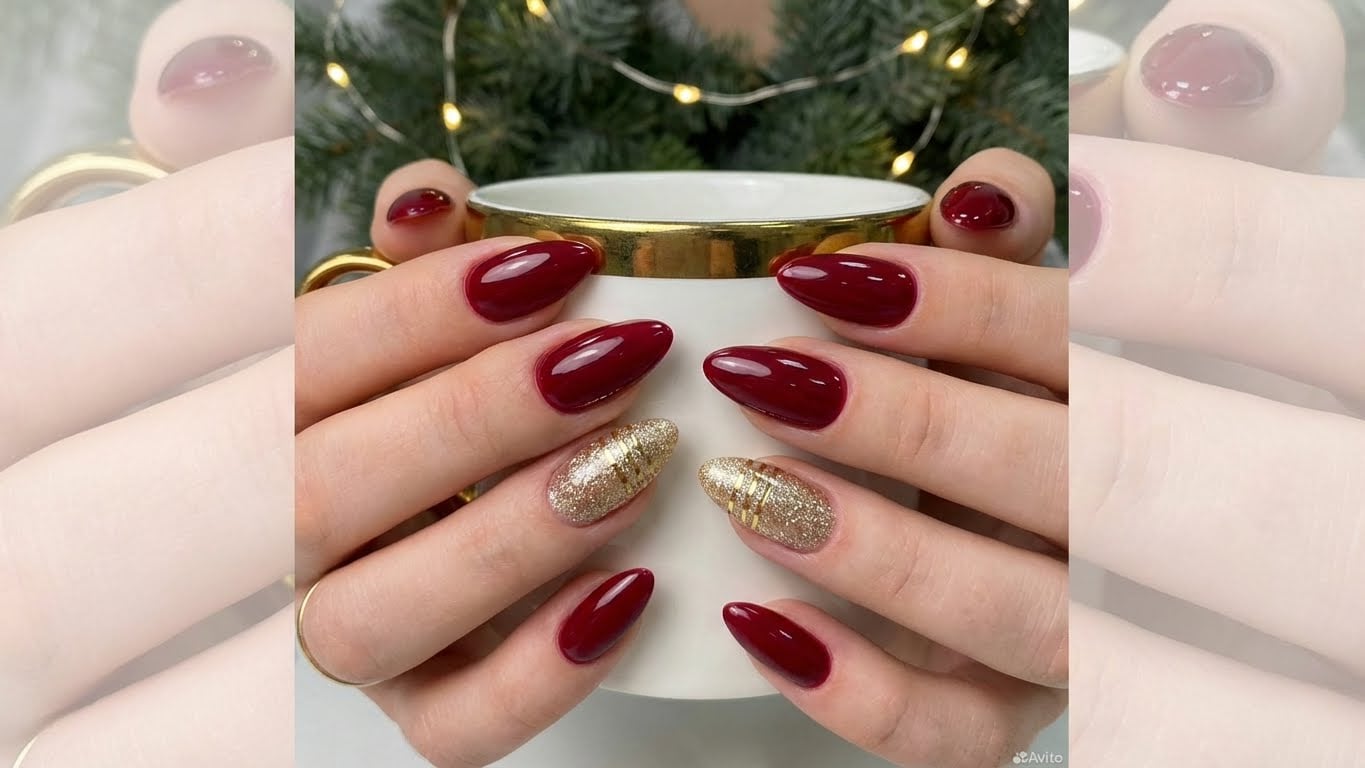
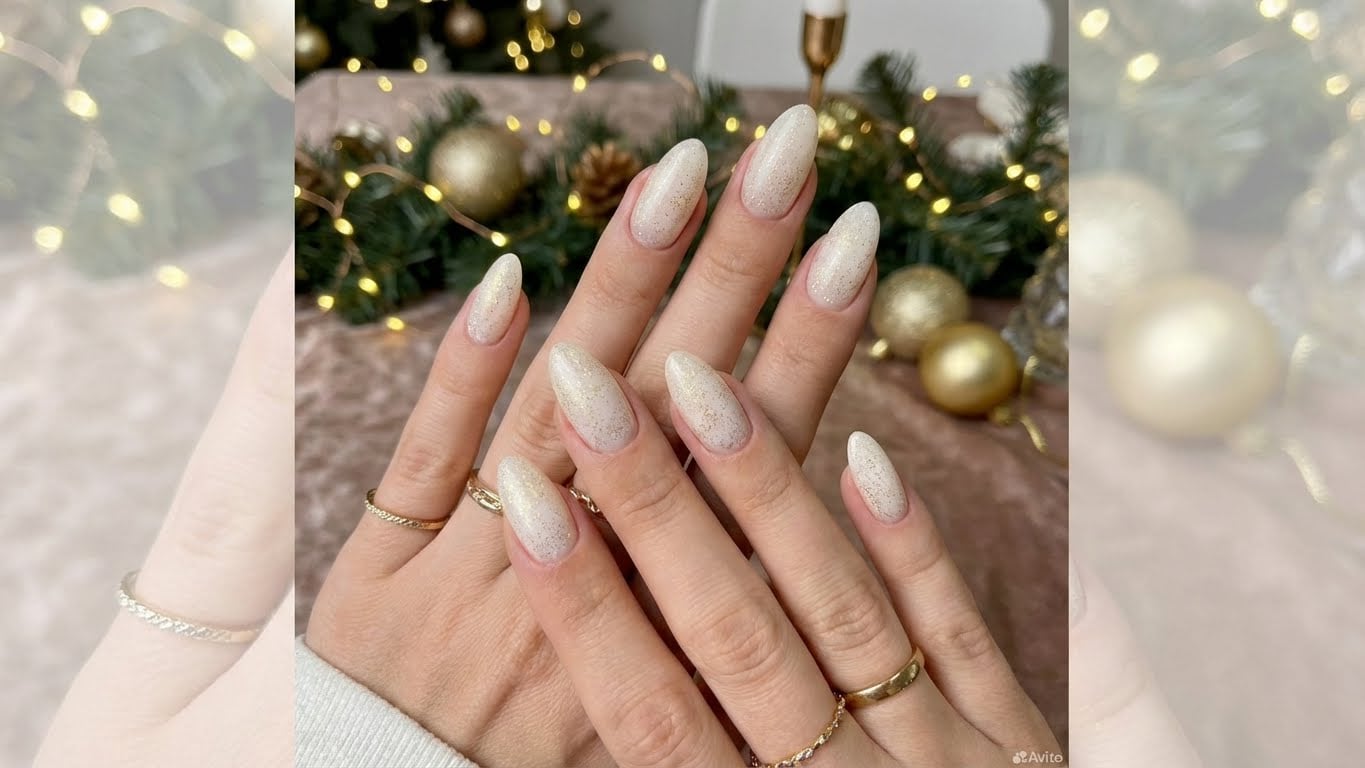
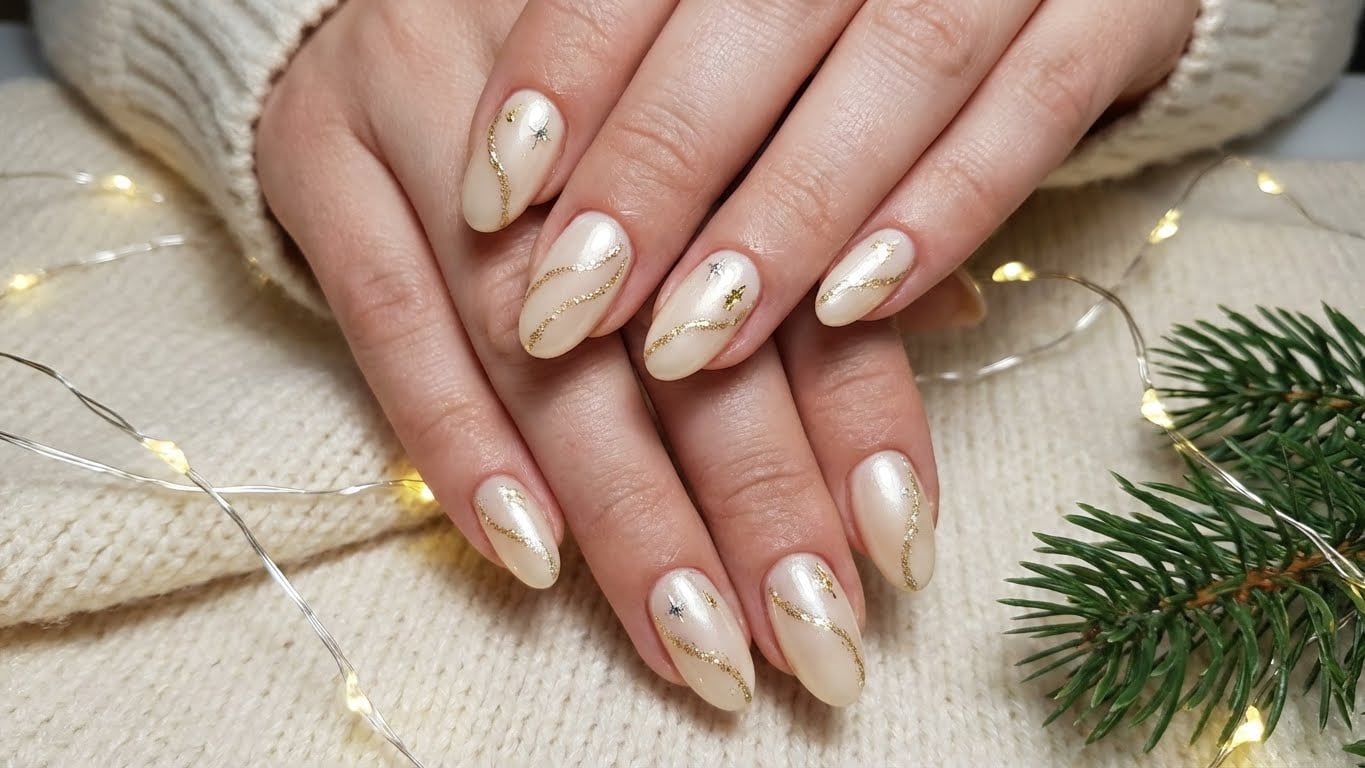
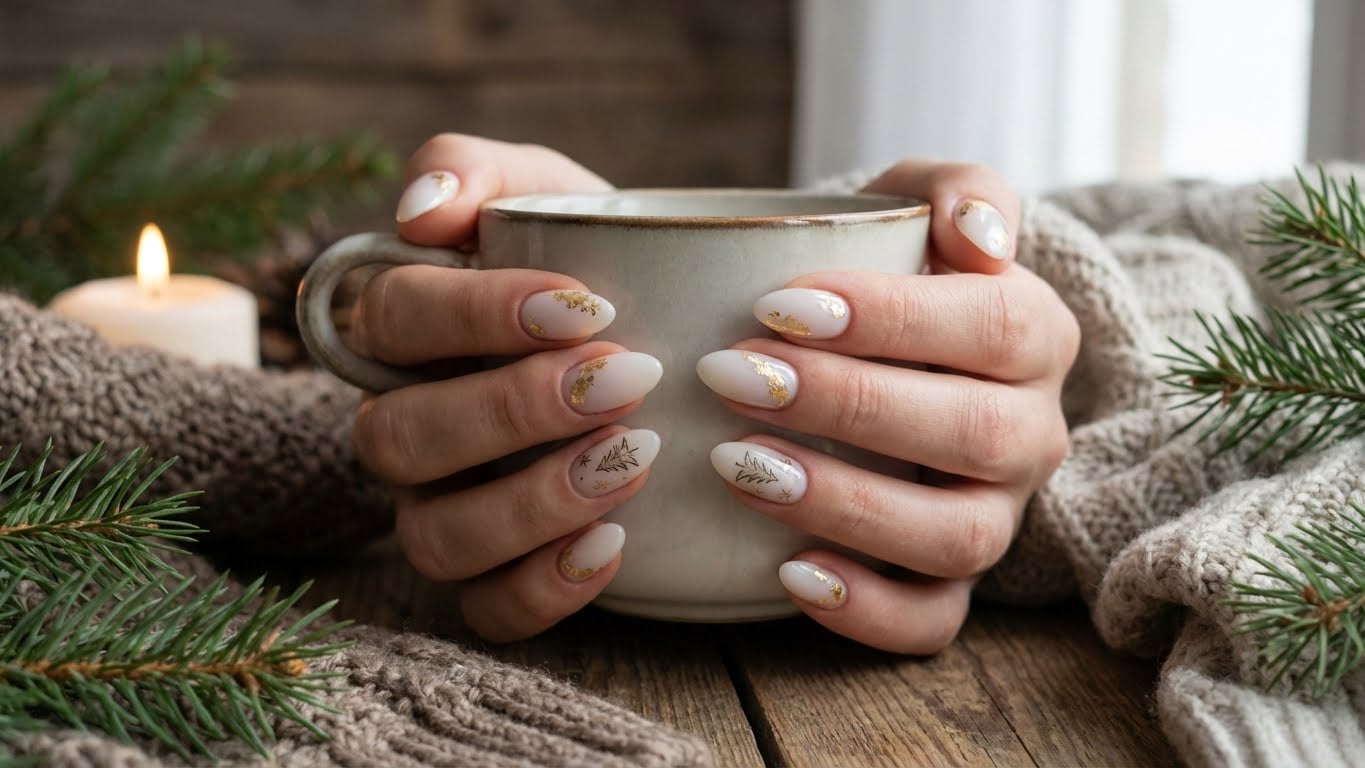
Sparkly Nail Art Ideas
- Celestial nails: Use a blue or purple polish as the base, and add some star-shaped glitter on top.
- Winter wonderland: Create a snowy scene on your nails using white and blue polish, and add some glitter snowflakes on top.
- Glitter gradient: Use a glitter polish as the base, and add a gradient effect by layering different colors on top.
- Glitter accents: Use a clear polish as the base, and add some glitter accents in the shape of snowflakes, stars, or other winter-themed shapes.
Finishing Touches
Once you’ve finished your nail art, it’s time to add some finishing touches. This means applying a top coat to seal in your design, and adding some sparkle with a glitter top coat. You can also use a nail lamp to help dry your polish and prevent smudging.
Common Mistakes to Avoid
- Not using a base coat: Failing to apply a base coat can cause your polish to chip or flake off prematurely.
- Not using a top coat: Failing to apply a top coat can cause your polish to smudge or wear off quickly.
- Using the wrong polish: Using a polish that’s not designed for nail art or glitter finishes can be difficult to work with and may not give you the desired effect.
- Not being patient: Nail art can be time-consuming, so be patient and don’t rush the process.
Conclusion
With these tips and tricks, you’ll be well on your way to achieving the perfect sparkly winter nails. Remember to have fun and be creative – it’s all about experimenting and trying new things. And don’t be afraid to make mistakes – they’re all part of the learning process.
FAQs
{
“faq”: [
{“q”: “What’s the best way to prepare my nails for sparkly winter nails?”, “a”: “To prepare your nails for sparkly winter nails, make sure to buff them to remove any ridges or imperfections, and apply a base coat to help your polish adhere.”},
{“q”: “What’s the difference between a glitter polish and a regular polish?”, “a”: “Glitter polishes are specifically designed for nail art or glitter finishes and have a thicker consistency, making them easier to work with than regular polish.”},
{“q”: “How do I create intricate designs on my nails?”, “a”: “You can use nail stickers, stampers, or even just a dotting tool to create intricate designs on your nails.”},
{“q”: “What’s the best way to add sparkle to my winter nails?”, “a”: “You can use a glitter polish as the base, add a gradient effect by layering different colors on top, or use glitter accents in the shape of snowflakes, stars, or other winter-themed shapes.”}
]
}
Related Posts