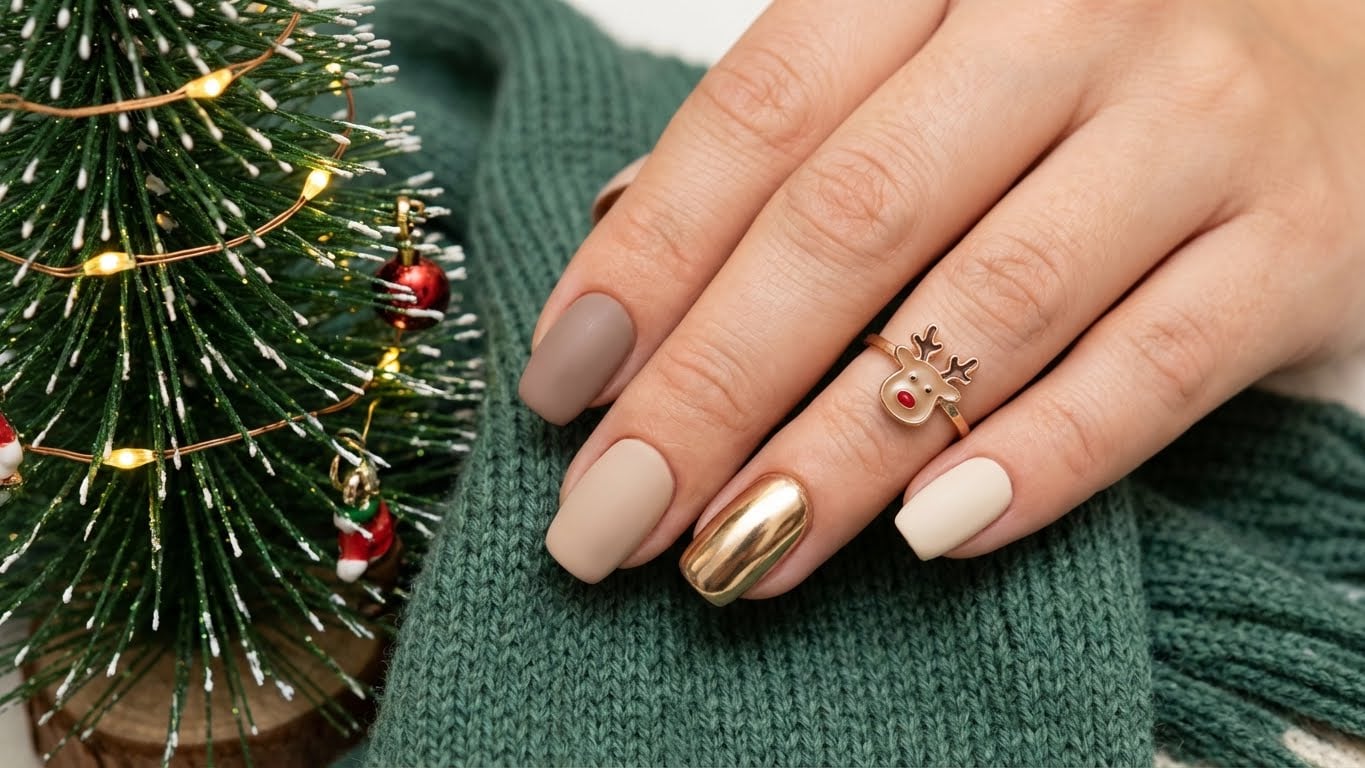
As the holiday season approaches, it’s time to get creative with your nail art. This year, why not try something new and opt for gold Christmas nails? Not only do they add a touch of elegance to your festive look, but they’re also a great conversation starter.
Materials Needed for Gold Christmas Nails
To get started, you’ll need the following materials:
- Base coat
- Nail polish in a gold shade
- Nail polish in a red or green shade (optional)
- Top coat
- Nail art brushes
- Nail dotting tool
- Scotch tape
- Nail stickers or nail guides (optional)
Step 1: Prep Your Nails
Before you start creating your gold Christmas nails, make sure your nails are prepped and ready. Remove any old nail polish and push back your cuticles. This will ensure a smooth and even application of the nail polish.
Step 2: Apply Base Coat
Apply a thin layer of clear base coat to each of your nails. This will help protect your nails from staining and create a smooth surface for the nail polish to adhere to.
Step 3: Apply Gold Nail Polish
Using a nail polish brush, apply a thin layer of gold nail polish to each of your nails. Start at the center of your nail and work your way outwards, making sure to cover the entire nail surface. Repeat this process until you achieve the desired coverage.
Adding a Red or Green Accent
For an extra festive touch, you can add a red or green accent to your gold Christmas nails. Using a nail art brush, paint a small dot of red or green nail polish onto the tip of each nail. You can also use a nail dotting tool to create a more intricate design.
Step 4: Add Nail Art Details
Using a nail art brush, add any additional details to your design. This could include holly leaves, snowflakes, or other festive shapes.
Step 5: Seal with Top Coat
Once you’ve completed your design, apply a thin layer of clear top coat to each nail. This will help seal in the nail polish and prevent chipping.
Finishing Touches
Finally, add any finishing touches to your design. This could include applying nail stickers or nail guides to create a more intricate design.
FAQs about Gold Christmas Nails
Q: What type of gold nail polish should I use?
A: You can use a metallic, chrome, or holographic gold nail polish to achieve a unique and eye-catching look.
Q: Can I use glitter nail polish instead of gold nail polish?
A: Yes, you can use glitter nail polish instead of gold nail polish for a more festive and sparkly look.
Q: How do I remove gold nail polish from my nails?
A: To remove gold nail polish, use a nail polish remover and gently scrub the polish off with a cotton swab.
Q: Can I use nail stickers or nail guides to create a more intricate design?
A: Yes, you can use nail stickers or nail guides to create a more intricate design. Simply apply the sticker or guide to your nail and paint over it with nail polish.
FAQ
What type of gold nail polish should I use?
You can use a metallic, chrome, or holographic gold nail polish to achieve a unique and eye-catching look.
Can I use glitter nail polish instead of gold nail polish?
Yes, you can use glitter nail polish instead of gold nail polish for a more festive and sparkly look.
How do I remove gold nail polish from my nails?
To remove gold nail polish, use a nail polish remover and gently scrub the polish off with a cotton swab.
Can I use nail stickers or nail guides to create a more intricate design?
Yes, you can use nail stickers or nail guides to create a more intricate design. Simply apply the sticker or guide to your nail and paint over it with nail polish.
Related Posts