As the holiday season approaches, it’s time to get creative with your nail art. This year, why not try something truly special – glitter holiday nails? In this comprehensive guide, we’ll walk you through the steps to achieve a show-stopping look that’s sure to make you stand out.
Why Glitter Holiday Nails?
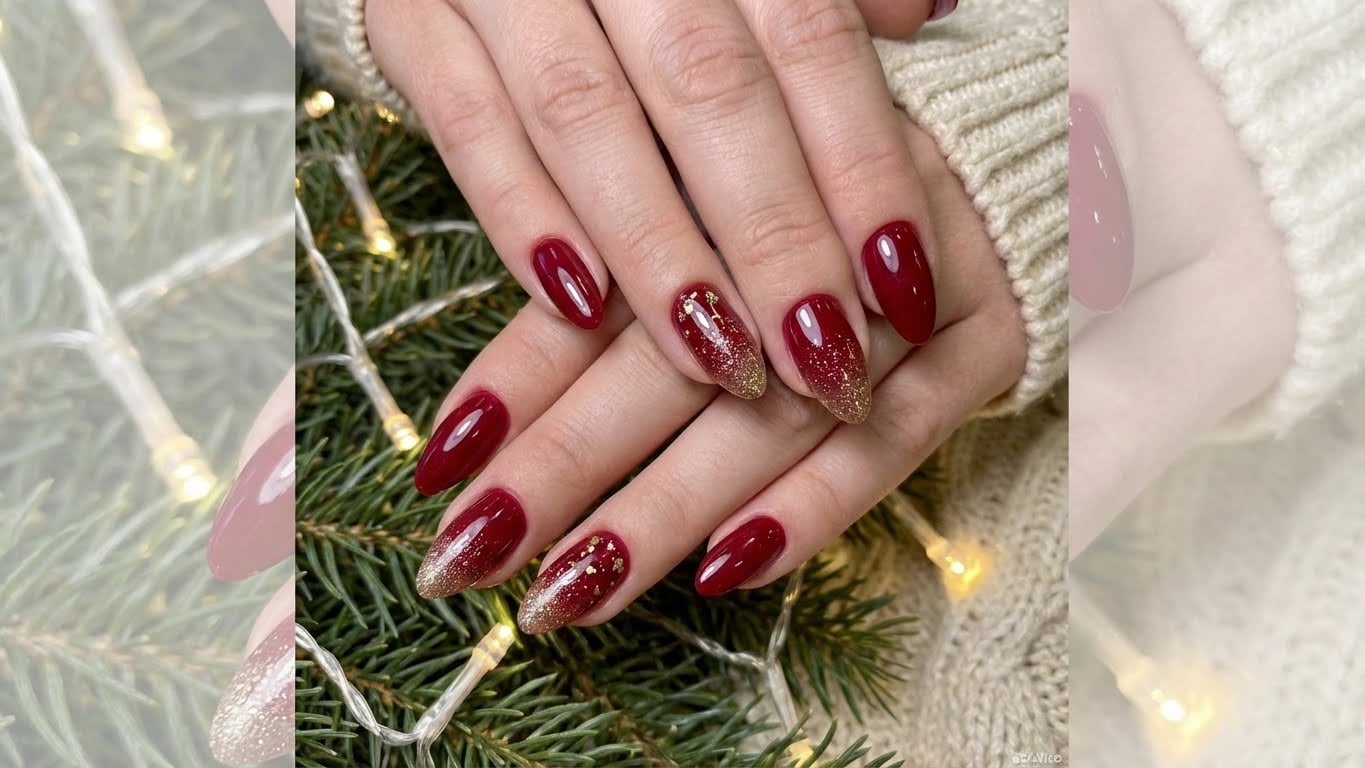
Glitter holiday nails are the perfect way to add some sparkle to your festive look. Whether you’re attending a holiday party or just want to feel like a million bucks, these nails are sure to impress. Plus, they’re a great way to get into the holiday spirit – who doesn’t love a little bit of glitter?
Gather Your Supplies
Before you can start creating your glitter holiday nails, you’ll need to gather a few supplies. Here’s what you’ll need:
- Nail polish remover
- Nail clippers
- Nail file
- Nail buffer
- Base coat
- Glitter polish
- Top coat
- Nail glue (optional)
Step 1: Prep Your Nails
Before you can apply your glitter polish, you’ll need to prep your nails. Start by removing any old nail polish using a nail polish remover. Then, use nail clippers to trim your nails to your desired length. Use a nail file to shape your nails, and a nail buffer to smooth out any ridges.
Step 2: Apply Base Coat
Next, apply a base coat to protect your nails and help your glitter polish adhere. Choose a clear base coat that’s specifically designed for use with glitter polish.
Step 3: Apply Glitter Polish
Now it’s time to apply your glitter polish. Choose a glitter polish that’s specifically designed for use on nails, and apply it in thin coats, allowing each coat to dry completely before applying the next. You can use a nail polish brush to apply the polish, or try using a dotting tool to create a more intricate design.
Step 4: Add Extra Glitter (Optional)
Want to add even more sparkle to your glitter holiday nails? Try using nail glue to attach some extra glitter to your nails. This can be especially fun if you’re using a glitter polish with a specific design or pattern.
Step 5: Finish with Top Coat
Finally, apply a top coat to seal in your glitter polish and add a glossy finish. Choose a top coat that’s specifically designed for use with glitter polish, and apply it in thin coats, allowing each coat to dry completely before applying the next.
Get Creative with Glitter Holiday Nails
The great thing about glitter holiday nails is that you can get creative and make them your own. Try using different colors and patterns, or add some extra sparkle with nail glue. You can even use glitter polish to create a fun design or pattern on your nails.
FAQs
Got questions about glitter holiday nails? Here are some frequently asked questions:
-
Q: How long does glitter polish last?
A: Glitter polish can last anywhere from 5 to 7 days, depending on the quality of the polish and how well you care for your nails.
Conclusion
Glitter holiday nails are a fun and easy way to add some sparkle to your festive look. With these steps, you can create a show-stopping look that’s sure to impress. Plus, with a little creativity, you can make your glitter holiday nails truly special.
Related Posts