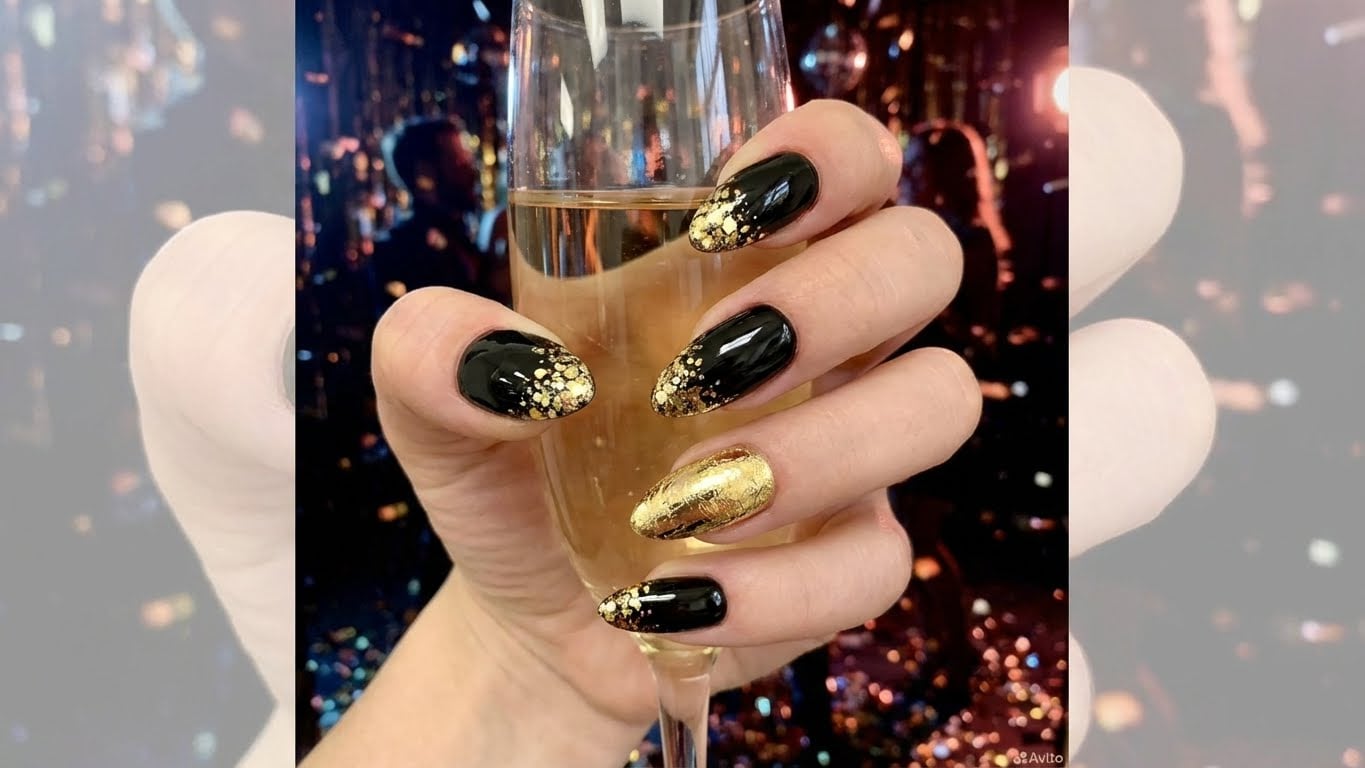
It’s the most wonderful time of the year, and what better way to get into the holiday spirit than with some festive glitter nail art? In this article, we’ll show you how to create stunning glitter holiday nails that will make you shine like a star.

Why Glitter Nails Are Perfect for the Holidays
Glitter nail art is a timeless trend that never goes out of style. It’s perfect for the holidays because it adds a touch of magic and sparkle to your look. Plus, it’s a great way to get creative and express yourself through nail art.
Gather Your Supplies
Before you start creating your glitter holiday nails, make sure you have the right supplies. Here’s a list of what you’ll need:
- Nail polish remover
- Cleansing wipes
- Base coat
- Glitter nail polish
- Top coat
- Nail art brushes
- Nail dotting tool
- Glitter
Step 1: Prep Your Nails
Before you start painting, make sure your nails are clean and dry. Remove any old nail polish and push back your cuticles. This will help create a smooth surface for painting.
Step 2: Apply Base Coat
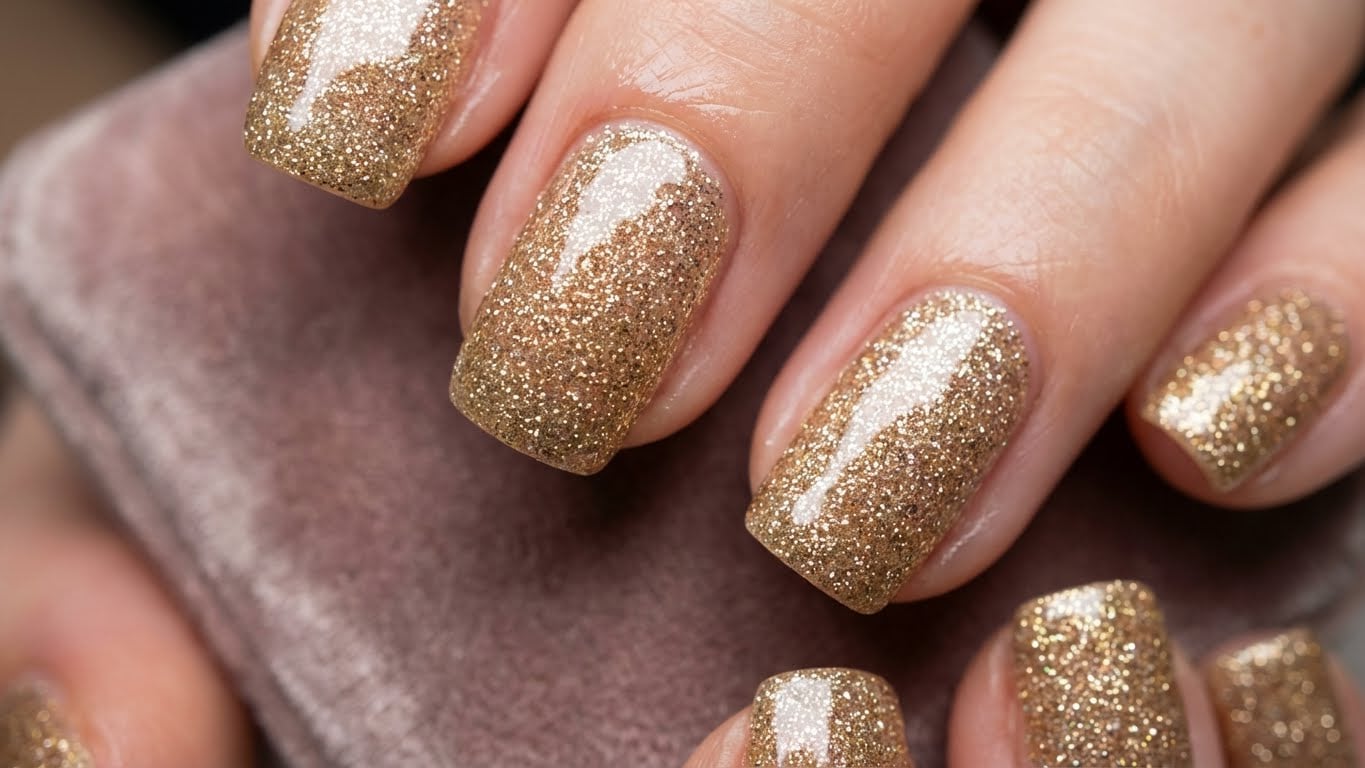
Apply a thin layer of clear base coat to each nail. This will help protect your nails and create a smooth surface for the glitter polish.
Step 3: Apply Glitter Polish</hassistant
{
“title”: “Get Glamorous with Glitter Holiday Nails: A Step-by-Step Guide
Related Posts