Introduction to Glitter Holiday Nails
Holiday season is just around the corner, and what better way to get into the festive spirit than with a dazzling set of glitter holiday nails? Whether you’re a nail art newbie or a seasoned pro, this guide will walk you through a step-by-step tutorial on how to create a stunning glitter nail design that’s sure to turn heads.

Materials Needed
To get started, you’ll need the following materials:
- Nail polish remover
- Base coat
- Glitter nail polish
- Top coat
- Nail art brushes
- Nail dotting tool
- Glitter dust (optional)
Step 1: Prep Your Nails
Before you start getting creative, make sure your nails are prepped and ready for painting. Remove any old nail polish and give your nails a good clean with nail polish remover. Apply a base coat to protect your nails and promote even nail polish adhesion.
Step 2: Apply Glitter Nail Polish
Now it’s time to get glitzy! Apply a thin layer of glitter nail polish to your entire nail, making sure to cover the entire surface. Let it dry for a few seconds before moving on to the next step.
Step 3: Add a Second Coat
To achieve a more intense glitter effect, apply a second thin layer of glitter nail polish on top of the first coat. Let it dry completely before moving on to the next step.
Step 4: Add Glitter Dust (Optional)
If you want to add a bit more sparkle to your design, now’s the time to apply glitter dust. Using a nail art brush, gently sprinkle a small amount of glitter dust onto your nail. Be careful not to overdo it, as too much glitter can make the design look messy.
Step 5: Finish with Top Coat
Finally, apply a top coat to seal in your glitter design and add shine to your nails. Make sure to let it dry completely before handling your nails.
Tips and Variations
Here are a few tips and variations to take your glitter holiday nails to the next level:
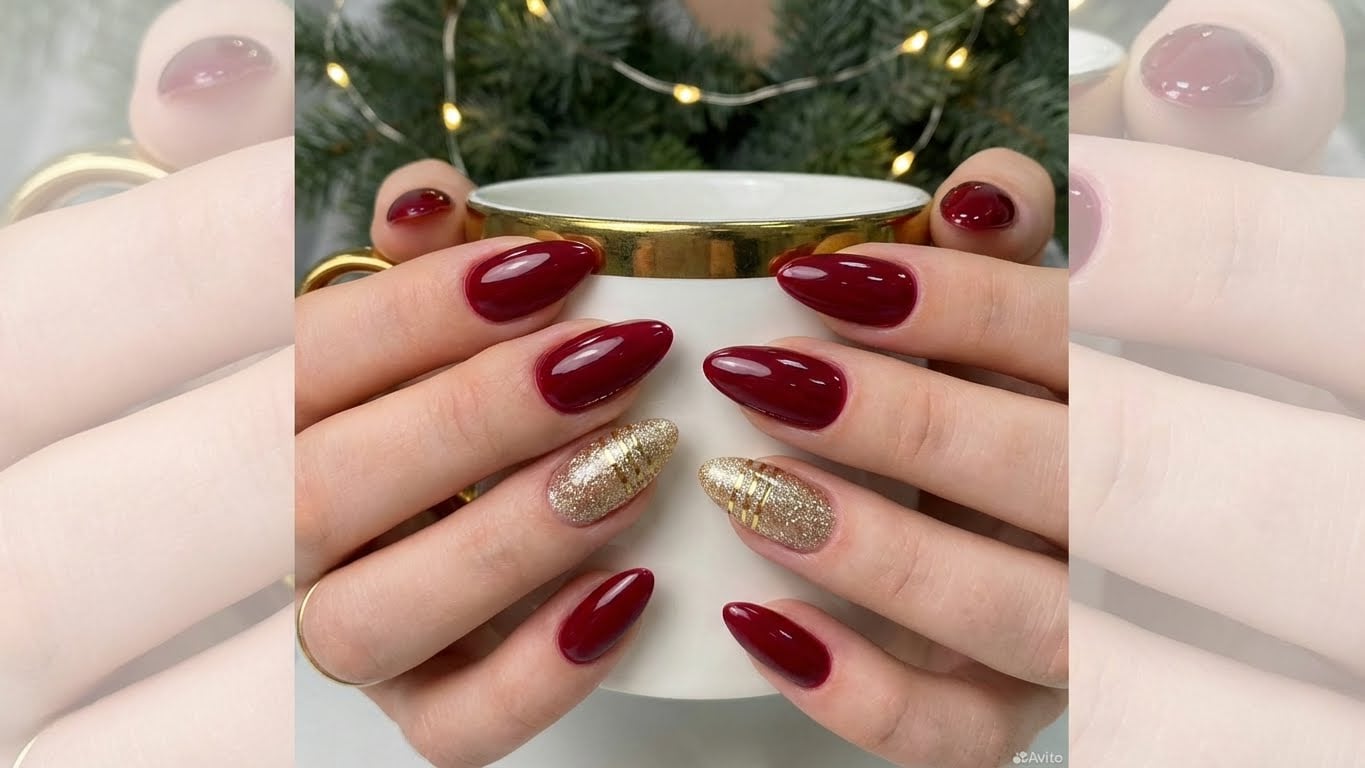
- Use different colors and shades of glitter to create a unique and eye-catching design.
- Experiment with different glitter textures, such as holographic or metallic glitter.
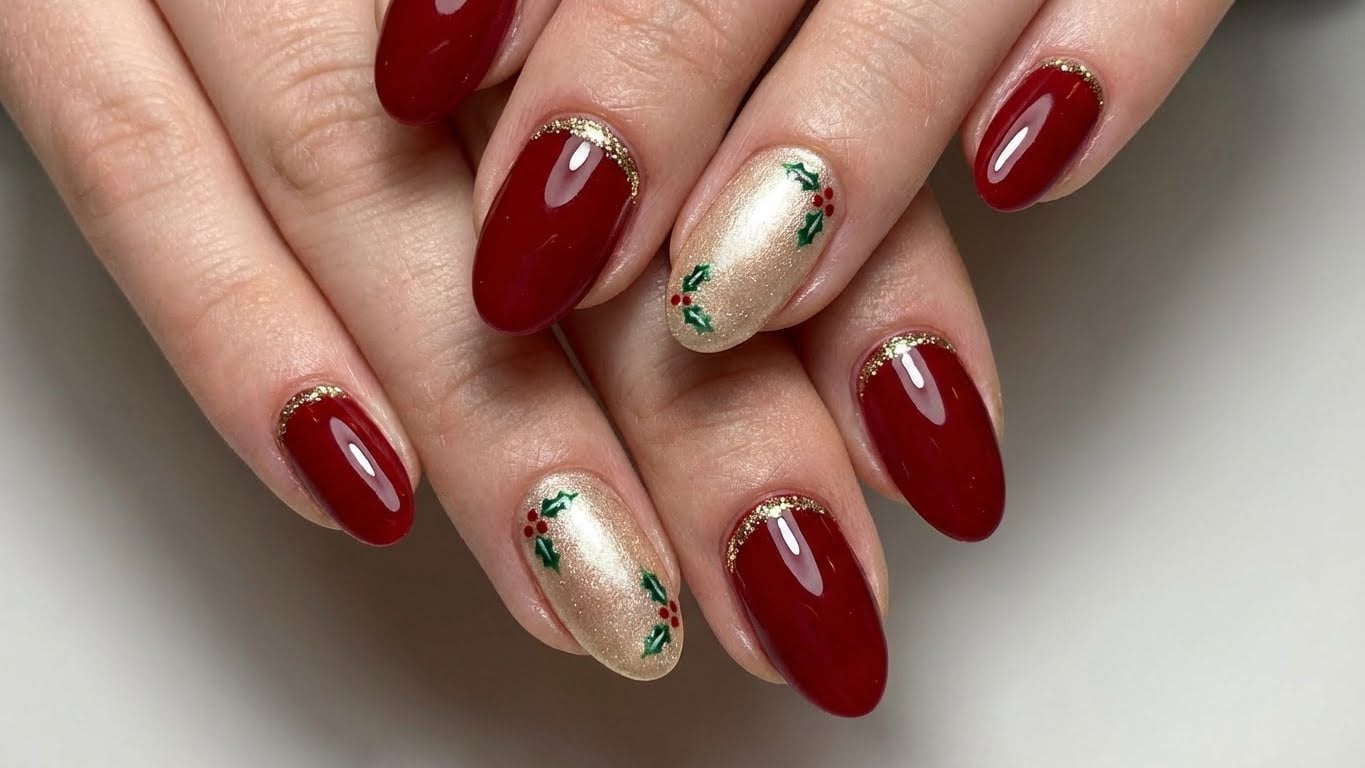
- Add a touch of elegance with a simple nail art design, such as a small bow or a sprig of holly.
Conclusion
With these simple steps and tips, you’re ready to create your own dazzling glitter holiday nails. Remember to have fun and experiment with different designs and techniques to make your nails truly unique. Happy holidays, and don’t forget to show off your sparkly nails on social media!
FAQ
-
Q: Can I use regular nail polish instead of glitter nail polish?
A: While you can use regular nail polish as a base coat, it’s best to use a specialized glitter nail polish for the most intense glitter effect.
Affiliate Links
Looking for more nail art inspiration and tips? Check out these amazing resources:
-
Nail polish remover
Get the best nail polish remover for your nail care needs on Amazon.
-
Nail art brushes
Discover the perfect nail art brushes for your next design on eBay.
-
Glitter nail polish
Get the most sparkly glitter nail polish for your holiday look on Nail Polish.
FAQ
Can I use regular nail polish instead of glitter nail polish?
While you can use regular nail polish as a base coat, it's best to use a specialized glitter nail polish for the most intense glitter effect.
Related Posts