Winter is here, and with it comes the perfect excuse to get creative with your nail art. There’s something undeniably magical about a sparkling winter nail design that can elevate your entire look and leave a lasting impression. In this article, we’ll delve into the world of dazzling winter nails, exploring the best tips, tricks, and techniques to help you achieve salon-quality results at home.
The Importance of Preparing Your Nails
Before diving into the fun part – creating your winter nail art – it’s essential to prepare your nails for the design process. This involves ensuring your nails are clean, dry, and free of any oils or lotions. You can use nail cleanser or makeup remover to wipe down your nails and remove any dirt or residue. Next, gently push back your cuticles using a cuticle pusher or an orange stick, taking care not to push too hard and cause bleeding.
Choosing the Right Nail Polish Colors
When it comes to selecting the perfect winter nail polish colors, you have a wide range of options to choose from. From classic reds and pinks to icy blues and purples, there’s a shade to suit every taste and style. Consider the overall aesthetic you’re aiming for: do you want to go for a bold, statement look or a more subtle, understated design? You can also experiment with mixing and matching different colors to create a unique, one-of-a-kind effect.
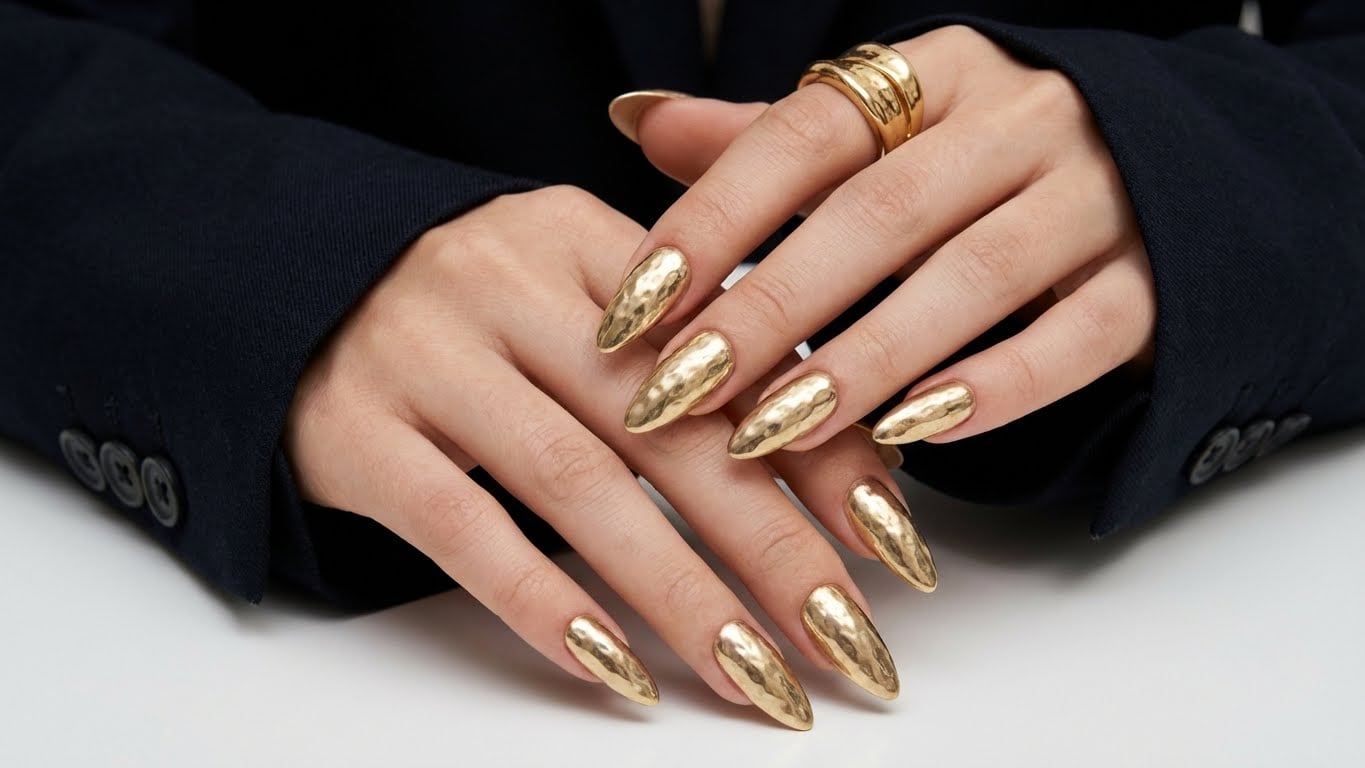
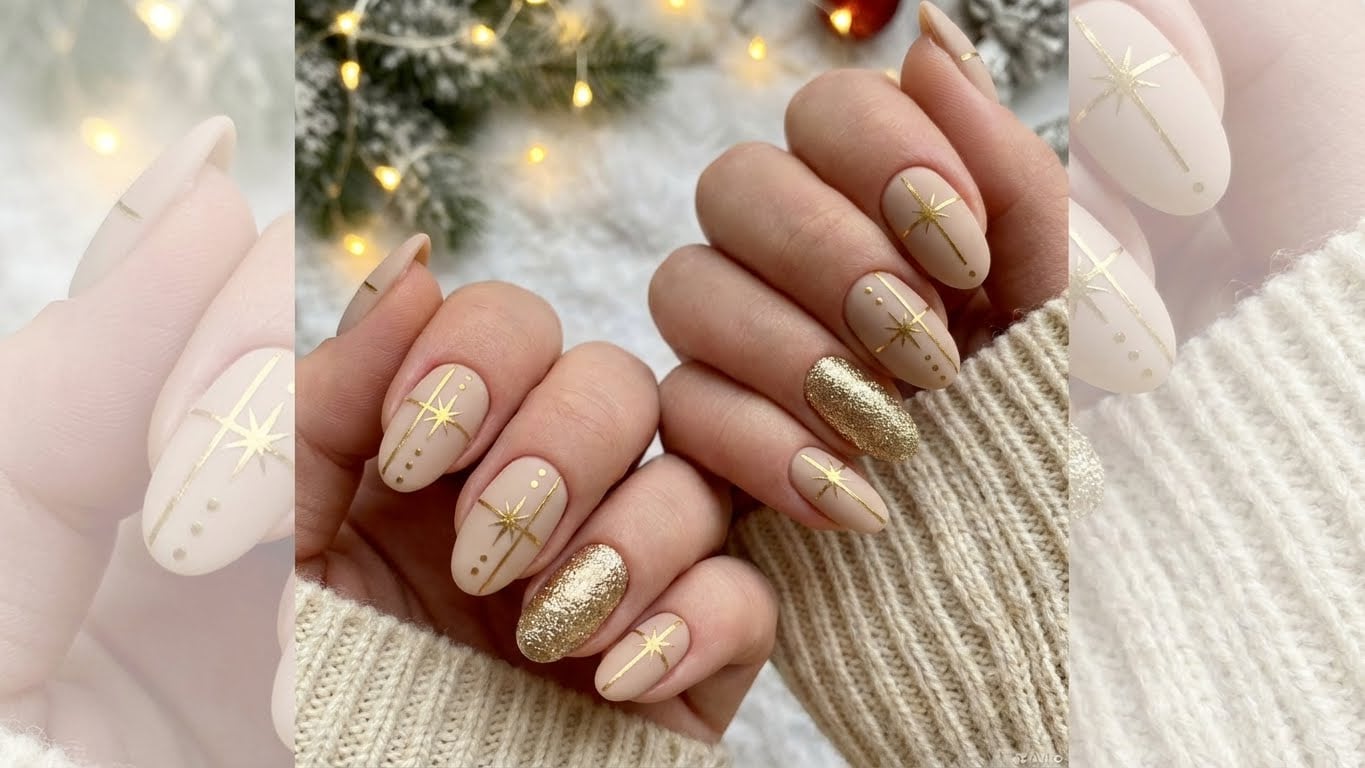
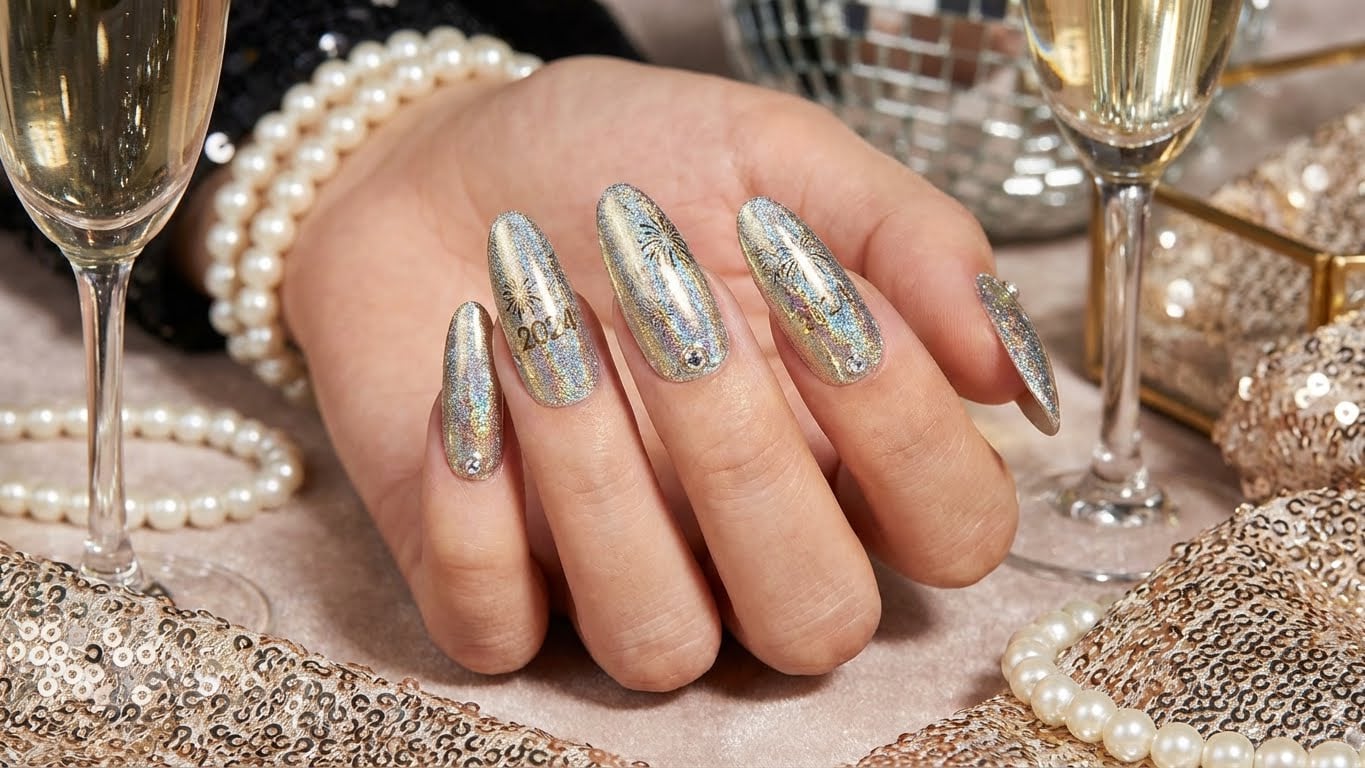
Getting Creative with Nail Art
Now that your nails are prepared and you’ve chosen your colors, it’s time to get creative with your nail art. You can use nail guides or stickers to help you achieve crisp, clean lines, or go for a more free-form design using a dotting tool or a nail brush. Don’t be afraid to experiment and try new things – it’s all part of the fun of creating your own nail art! Some popular winter nail art designs include snowflakes, pinecones, and holly leaves, which you can easily recreate using nail polish and a few basic tools.
Top Tips for Long-Lasting Nail Art
One of the biggest challenges when it comes to creating winter nail art is getting it to last. To ensure your design stays looking fresh and fabulous for days to come, follow these top tips: use a base coat to protect your nails, apply a top coat to seal in your design, and avoid using harsh chemicals or detergents that can strip your nails of their finish. You can also use a nail polish that’s specifically designed for long-lasting wear, which will help your design stay looking vibrant and intact.
Frequently Asked Questions
-
Q: What’s the best way to remove winter nail polish?
A: To remove winter nail polish, use a nail polish remover that’s specifically designed for the type of polish you’re using. Gently soak a cotton ball in the remover and place it on your nail, letting it sit for a few minutes before wiping off the polish.
-
Q: How can I prevent my nail art from chipping?
A: To prevent your nail art from chipping, make sure to apply a top coat that’s specifically designed for long-lasting wear. You can also use a nail polish that’s infused with ingredients like keratin or calcium, which can help strengthen your nails and prevent chipping.
-
Q: Can I use nail glue to attach nail art?
A: While nail glue can be used to attach nail art, it’s not always the best option. Nail glue can be quite harsh and can damage your nails over time. Instead, try using nail stickers or nail guides to help you achieve crisp, clean lines.
-
Q: How often should I change my nail polish?
A: The frequency at which you change your nail polish depends on your personal preferences and lifestyle. If you’re prone to chipping or fading, you may need to change your polish more frequently. Otherwise, you can aim to change your polish every 7-10 days.
Conclusion
Creating dazzling winter nails is easier than you think, with a little creativity and practice. By following these simple steps and tips, you can achieve salon-quality results at home and add some sparkle to your winter look. So why not get creative and try out some of these stunning winter nail designs for yourself? Your nails will thank you!
FAQ
What's the best way to remove winter nail polish?
To remove winter nail polish, use a nail polish remover that's specifically designed for the type of polish you're using. Gently soak a cotton ball in the remover and place it on your nail, letting it sit for a few minutes before wiping off the polish.
How can I prevent my nail art from chipping?
To prevent your nail art from chipping, make sure to apply a top coat that's specifically designed for long-lasting wear. You can also use a nail polish that's infused with ingredients like keratin or calcium, which can help strengthen your nails and prevent chipping.
Can I use nail glue to attach nail art?
While nail glue can be used to attach nail art, it's not always the best option. Nail glue can be quite harsh and can damage your nails over time. Instead, try using nail stickers or nail guides to help you achieve crisp, clean lines.
How often should I change my nail polish?
The frequency at which you change your nail polish depends on your personal preferences and lifestyle. If you're prone to chipping or fading, you may need to change your polish more frequently. Otherwise, you can aim to change your polish every 7-10 days.
Related Posts