Sparkling Holidays: How to Achieve Glitter Holiday Nails Like a Pro
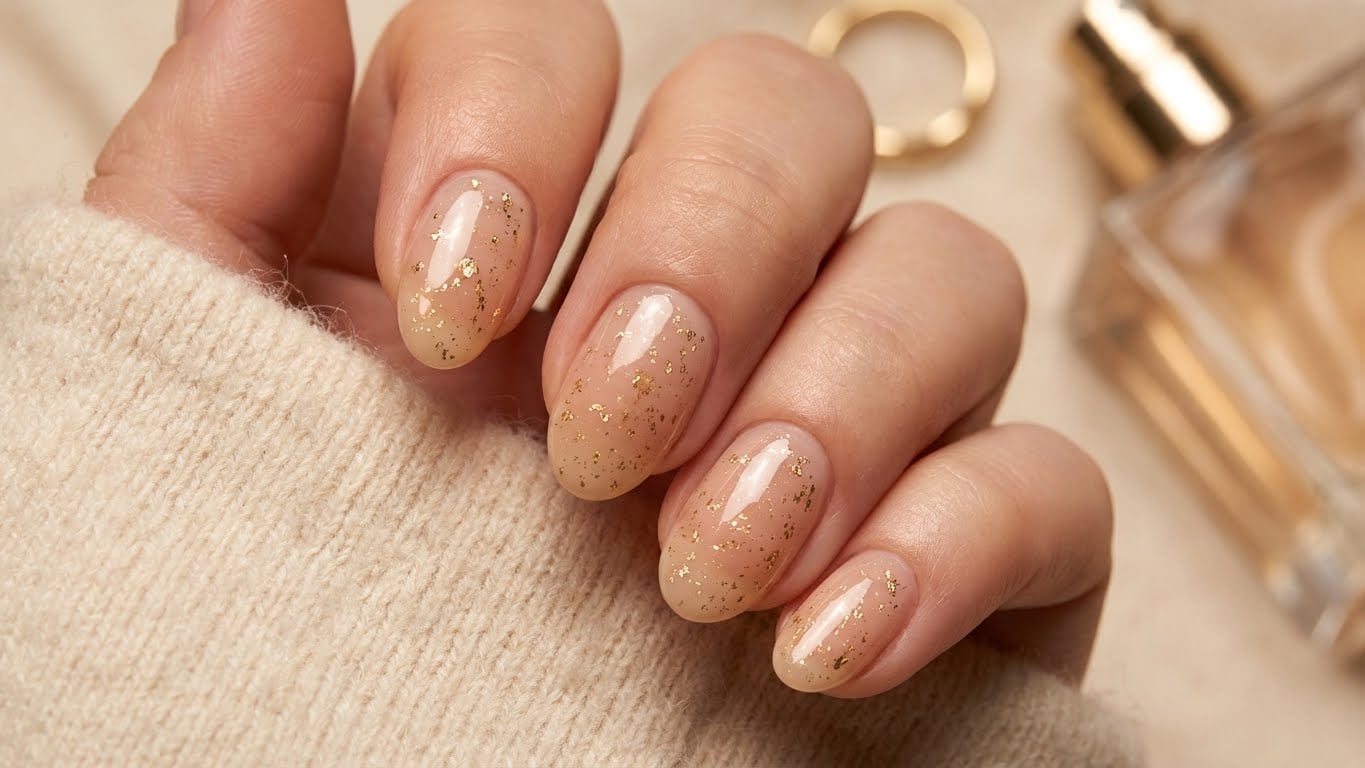
As the holiday season approaches, it’s time to think about dressing up your nail game. One of the most popular and festive ways to do this is with glitter holiday nails. In this article, we’ll show you how to achieve a show-stopping glitter manicure that will make you the star of any holiday party.
The Basics of Glitter Nails
Before we dive into the nitty-gritty of how to create glitter holiday nails, let’s talk about the basics. Glitter nails are a type of nail art that involves applying a layer of clear polish over a base coat, followed by a layer of loose glitter. This creates a sparkling, eye-catching effect that’s perfect for the holidays.
Materials Needed
To get started, you’ll need a few basic materials. Here’s a list of what you’ll need:
- Nail polish remover
- Clear top coat
- Loose glitter (in your choice of color)
- Nail glue
- Glitter brush
- Nail polish (optional)
<li/Base coat
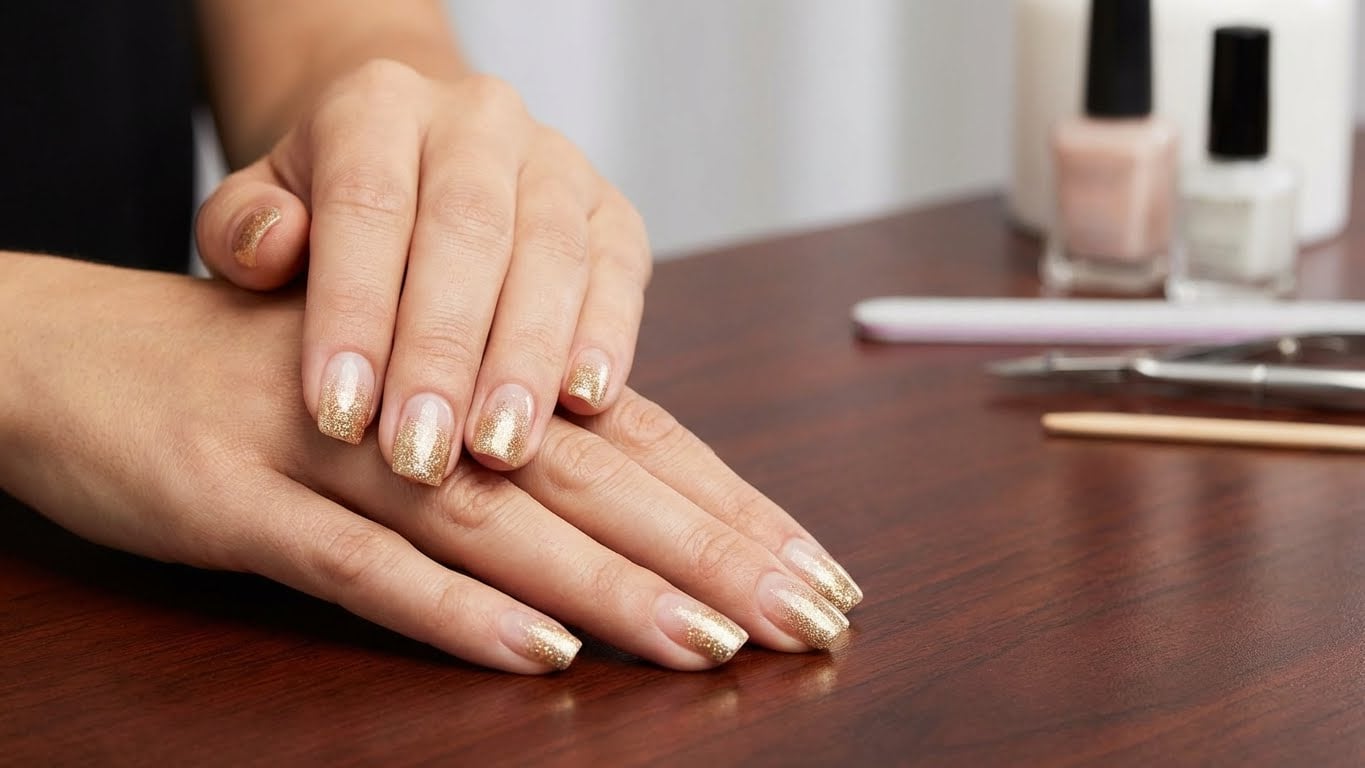
Step 1: Prep Your Nails
The first step in creating glitter holiday nails is to prep your nails. This involves removing any old nail polish, pushing back your cuticles, and shaping your nails to your desired shape.
Step 2: Apply Base Coat
Once your nails are prepped, it’s time to apply a base coat. This helps to protect your nails and create a smooth surface for your glitter to adhere to. Apply a thin layer of base coat to each nail, making sure to cover the entire nail surface.
Step 3: Apply Loose Glitter
Now it’s time to add the glitter. Using a glue bottle, apply a small amount of nail glue to the back of a glitter brush and dip it into the loose glitter. Tap off any excess glitter and apply it to your nail, starting at the center and working your way outwards. Repeat this process until you achieve the desired level of glitter coverage.
Step 4: Seal with Top Coat
Once you’ve applied the glitter, it’s time to seal it in with a top coat. This helps to prevent the glitter from chipping or falling off. Apply a thin layer of top coat to each nail, making sure to cover the entire nail surface.
Tips and Tricks
Here are a few tips and tricks to help you achieve the perfect glitter holiday nails:
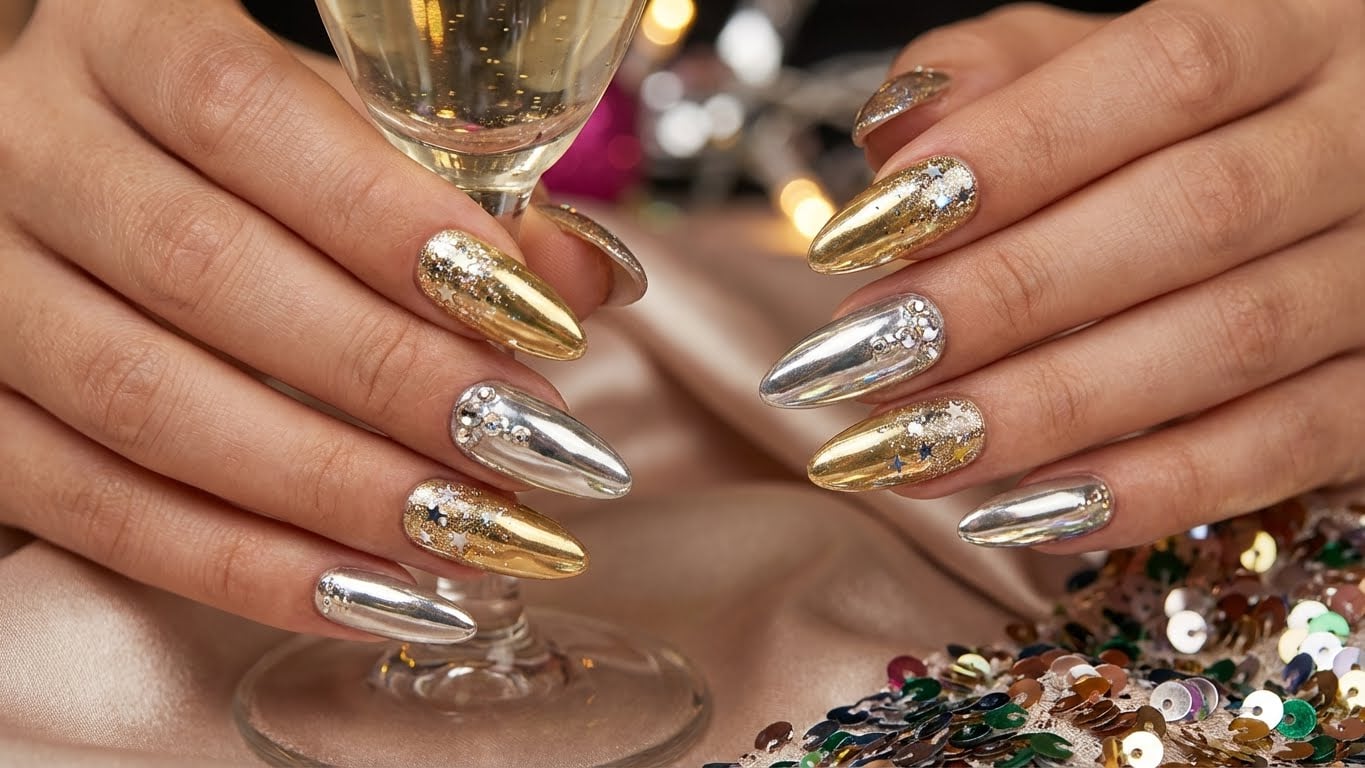
- Use a variety of glitter colors to create a unique and eye-catching effect.
- Experiment with different glitter sizes and shapes to create a unique look.
- Use a glitter brush to apply the glitter for a more precise application.
- Don’t be afraid to get creative and try new things!
Common Mistakes to Avoid
Here are a few common mistakes to avoid when creating glitter holiday nails:
- Applying too much glitter, which can make the nails look cluttered and messy.
- Not sealing the glitter with a top coat, which can cause it to chip or fall off.
- Not prepping the nails properly, which can cause the glitter to lift or flake off.
- Not using a base coat, which can cause the glitter to stick to the nail plate and create uneven coverage.
Conclusion
With these simple steps and tips, you’ll be well on your way to creating stunning glitter holiday nails that will shine like a star at any holiday party. Remember to be creative and have fun with it!
FAQ
Q: Can I use glitter nail polish instead of loose glitter?
A: Yes, you can use glitter nail polish instead of loose glitter. However, keep in mind that glitter polish can be thicker and more difficult to apply than loose glitter. You may also need to use a special brush to apply the glitter polish.
Affiliate Links
Material Sources:
- Amazon – a wide selection of nail polish removers, base coats, and top coats.
- eBay – a variety of loose glitter and glitter brushes.
- Walmart – a range of nail polish removers, base coats, and top coats.
FAQ
Can I use glitter nail polish instead of loose glitter?
Yes, you can use glitter nail polish instead of loose glitter. However, keep in mind that glitter polish can be thicker and more difficult to apply than loose glitter. You may also need to use a special brush to apply the glitter polish.
Related Posts