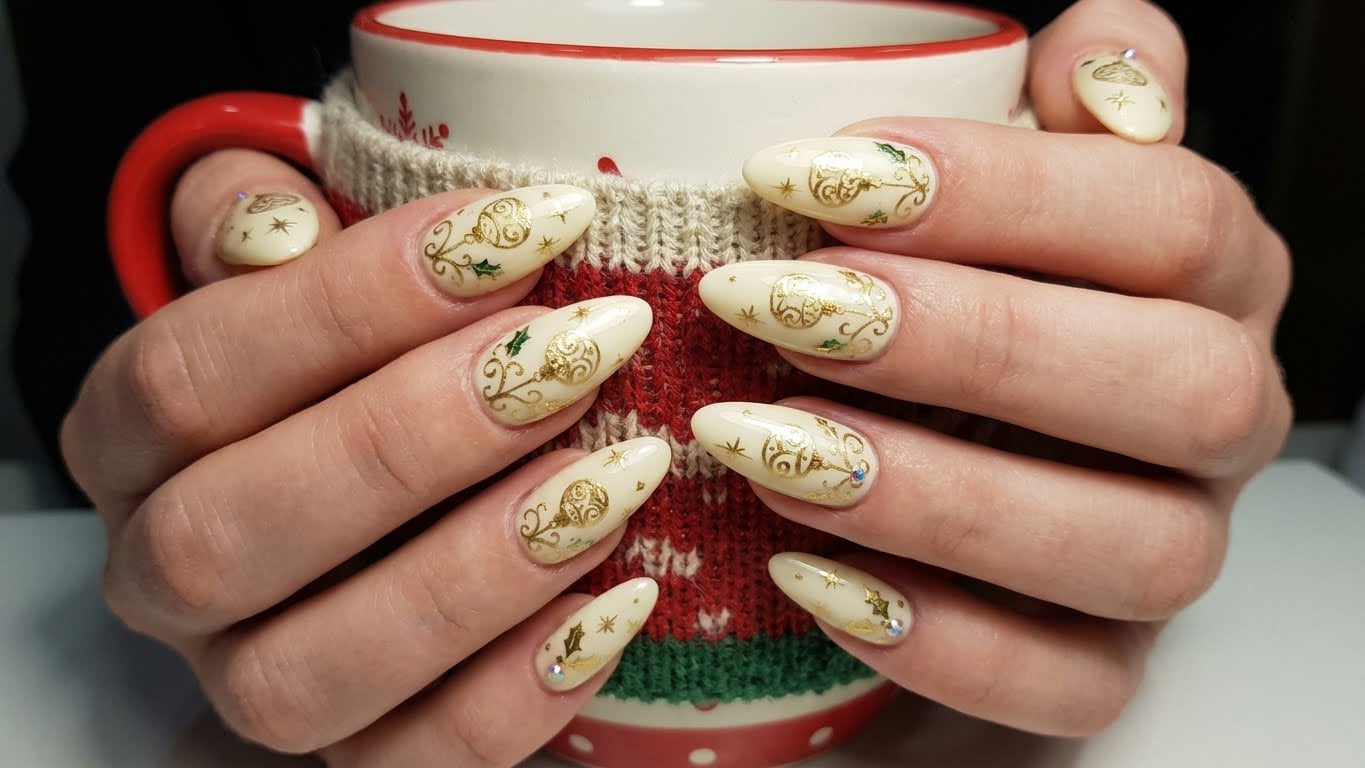
As the holiday season approaches, it’s time to get creative with your nail art. One of the most popular and eye-catching trends this time of year is glitter holiday nails. With their sparkly, festive flair, they’re the perfect way to add some extra cheer to your holiday look.
Why Glitter Holiday Nails Are a Must-Try
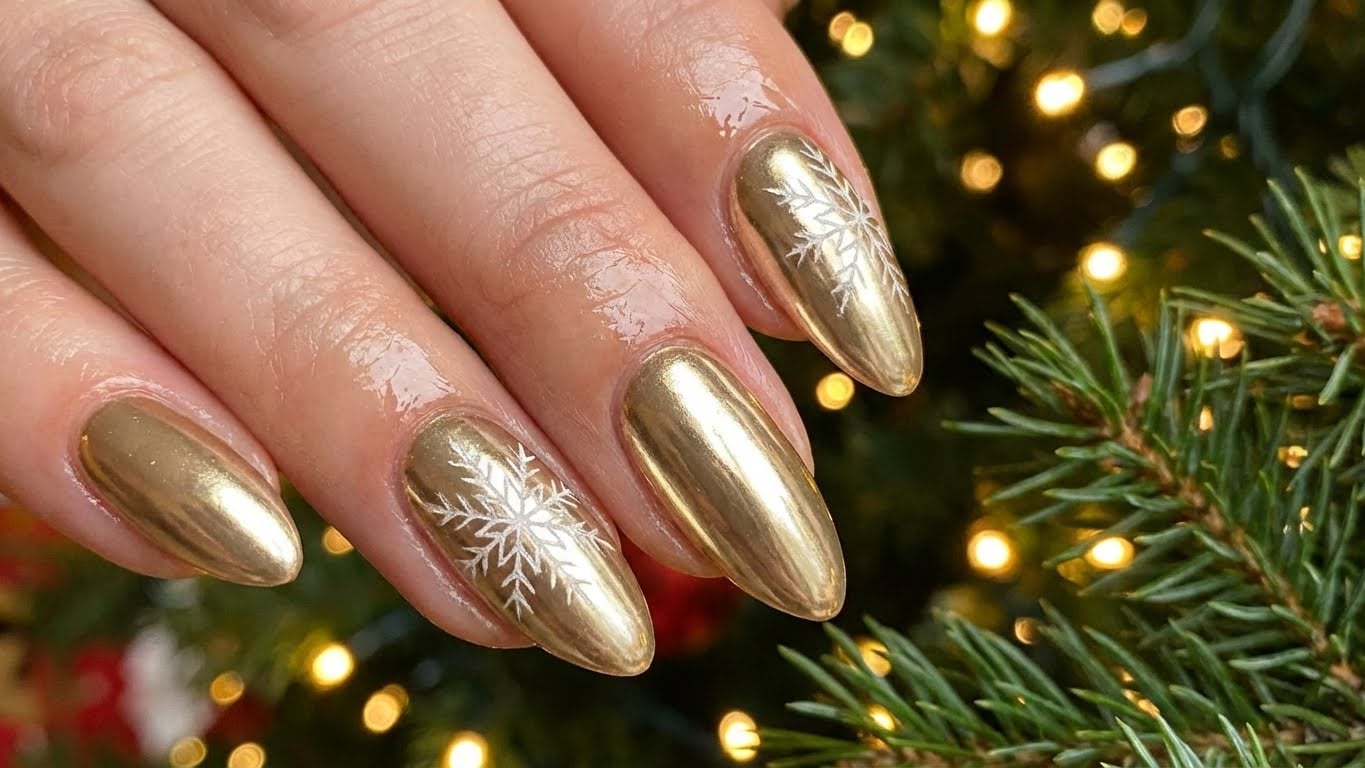
So why should you give glitter holiday nails a try? For one, they’re incredibly versatile. You can choose from a wide range of glitter colors and finishes to match your holiday style. Plus, they’re a great way to add some extra sparkle to your look without going over the top.
Another reason to try glitter holiday nails is that they’re surprisingly easy to do. With a few simple tools and some basic nail polish, you can create a stunning glitter look that’s sure to impress. And if you’re feeling adventurous, you can even try out some more advanced techniques like glitter gradients and ombre effects.
Basic Glitter Nail Tips
Before you get started, there are a few basic glitter nail tips to keep in mind. First, make sure you have a good base coat to protect your nails from staining. Next, choose a glitter polish that’s specifically designed for nail art. These polishes usually have a thicker consistency and are easier to control than regular nail polish.
When applying glitter polish, it’s best to use a steady hand and a light touch. Apply thin layers, allowing each layer to dry completely before adding more. This will help prevent the glitter from pooling at the tips of your nails.
Advanced Glitter Nail Techniques
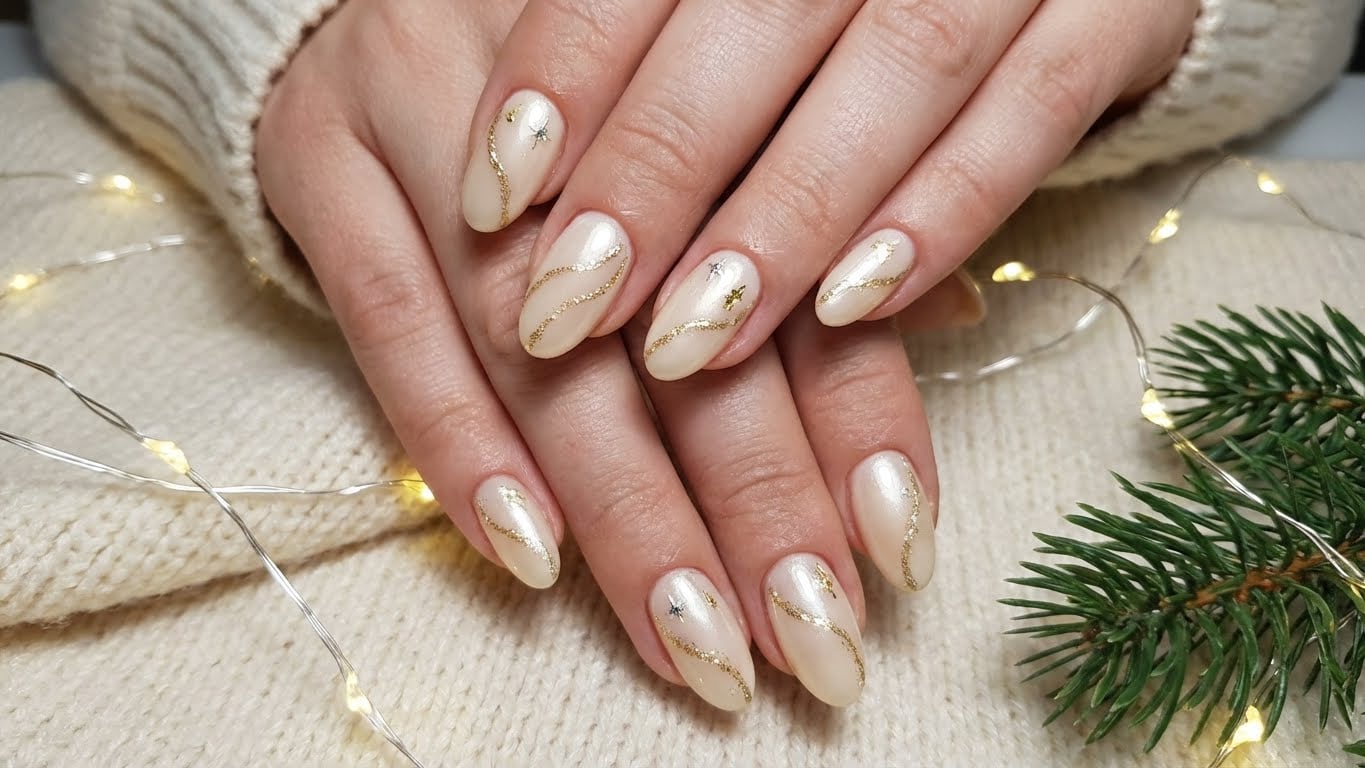
Once you’ve mastered the basics, it’s time to try out some more advanced glitter nail techniques. One popular method is the glitter gradient, which involves layering different colors of glitter polish to create a gradient effect.
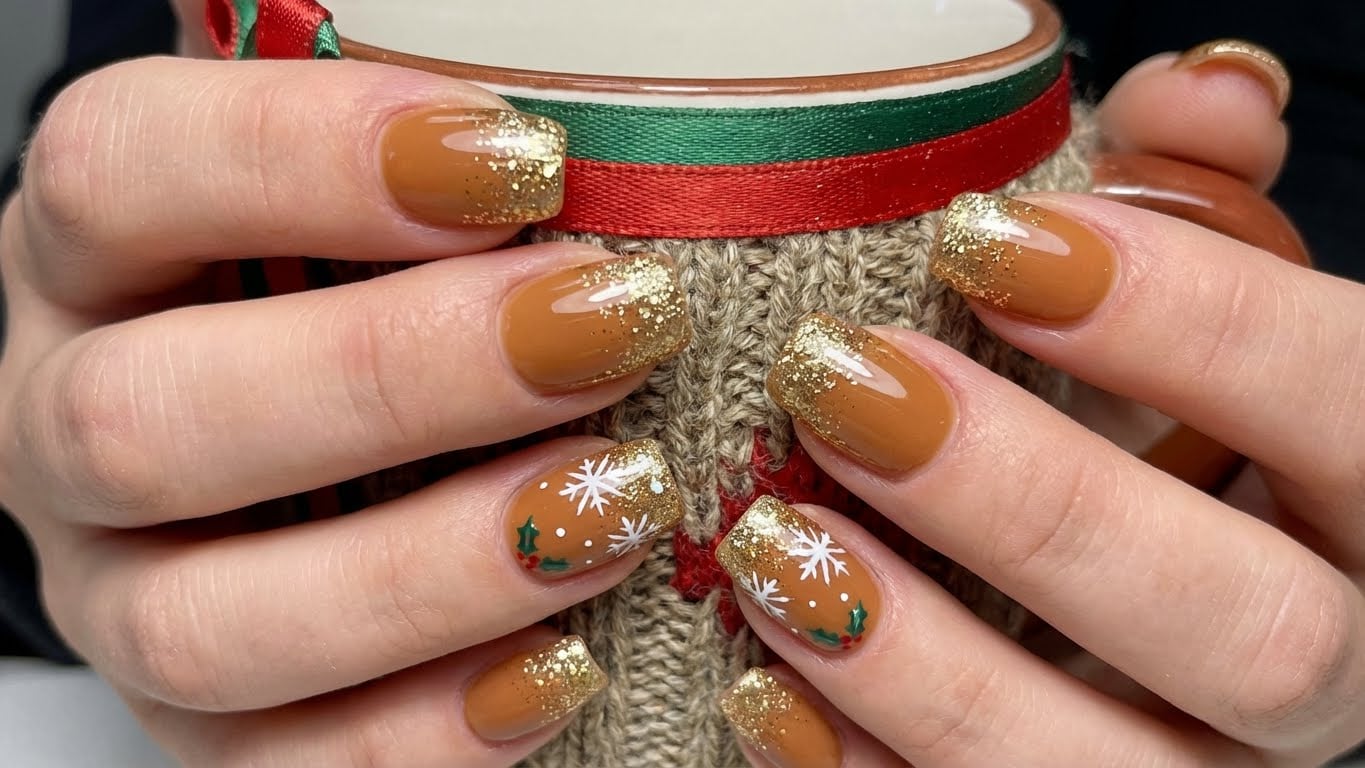
Another technique is the glitter ombre, which involves gradually increasing the amount of glitter polish as you move from the cuticle to the tip of the nail. This creates a beautiful, sun-kissed effect that’s perfect for the holiday season.
Common Glitter Nail Mistakes to Avoid
While glitter holiday nails are relatively easy to do, there are a few common mistakes to avoid. One of the biggest mistakes is applying too much glitter polish at once. This can lead to a pool of glitter at the tips of your nails, which can be difficult to fix.
Another mistake is using the wrong type of glitter polish. Make sure to choose a polish that’s specifically designed for nail art, as these polishes usually have a thicker consistency and are easier to control.
Glitter Nail Tools You’ll Need
Before you get started, make sure you have the right tools for the job. Here are a few essential glitter nail tools you’ll need:
- Nail polish remover
- Base coat
- Glitter polish
- Nail art brush
- Nail dotting tool
With these tools and a little practice, you’ll be creating stunning glitter holiday nails in no time.
Final Tips for a Perfect Glitter Finish
So you’ve mastered the basics and are ready to try out some more advanced techniques. Here are a few final tips for a perfect glitter finish:
- Use a steady hand and a light touch when applying glitter polish.
- Apply thin layers, allowing each layer to dry completely before adding more.
- Choose a glitter polish that’s specifically designed for nail art.
- Experiment with different glitter colors and finishes to find the perfect look for you.
FAQs
-
Q: How do I remove glitter polish from my nails?
A: To remove glitter polish, use a nail polish remover and gently scrape off as much of the glitter as possible. Repeat as needed until the glitter is completely gone.
FAQ
How do I remove glitter polish from my nails?
To remove glitter polish, use a nail polish remover and gently scrape off as much of the glitter as possible. Repeat as needed until the glitter is completely gone.
Related Posts