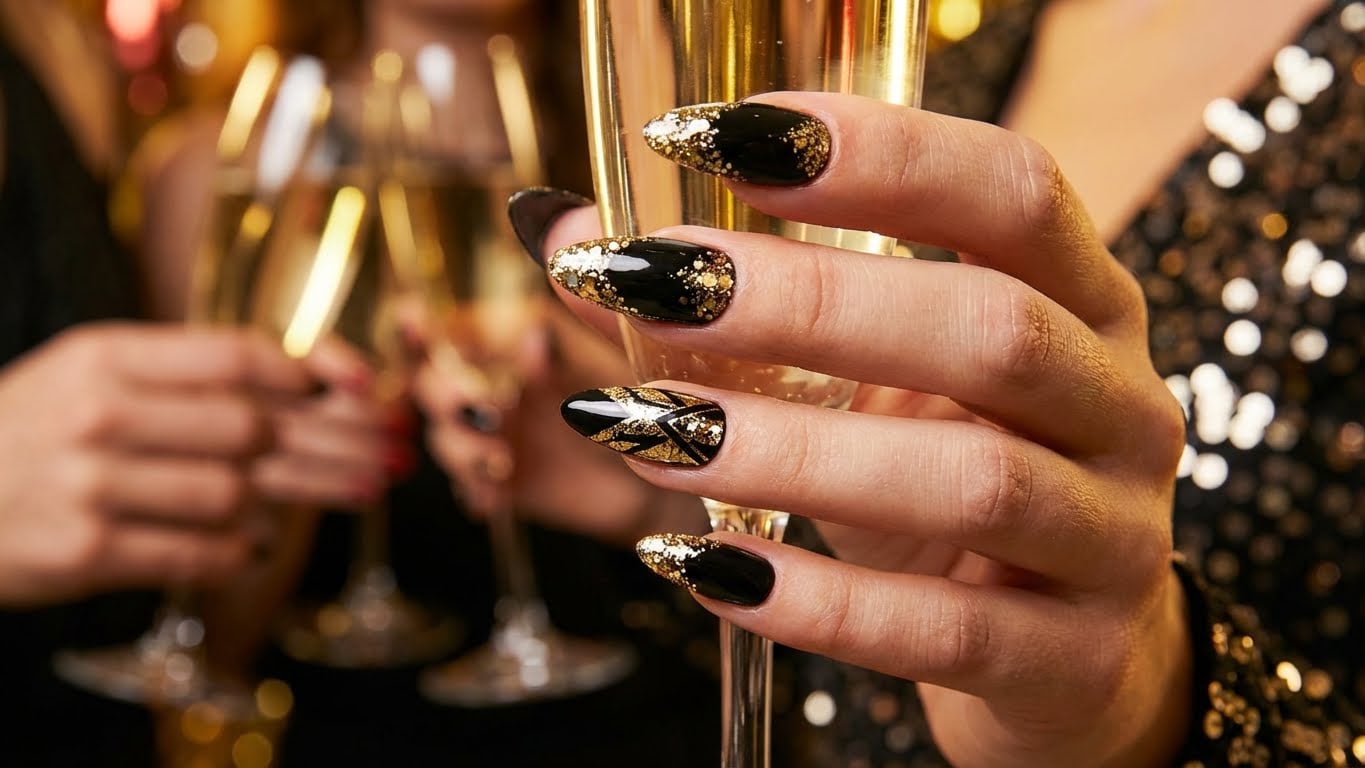
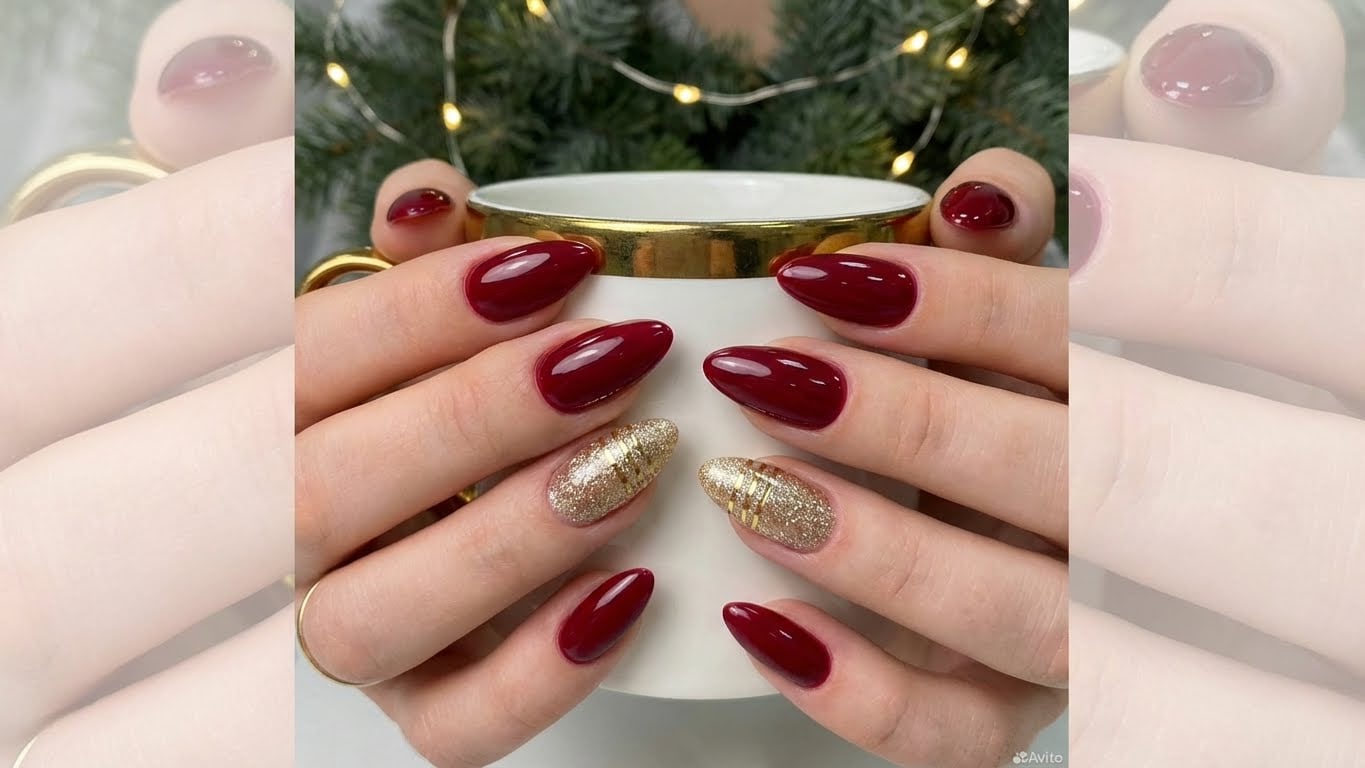
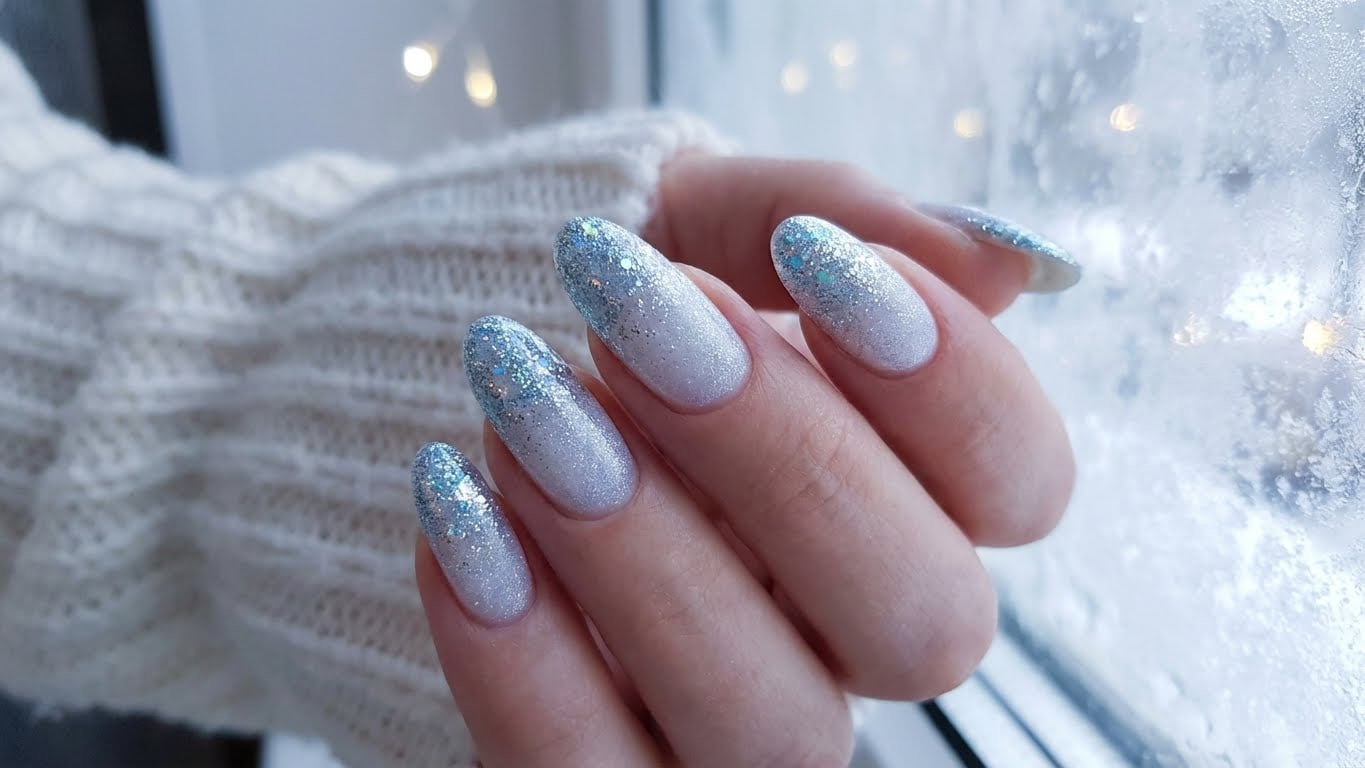
The holiday season is upon us, and with it comes the perfect excuse to get creative with your nail art. Among the many festive trends, glitter holiday nails stand out as a show-stopping favorite. Whether you’re a seasoned nail artist or a beginner, we’re here to guide you through the world of glittery nails and help you create a look that’s sure to spark joy.
**Why Glitter Holiday Nails Are a Must-Try**
Glitter holiday nails are more than just a pretty face – they’re a way to add some serious sparkle to your holiday look. With the right technique and a few simple ingredients, you can transform your nails into a dazzling display of glittering color that’s sure to turn heads. Plus, who doesn’t love the feeling of getting pampered and indulging in some festive fun?
**Choosing the Right Glitter**
Before we dive into the nitty-gritty of glitter holiday nails, let’s talk about the most important part: the glitter. With so many types and shades to choose from, selecting the perfect glitter can be overwhelming. Here are a few tips to keep in mind:
* **Size matters**: When it comes to glitter, size does matter. Look for glitters in various sizes to create a multi-dimensional effect.
* **Color palette**: Consider the color scheme of your holiday look when selecting a glitter. Neutral shades like silver, gold, and rose gold are great for a classic look, while bold colors like red and green add a pop of fun.
* **Finishing touch**: Don’t forget to add a topcoat to seal in your glitter and prevent it from getting dull.
**At-Home Techniques**
Now that we’ve covered the basics, let’s get started on some at-home techniques to create your own glitter holiday nails:
* **Glitter nail polish**: Use a glitter nail polish as the base coat for a quick and easy look.
* **Glitter nail stickers**: Apply glitter nail stickers on top of a plain polish for a fun and easy design.
* **Glitter glue**: Use a clear glue to attach glitter to your nails for a more intricate design.
**Salon-Approved Tips**
If you’re feeling adventurous, consider visiting a salon to get your glitter holiday nails done. Here are a few tips to share with your nail technician:
* **Choose the right base**: Select a good quality base coat to ensure your glitter stays in place.
* **Apply in sections**: Apply the glitter in small sections to prevent it from getting too thick.
* **Finish with a topcoat**: Seal in your glitter with a good quality topcoat.
**Tips and Tricks**
Here are a few additional tips and tricks to keep in mind when creating your glitter holiday nails:
* **Use a nail cleanser**: Clean your nails thoroughly before applying glitter to prevent any oils from interfering with the glue.
* **Don’t overdo it**: Too much glitter can be overwhelming, so be mindful of the amount you’re using.
* **Experiment with different shapes**: Try out different nail shapes and designs to create a unique look.
**Frequently Asked Questions**
**Q: How do I remove glitter from my nails?**
A: Removing glitter from your nails can be a bit of a challenge, but it’s not impossible. Try using a nail glue remover or a gentle nail polish remover to dissolve the glue and gently scrape off the glitter.
**Conclusion**
Glitter holiday nails are a fun and creative way to add some sparkle to your holiday look. With a few simple techniques and the right ingredients, you can create a look that’s sure to turn heads. Whether you’re a seasoned nail artist or a beginner, we hope this guide has inspired you to get creative and try out some glittery nails for yourself.

Related Posts