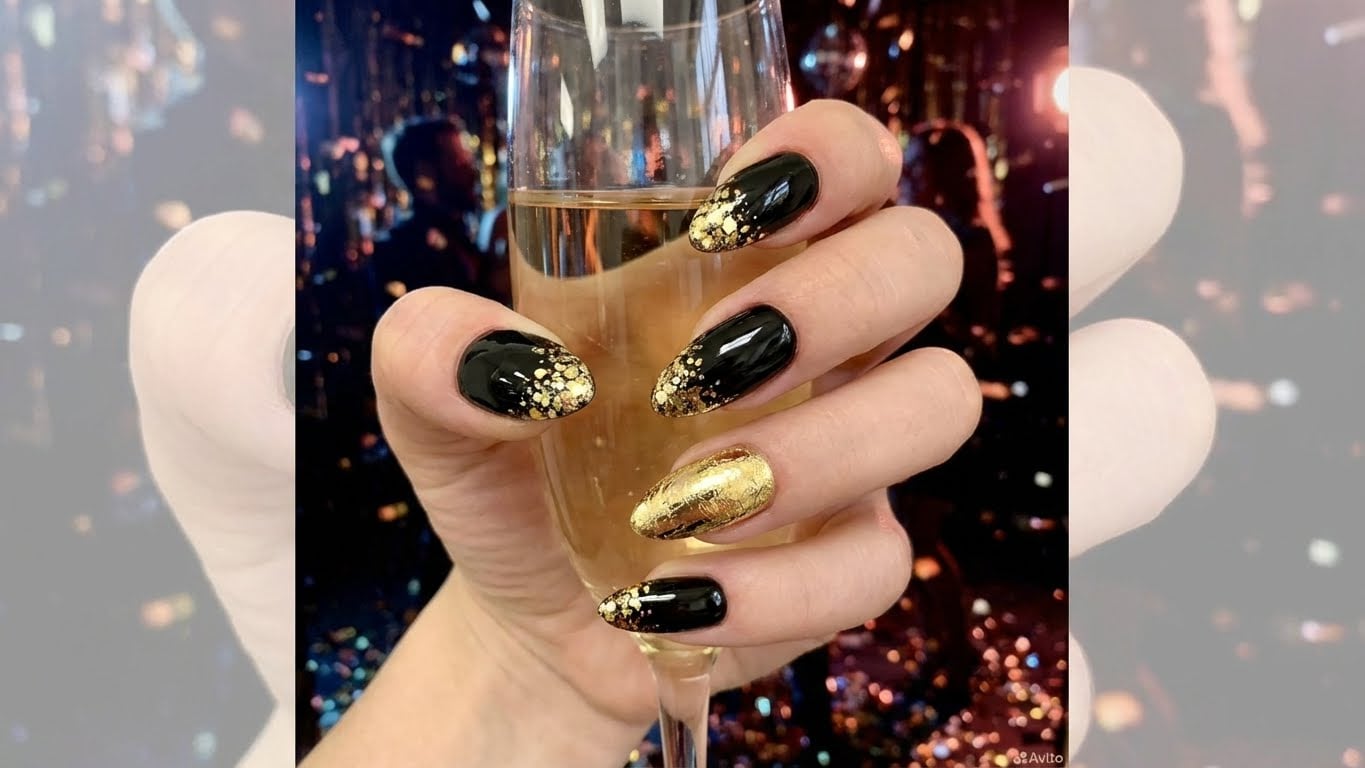
As the holiday season approaches, many of us are looking for ways to add some extra sparkle to our beauty routine. One of the most popular ways to do this is with glitter holiday nails. From classic red and green to more modern and edgy designs, there’s a glitter nail look to suit every style and preference.

Why Glitter Holiday Nails are a Must-Try
Glitter nail polish has become increasingly popular over the past few years, and for good reason. Not only do glitter nails add a touch of glamour and sophistication to any outfit, but they’re also a great way to get creative and express your personal style. Plus, with the rise of at-home nail art tutorials, it’s easier than ever to achieve salon-quality finishes without breaking the bank.
The Pros of Glitter Holiday Nails
So, what are the benefits of glitter holiday nails? Here are just a few:
- They add a touch of glamour and sophistication to any outfit
- They’re a great way to express your personal style and get creative
- They’re easy to achieve at home with the right tools and techniques
- They’re perfect for special occasions, like holiday parties and weddings
The Cons of Glitter Holiday Nails
While glitter holiday nails are definitely a fun and exciting trend, there are also some potential downsides to consider:
- They can be messy and difficult to clean up
- They may not be suitable for everyday wear, depending on your lifestyle and preferences
- They can be expensive, especially if you’re looking for high-quality glitter nail polish or salon treatments
How to Get the Perfect Glitter Holiday Nails at Home
So, how can you achieve salon-quality glitter holiday nails at home? Here are some tips and tricks to help you get started:
Tip 1: Choose the Right Glitter Nail Polish
When it comes to glitter nail polish, there are many different options available. Look for a polish that is specifically designed for glitter nail art, and choose a color that complements your skin tone and personal style. Some popular options include:
- Deborah Lippmann Glitter Polish
- Butter London Glitter Polish
- Essie Glitter Polish
Tip 2: Prep Your Nails
Before you start applying glitter nail polish, make sure your nails are properly prepped. This means removing any old nail polish, pushing back your cuticles, and shaping your nails to your desired shape.
Tip 3: Apply a Base Coat
A base coat is essential for any nail art look, and glitter nails are no exception. Look for a base coat that is specifically designed to help your glitter nail polish adhere and last longer.
Tip 4: Apply the Glitter Nail Polish
Now it’s time to apply the glitter nail polish. Start by applying a thin layer of polish to each nail, making sure to cover the entire surface. Then, use a nail art brush to add additional glitter and details as desired.
How to Remove Glitter Nail Polish
Removing glitter nail polish can be a bit more challenging than removing regular nail polish, but it’s still possible to do at home. Here are some tips to help you get started:
Tip 1: Use a Glitter Remover</hassistant
{
“title”: “Shine Bright: The Ultimate Guide to Glitter Holiday Nails
Related Posts