A Guide to Glitter Holiday Nails
Glitter holiday nails are the perfect way to add some extra sparkle to your holiday look. Whether you’re hosting a party or just want to get into the festive spirit, we’ve got a guide to help you achieve salon-quality glitter nails at home.

Materials Needed
To get started, you’ll need a few basic materials:
- Nail polish remover
- Cotton balls or pads
- Base coat
- Glitter polish
- Top coat
- Nail art brush (optional)
- Glitter nail glue (optional)
Basic Glitter Nail Technique
To apply glitter polish, follow these steps:
- Prep your nails by removing old polish and pushing back your cuticles.
- Apply a base coat to protect your nails and promote polish adhesion.
- Apply one to two coats of glitter polish, allowing the first coat to dry completely before applying the second coat.
- Finish with a top coat to seal in the glitter and add shine.
Advanced Glitter Nail Designs
For a more intricate look, try these advanced techniques:
- Glitter accent nail: Apply glitter polish to just one nail, such as your ring finger or index finger.
- Glitter gradient: Apply a gradient of glitter polish from the cuticle to the tip of the nail.
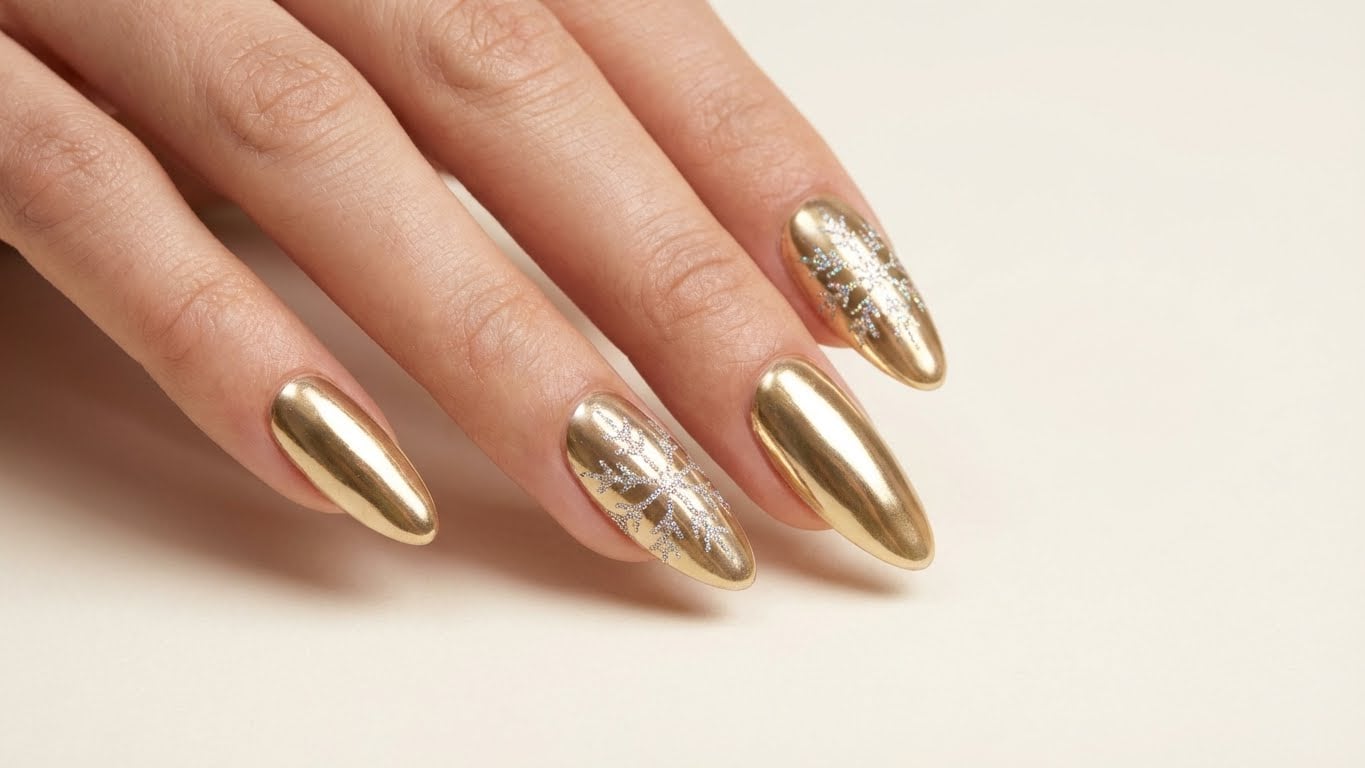
- Glitter nail art: Use a nail art brush to paint on glitter polish in a design, such as a snowflake or holly leaf.
- Glitter stamping: Use a glitter polish and a nail stamp to create a pattern on your nails.
Common Glitter Nail Mistakes to Avoid
To ensure a beautiful glitter finish, avoid these common mistakes:
- Applying too much glitter polish: This can lead to a gloopy, uneven finish.
- Not letting the polish dry: This can cause the glitter to smudge or run.
- Not using a base coat: This can cause the polish to stain your nails.
Glitter Nail Tips and Tricks
Here are a few tips and tricks to help you achieve salon-quality glitter nails:
- Use a glitter polish with a built-in top coat: This can save you time and effort.
- Apply a layer of clear polish before the glitter polish: This can help the glitter adhere to the nail.
- Use a glitter nail glue to attach loose glitter: This can help create a more even finish.
How to Remove Glitter Nail Polish
Removing glitter nail polish can be a bit tricky, but here’s a step-by-step guide:
- Soak a cotton ball or pad in nail polish remover.
- Place the cotton ball or pad on your nail and let it sit for a few minutes.
- Use a nail file to gently scrape off the glitter polish.
- Repeat as necessary until the polish is completely removed.
Frequently Asked Questions
Q: Can I use any type of glitter polish for holiday nails?
A: While you can use any type of glitter polish, some polishes are specifically designed for holiday nails. Look for polishes with a festive color scheme or a glitter finish that’s perfect for the season.
Conclusion
With these tips, tricks, and techniques, you’ll be well on your way to creating salon-quality glitter holiday nails at home. Remember to follow the basic technique, experiment with advanced designs, and avoid common mistakes. Happy glitting!
FAQ
Can I use any type of glitter polish for holiday nails?
While you can use any type of glitter polish, some polishes are specifically designed for holiday nails. Look for polishes with a festive color scheme or a glitter finish that's perfect for the season.
Related Posts


