
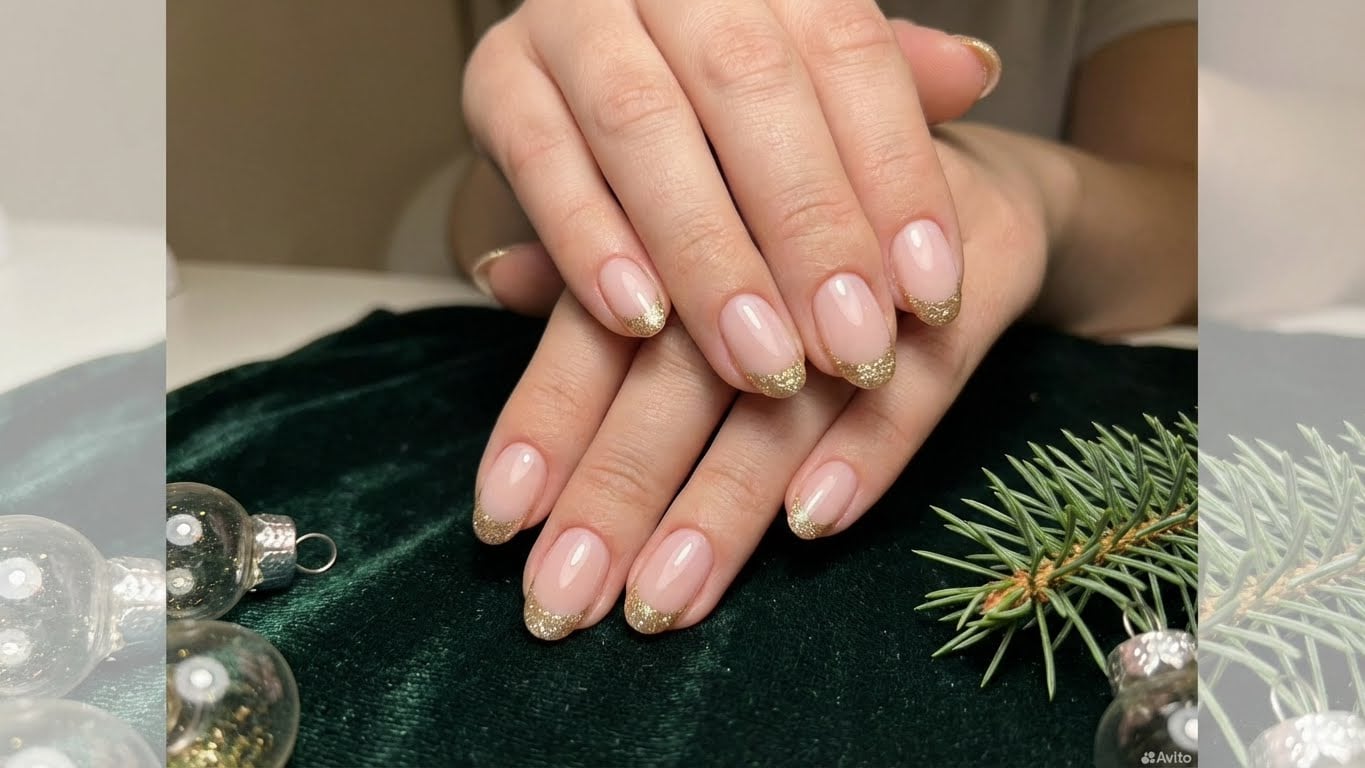
Introduction to Glitter Holiday Nails
Are you ready to add some sparkle to your holiday season? Glitter holiday nails are the perfect way to get into the festive spirit, and with our step-by-step guide, you’ll be a pro in no time. Whether you’re a seasoned nail artist or a beginner, we’ve got everything you need to know to create stunning glitter holiday nails.
Materials Needed
Before you start, make sure you have the following materials:
- Nail polish remover
- Cuticle oil
- Nail glue
- Glitter polish (various colors)
- Top coat
- Base coat
- Nail art brush
- Glitter nail guides (optional)
Preparation
Start by removing any old nail polish and trimming your nails to your desired length. Apply a thin layer of cuticle oil to moisturize your cuticles and nails. This will help prevent any irritation or dryness during the nail art process.
Step 1: Apply Base Coat
Apply a thin layer of clear base coat to each nail to help the polish adhere and prevent staining. Make sure to let it dry completely before moving on to the next step.
Step 2: Apply Glitter Polish
Now it’s time to add some sparkle to your nails! Apply a thin layer of glitter polish to each nail, starting at the center and working your way out towards the tips. Use a nail art brush to create a smooth, even layer. You can use one color or mix and match different colors for a unique look.
Let the polish dry completely before moving on to the next step. If you’re using a glitter polish with large glitter particles, you may want to apply a thin layer of clear top coat to seal it in.
Step 3: Add Glitter Accents (Optional)
If you want to add some extra sparkle to your nails, now’s the time to do it. Use a nail art brush to apply a small amount of glitter polish to the tips of your nails or to create a design. You can also use a dotting tool to create small dots of glitter.
Step 4: Apply Top Coat
Finally, apply a thin layer of clear top coat to seal in all the glitter and add a glossy finish. Make sure to let it dry completely before handling your nails or applying any other products.
Tips and Tricks:
- Use a base coat with a built-in primer to help the polish adhere and prevent staining.
- Apply a thin layer of glitter polish to avoid overwhelming the nail.
- Use a nail art brush to create a smooth, even layer of glitter polish.
- Let the polish dry completely before handling your nails or applying any other products.
Conclusion
And that’s it! With these simple steps, you can create stunning glitter holiday nails that are sure to impress. Remember to practice makes perfect, so don’t be afraid to experiment and try new things. Happy decorating!
FAQs
-
Q: Can I use regular nail polish instead of glitter polish?
A: While you can use regular nail polish, it won’t have the same sparkle and shine as glitter polish. Glitter polish is specifically designed to create a sparkly finish, so it’s worth investing in a good quality glitter polish.
FAQ
Can I use regular nail polish instead of glitter polish?
While you can use regular nail polish, it won't have the same sparkle and shine as glitter polish. Glitter polish is specifically designed to create a sparkly finish, so it's worth investing in a good quality glitter polish.
Related Posts


