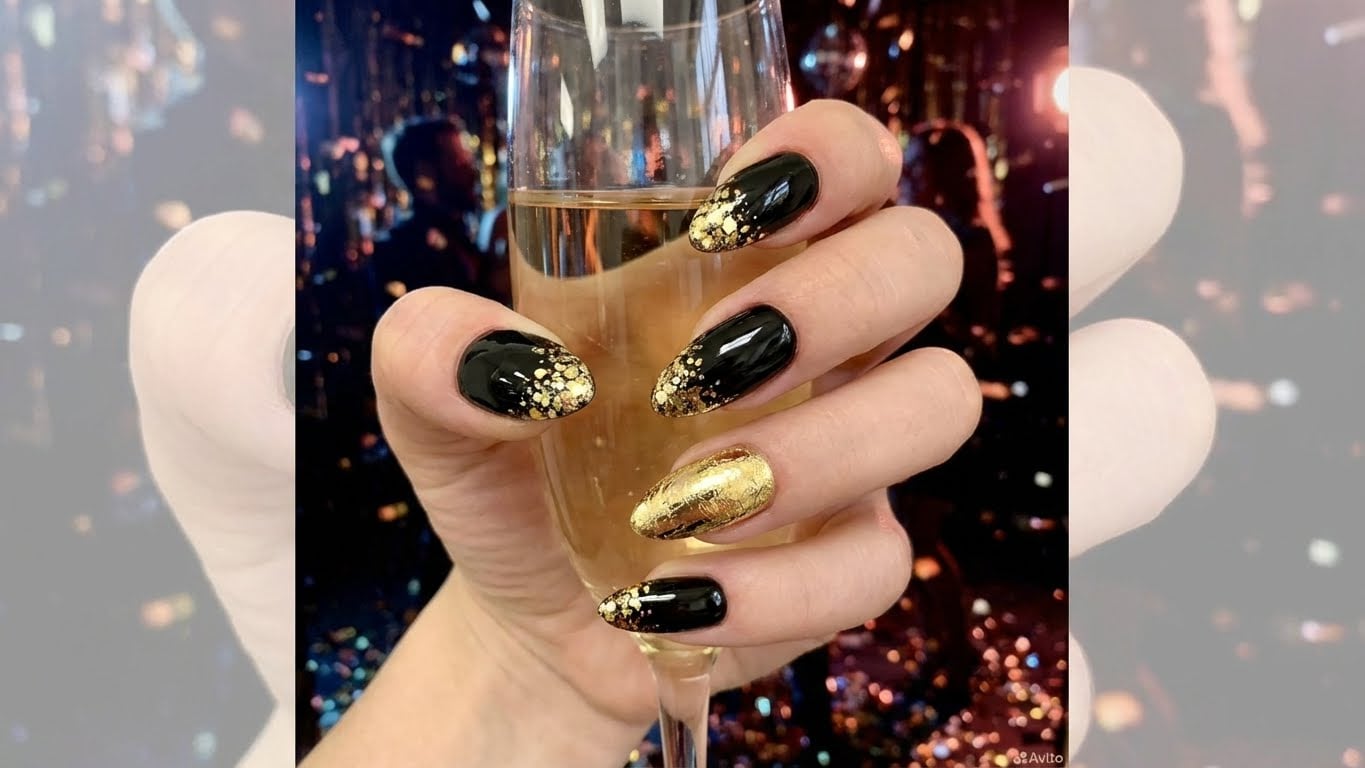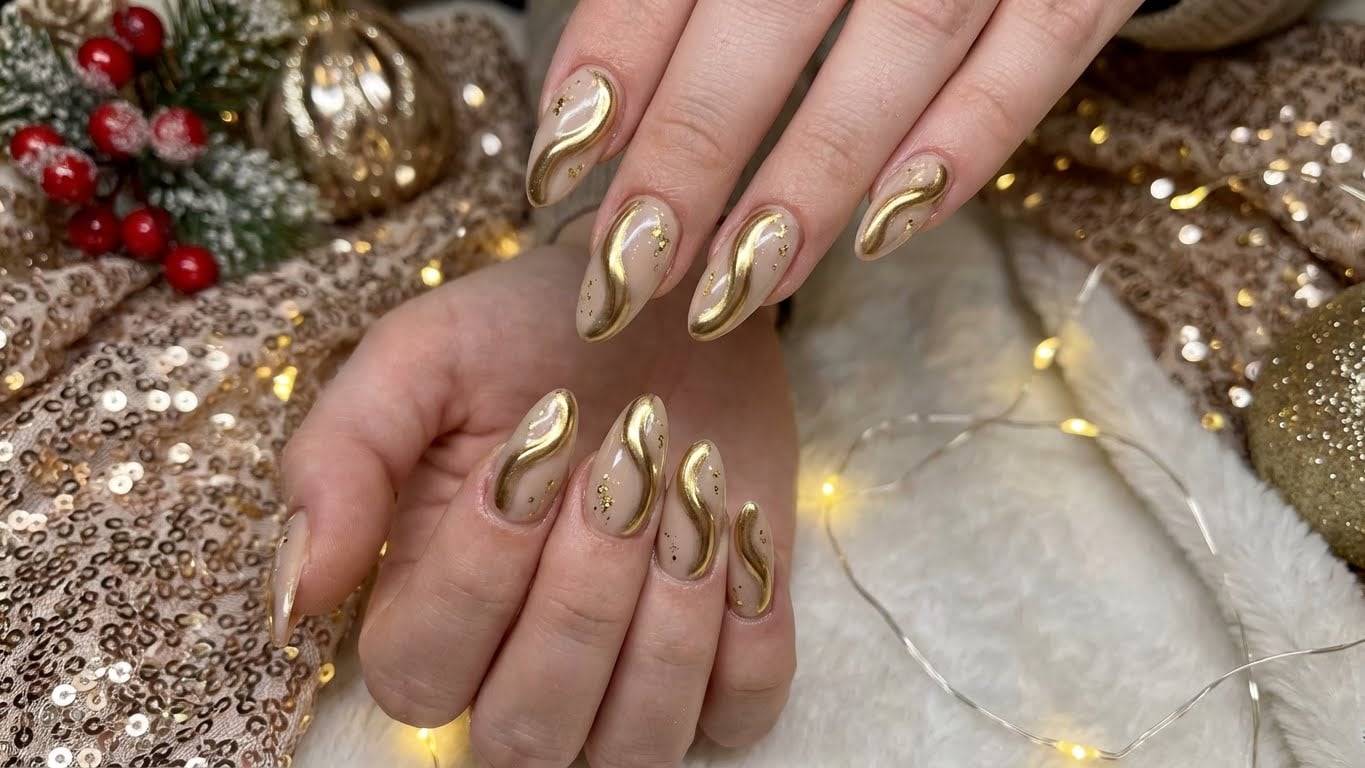
Introduction to Glitter Holiday Nails
Glitter holiday nails are a fun and festive way to get into the holiday spirit. Whether you’re heading to a holiday party or just want to add some extra sparkle to your everyday look, glitter nails are a great way to express your personality and creativity. In this guide, we’ll walk you through the steps to create beautiful, long-lasting glitter holiday nails that will make you shine.
Materials Needed
Before you start, make sure you have the following materials:
* Nail polish remover
* Nail clippers
* Nail file
* Base coat
* Nail polish (glitter or metallic)
* Top coat
* Nail glue (optional)
* Glitter nail stickers or rhinestones (optional)
* Nail art brushes (optional)
Step 1: Prep Your Nails
To create a smooth, even surface for your glitter nails, prep your nails by removing any old nail polish and pushing back your cuticles. Use a nail file to shape your nails to your desired shape.
Step 1.1: Remove Old Nail Polish
Use a nail polish remover to wipe away any existing nail polish. This will help create a clean surface for your new glitter polish.
Step 1.2: Shape Your Nails
Use a nail file to shape your nails to your desired shape. Make sure to file in one direction only to avoid weakening your nails.
Step 2: Apply a Base Coat
Apply a base coat to your nails to help protect your nails and create a smooth surface for your glitter polish. This will also help the glitter polish adhere evenly.
Step 2.1: Apply Base Coat
Apply a thin layer of base coat to each nail. Make sure to cover the entire nail surface.
Step 3: Apply Glitter Polish
This is the fun part! Apply a thin layer of glitter polish to each nail. You can use a traditional glitter polish or a metallic polish for a more modern look.
Step 3.1: Apply Glitter Polish
Apply a thin layer of glitter polish to each nail. Make sure to cover the entire nail surface.
Step 4: Add Extra Details (Optional)
If you want to add some extra sparkle to your glitter nails, now is the time to do it. You can use nail glue to attach glitter nail stickers or rhinestones to your nails.
Step 4.1: Apply Nail Glue
Apply a small amount of nail glue to the back of the glitter nail sticker or rhinestone.
Step 4.2: Attach Glitter Nail Stickers or Rhinestones
Attach the glitter nail stickers or rhinestones to your nails. Make sure to hold them in place for a few seconds until the glue sets.
Step 5: Finish with a Top Coat
Finally, apply a top coat to seal in your glitter polish and add a glossy finish.
Step 5.1: Apply Top Coat
Apply a thin layer of top coat to each nail. Make sure to cover the entire nail surface.
Conclusion
And that’s it! With these simple steps, you can create beautiful, long-lasting glitter holiday nails that will make you shine. Remember to practice makes perfect, so don’t be discouraged if it takes a few tries to get the hang of it. Happy decorating!
FAQ
Can I use a regular nail polish with glitter in it?
Yes, you can use a regular nail polish with glitter in it. However, keep in mind that it may not be as durable as a specialized glitter polish.

Related Posts