Introduction
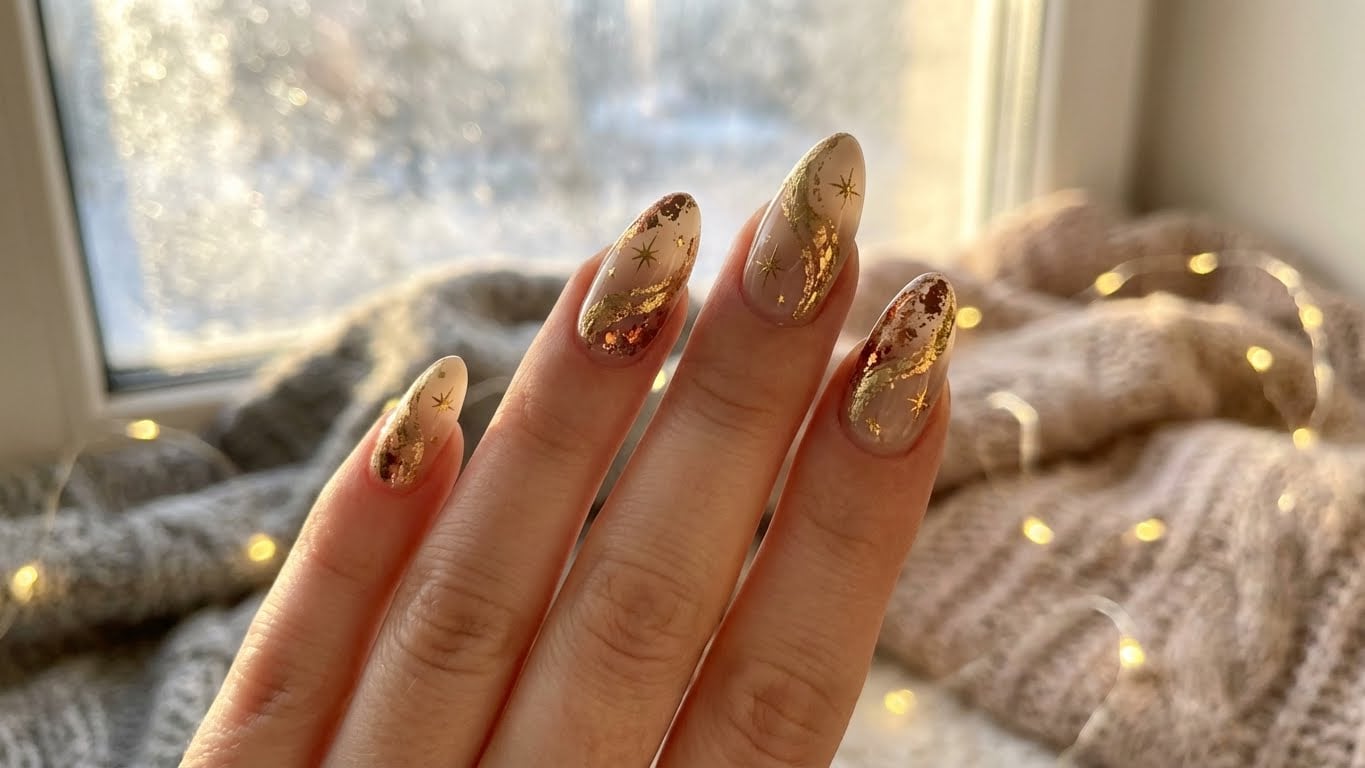
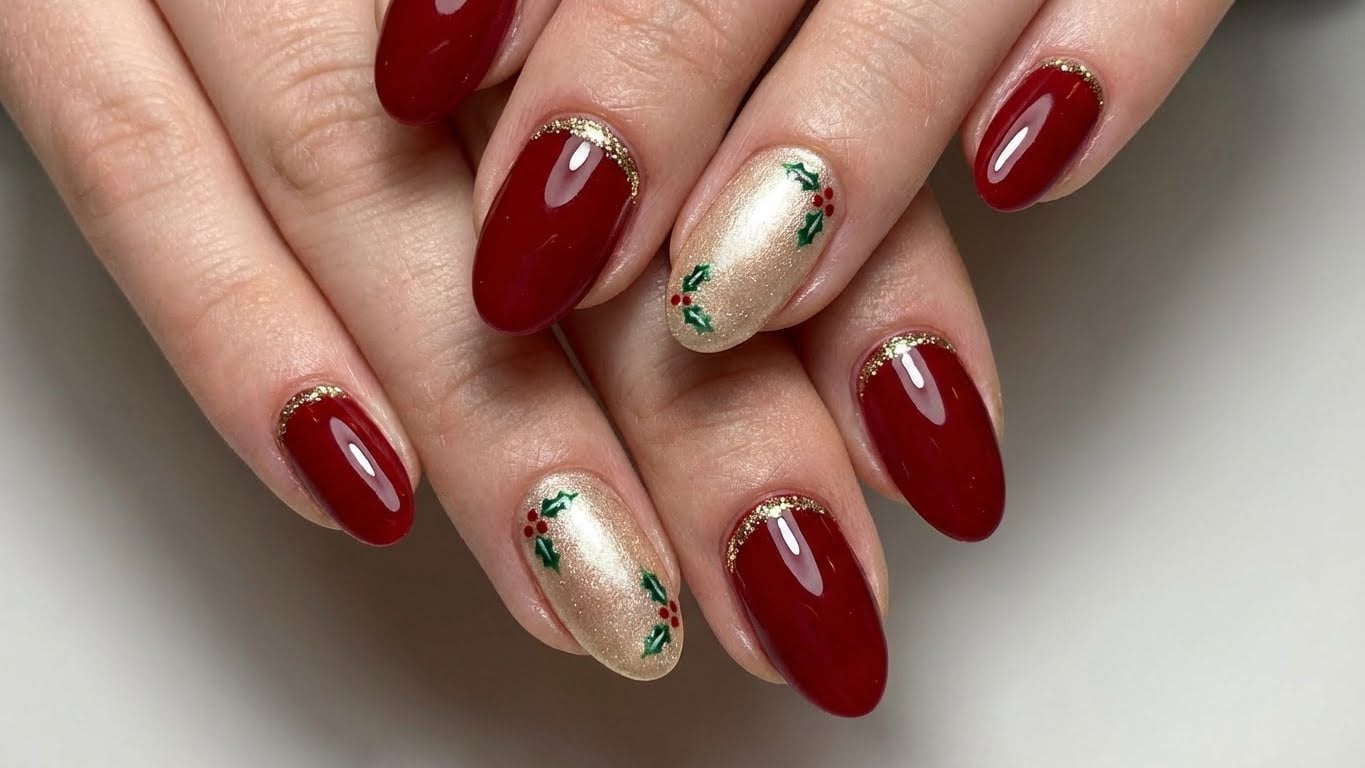
The holiday season is upon us, and what better way to get into the festive spirit than with some sparkling, glittery nails? A glitzy glitter holiday nail look can add a touch of glamour and sophistication to any outfit, making it perfect for parties, gatherings, or just a night out with friends. In this guide, we’ll show you how to create a stunning glitter holiday nail look that’s sure to turn heads.
Gather Your Tools and Materials
Before you start, make sure you have the necessary tools and materials. You’ll need:
* A good quality base coat
* A clear top coat
* A glitter polish (choose your favorite color or combination of colors)
* Nail glue (optional)
* Nail tips or guides (optional)
* A nail file and buffer
* Cuticle oil and pusher
* A nail art brush (for more intricate designs)
Step 1: Prepare Your Nails
To get started, you’ll need to prepare your nails. Remove any old nail polish and push back your cuticles. Use a nail file and buffer to shape your nails to your desired shape. If you want to add some extra sparkle, you can use nail tips or guides to create a more intricate design.
Step 2: Apply a Base Coat
Apply a good quality base coat to protect your nails and help the glitter polish adhere. Make sure to cover the entire nail surface, but avoid getting any polish on your cuticles or skin.
Step 3: Apply Glitter Polish
Now it’s time to apply the glitter polish. You can use a single color or mix and match different colors to create a unique look. Apply a thin layer of polish to the center of your nail, then use a nail art brush to spread it out towards the edges. Make sure to cover the entire nail surface, but avoid getting any polish on your cuticles or skin.
Step 4: Add More Glitter (Optional)
If you want to add even more sparkle to your nails, you can use nail glue to attach small glitters or rhinestones to your nail. You can also use a nail art brush to apply a second layer of glitter polish.
Step 5: Finish with a Top Coat
Once you’ve achieved the desired level of sparkle, finish your look with a clear top coat. This will help seal in the glitter and prevent it from chipping or fading.
Design Ideas and Tips
Here are a few design ideas and tips to help you take your glitter holiday nails to the next level:
* Use a gradient effect to create a ombre look
* Add a touch of metallic or holographic glitter for extra sparkle
* Use a nail art brush to create intricate designs or patterns
* Experiment with different glitter sizes and shapes to create a unique look
* Try using a glitter nail polish with a built-in top coat for an extra-long-lasting finish
Common Mistakes to Avoid
Here are a few common mistakes to avoid when creating glitter holiday nails:
* Applying too much glitter polish, which can lead to a gloopy or uneven finish
* Not using a base coat, which can cause the glitter polish to stain your nails
* Not finishing with a top coat, which can cause the glitter to chip or fade
* Not cleaning up around your cuticles and skin, which can lead to a messy or uneven finish
Conclusion
With these steps and tips, you’ll be well on your way to creating stunning glitter holiday nails that are sure to turn heads. Remember to have fun and experiment with different designs and techniques to find your unique look. Happy decorating!
FAQ
Q: What type of glitter polish should I use?
A: You can use either a loose glitter polish or a glitter polish with a built-in top coat. Loose glitter polish is great for creating a more subtle look, while a glitter polish with a built-in top coat is perfect for a more dramatic look.
FAQ
What type of glitter polish should I use?
You can use either a loose glitter polish or a glitter polish with a built-in top coat. Loose glitter polish is great for creating a more subtle look, while a glitter polish with a built-in top coat is perfect for a more dramatic look.

Related Posts