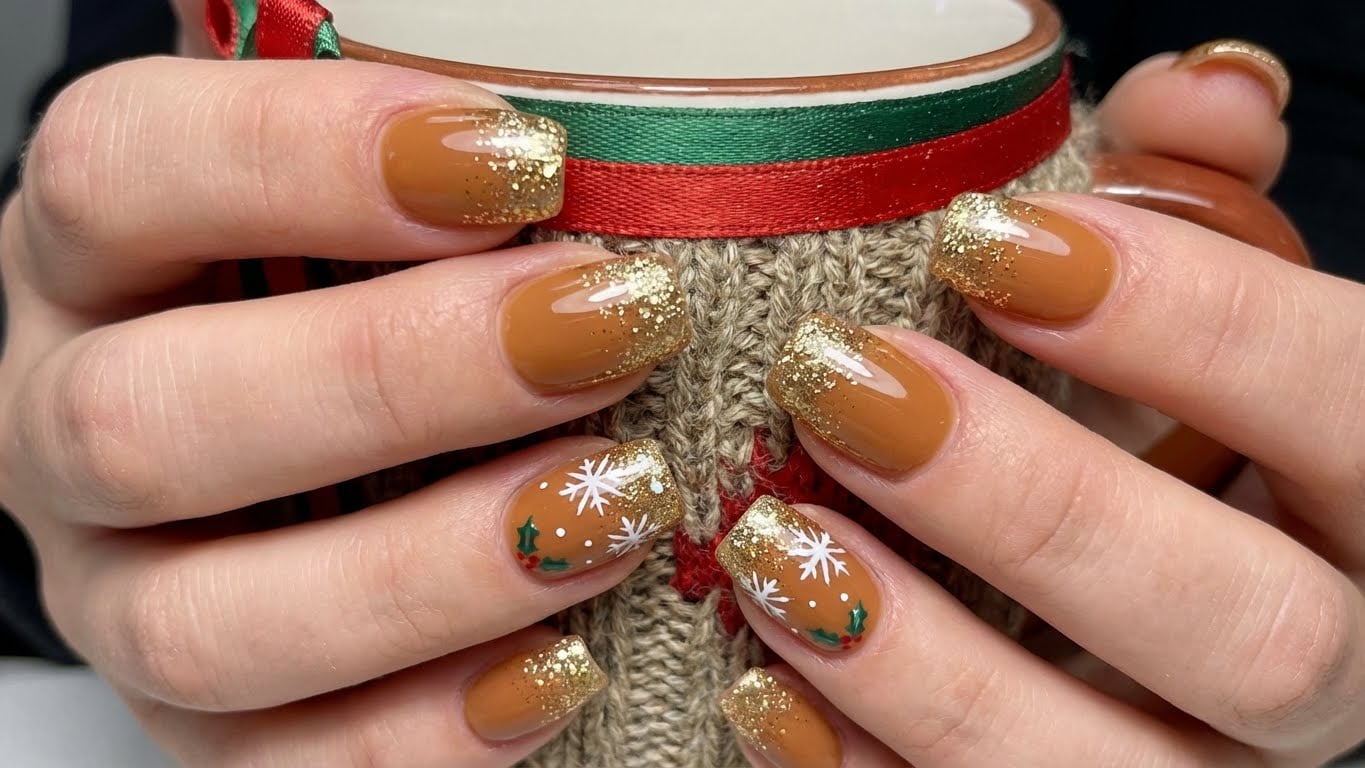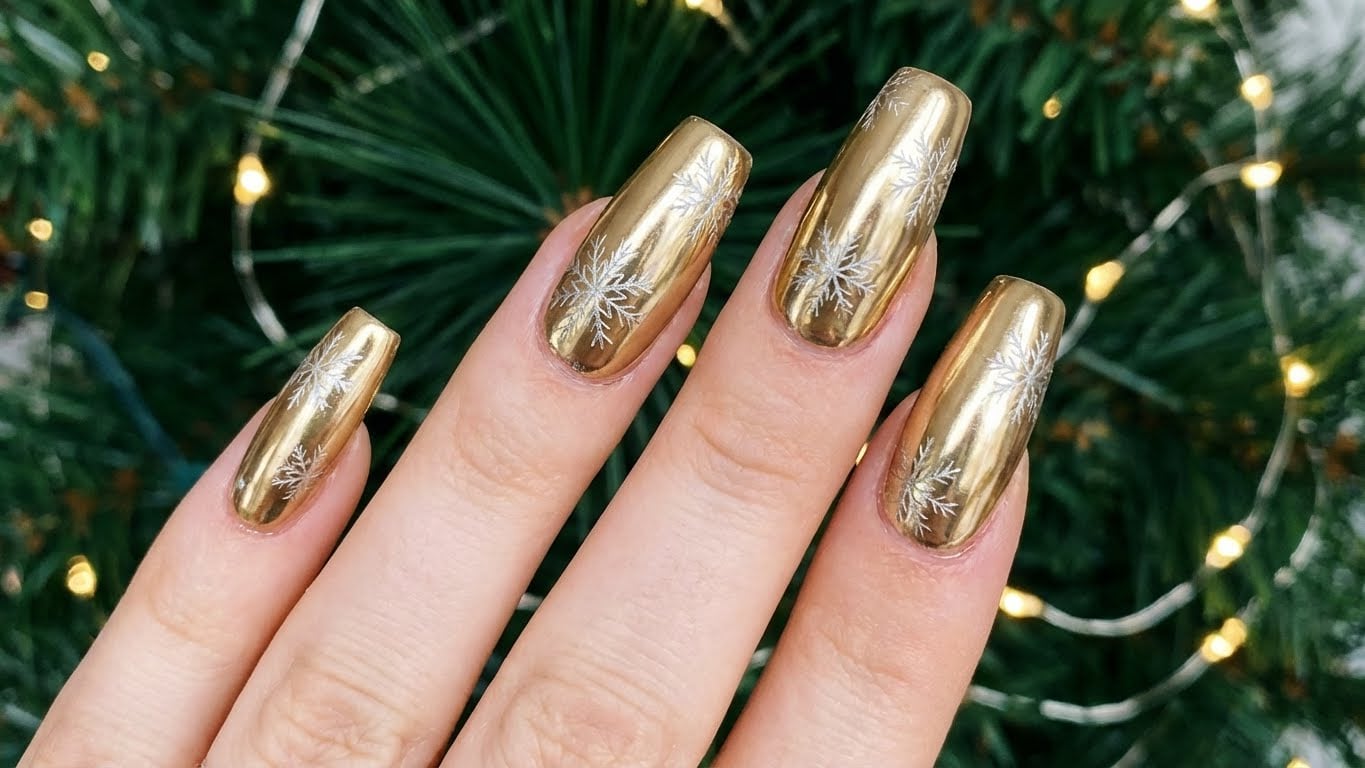
The Magic of Glitter Holiday Nails
Glitter holiday nails are a timeless tradition that adds a touch of glamour to any holiday look. Whether you’re attending a festive party or just want to get into the holiday spirit, glitter nails are a great way to celebrate the season. In this guide, we’ll show you how to create stunning glitter holiday nails that are sure to impress.
Why Glitter Nails are Perfect for the Holidays
Glitter nails are a holiday classic for a reason. They add a touch of sparkle and shine to any outfit, and can be dressed up or down depending on the occasion. Plus, they’re a great way to get creative and express your personal style.
Basic Supplies Needed
Before we dive into the nitty-gritty of creating glitter holiday nails, let’s go over the basic supplies you’ll need. These include:
- Nail polish remover
- Nail clippers
- Nail file
- Base coat
- Glitter polish
- Top coat
- Nail glue (optional)
Step 1: Prep Your Nails
To create stunning glitter holiday nails, you need to start with a clean canvas. Remove any old nail polish and push back your cuticles. Use a nail file to shape your nails to your desired shape.
Step 2: Apply a Base Coat
Apply a thin layer of clear base coat to each of your nails to help the glitter polish adhere. Let it dry completely before moving on to the next step.
Step 3: Apply Glitter Polish
This is the fun part – applying the glitter polish! Use a nail polish brush to apply a thin layer of glitter polish to each of your nails. You can use a single color or get creative and use multiple colors to create a unique design.
Step 4: Add a Top Coat
Once you’ve applied the glitter polish, seal it with a thin layer of clear top coat. This will help the glitter stay in place and prevent it from chipping.
Advanced Techniques: How to Add Glitter on Top of Glitter
If you want to take your glitter holiday nails to the next level, try adding glitter on top of glitter. This technique is called ‘glitter stacking’ and it’s a great way to add extra sparkle to your nails.
To glitter stack, apply a thin layer of clear top coat to your nails, followed by a thin layer of glitter polish. Repeat this process several times, allowing each layer to dry completely before adding the next. Finish off with a thin layer of clear top coat to seal everything in place.
Common Mistakes to Avoid
While creating glitter holiday nails is a fun and creative process, there are a few common mistakes to avoid. These include:
- Applying too much glitter polish at once, which can lead to a messy and uneven finish
- Not letting the glitter polish dry completely before adding a top coat, which can cause the glitter to smudge
- Not using a base coat, which can cause the glitter polish to chip easily
Conclusion
With these tips and tricks, you’re well on your way to creating stunning glitter holiday nails that are sure to impress. Remember to have fun and be creative – the more glitter, the merrier!
FAQ
Q: Can I use glitter polish on natural nails?
A: Yes, you can use glitter polish on natural nails. However, keep in mind that glitter polish can be quite thick and may not adhere well to some nail types. To fix this, try using a nail glue to attach the glitter polish to your nail before sealing it with a top coat.
Affiliate Links
Recommended Supplies
FAQ
Can I use glitter polish on natural nails?
Yes, you can use glitter polish on natural nails. However, keep in mind that glitter polish can be quite thick and may not adhere well to some nail types. To fix this, try using a nail glue to attach the glitter polish to your nail before sealing it with a top coat.

Related Posts