Introduction to Glitter Holiday Nails
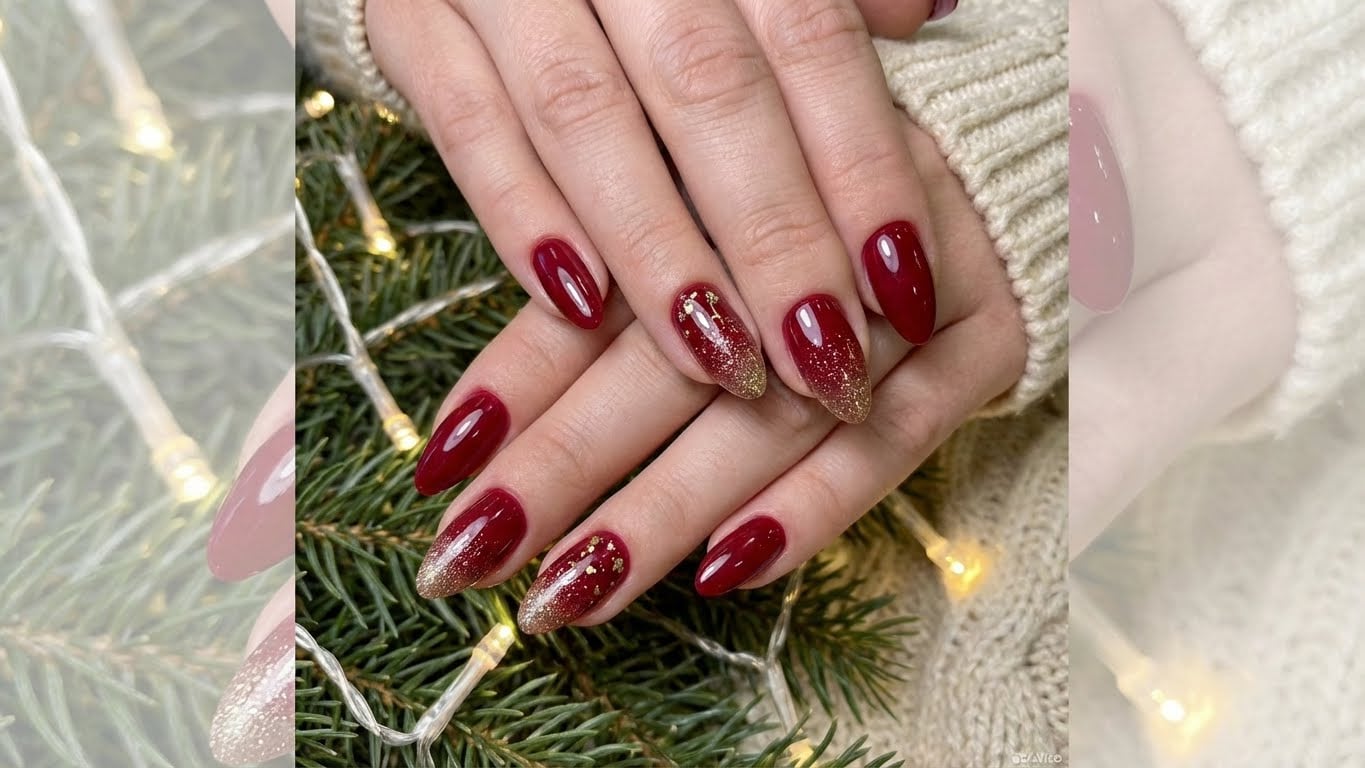
The holiday season is upon us, and what better way to get into the festive spirit than with a dazzling set of glitter holiday nails? Whether you’re a seasoned nail artist or a beginner, creating a glittery manicure can be a fun and rewarding experience. In this guide, we’ll walk you through the steps to create a stunning glitter holiday nail look that’s sure to turn heads.
Materials and Prep
Before you start creating your glitter nail art, you’ll need a few basic supplies. Here’s a list of what you’ll need:
– Nail polish remover
– Nail clippers
– Nail file
– Cuticle oil
– Base coat
– Nail polish (choice of color)
– Glitter top coat
– Glue (for loose glitter)
– Glitter powder (optional)
– Nail dotting tool (optional)
To start, remove any old nail polish from your nails using a nail polish remover. Shape your nails using nail clippers and file them to smooth out any ridges. Apply a small amount of cuticle oil to moisturize your cuticles and nail bed.
Step 1: Base Coat and Color
Apply a thin layer of clear base coat to each nail to protect your nails and help the polish adhere. Next, apply one to two coats of your chosen nail polish color, allowing each coat to dry completely before applying the next.
Step 2: Glitter Top Coat
Now it’s time to add the sparkle to your nails. Shake your glitter top coat well and apply a thin layer to each nail. You can use a brush to apply the glitter, or dip your finger into the bottle and dab the glitter onto your nail.
Tips and Tricks for a Perfect Glitter Finish
– Use a thin layer of glitter top coat to avoid overwhelming the nail with too much glitter.
– Apply the glitter in a steady, smooth motion to achieve an even coat.
– If using loose glitter, apply a small amount of glue to the glitter and attach it to the nail using a nail dotting tool.
Step 3: Adding Loose Glitter (Optional)
If you want to add some extra sparkle to your nails, now’s the time to do it. Apply a small amount of glue to the loose glitter and attach it to the nail using a nail dotting tool. You can also use a dotting tool to create small dots of glitter on each nail.
Step 4: Finishing Touches
Once you’ve applied your glitter top coat and loose glitter (if using), use a nail polish remover to clean up any excess glitter or glue. Apply a thin layer of clear top coat to seal in your glitter and protect your nails.
Common Mistakes to Avoid
– Applying too much glitter top coat, which can result in a clumpy, uneven finish.
– Not allowing each layer of polish to dry completely before applying the next, which can lead to a smudgy, uneven finish.
Conclusion
With these simple steps, you can create a stunning glitter holiday nail look that’s sure to turn heads. Remember to have fun and experiment with different colors and techniques to make your nail art truly unique.
FAQ
Q: Can I use regular glitter on my nails?
A: While regular glitter can be used on nails, it’s not the best option. Loose glitter can be difficult to apply and can flake off easily, while regular glitter top coat can be too thick and clumpy. Opt for a glitter top coat specifically designed for nail use for the best results.
FAQ
Can I use regular glitter on my nails?
While regular glitter can be used on nails, it's not the best option. Loose glitter can be difficult to apply and can flake off easily, while regular glitter top coat can be too thick and clumpy. Opt for a glitter top coat specifically designed for nail use for the best results.
Related Posts