Introduction
The holiday season is upon us, and what better way to get into the spirit than with a show-stopping glitter nail design? Whether you’re a seasoned nail artist or a beginner, creating glitter holiday nails can seem daunting, but with the right techniques and inspiration, you’ll be well on your way to achieving a look that’s sure to turn heads.
Choosing the Right Glitter
Before you can start creating your glittery masterpiece, you’ll need to choose the right type of glitter. There are several options to consider, including:
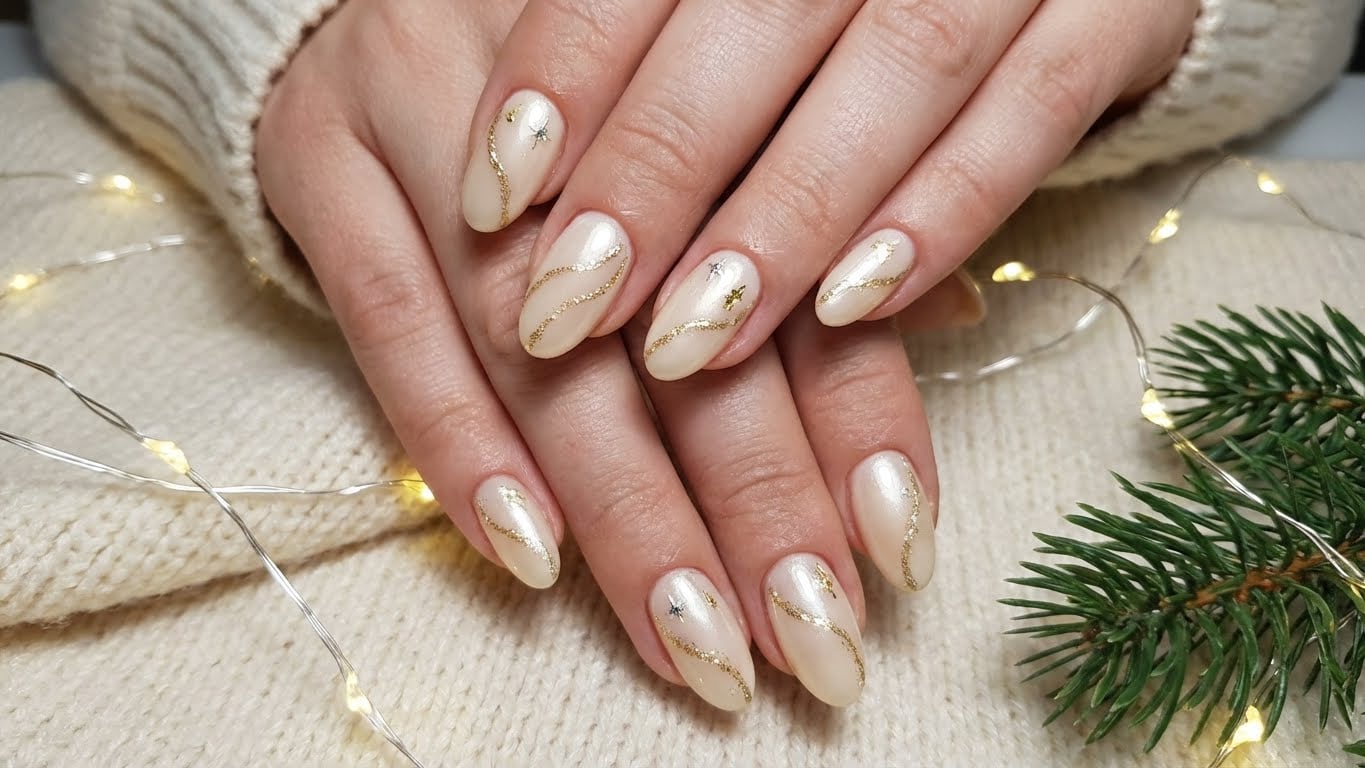
– Small glitters: These tiny glitters are perfect for creating intricate designs and are often used in nail art.
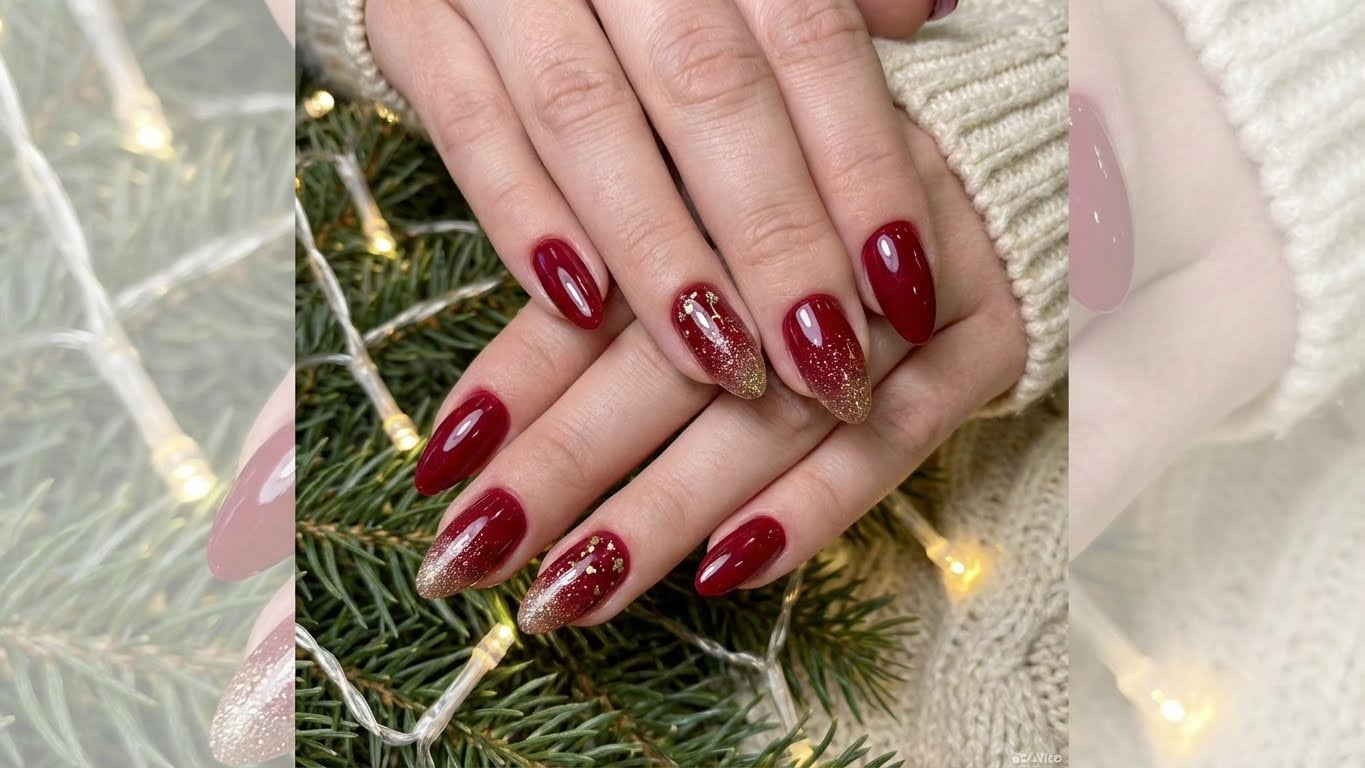
– Large glitters: These bigger glitters are great for making a statement and adding volume to your nail design.
– Glitter toppers: These pre-made glitter toppers can be applied on top of a base coat for a quick and easy glittery look.
Step 1: Prep Your Nails
Before you can start applying glitter, you’ll need to prep your nails. Make sure to remove any old nail polish and push back your cuticles. Next, apply a base coat to protect your nails and promote even glitter adhesion.
Step 2: Apply Glitter
Now it’s time to apply the glitter! You can use a variety of methods, including:
– Glitter dusting: This involves dusting glitter onto your nail using a small brush.
– Glitter stamping: This involves using a glitter stamp to apply intricate designs.
– Glitter nail polish: This involves applying a glitter-infused nail polish directly onto your nail.
Step 3: Seal with a Top Coat
Once you’ve applied your glitter, it’s time to seal it in with a top coat. This will help prevent the glitter from chipping or fading.
Step 4: Add Finishing Touches
Finally, it’s time to add any finishing touches to your glitter holiday nails. This might include adding a clear coat, applying a nail art design, or adding some extra sparkle with a glitter nail art pen.
Nail Art Ideas
If you’re feeling adventurous, why not try creating a unique nail art design to match your glitter holiday nails? Here are a few ideas to get you started:
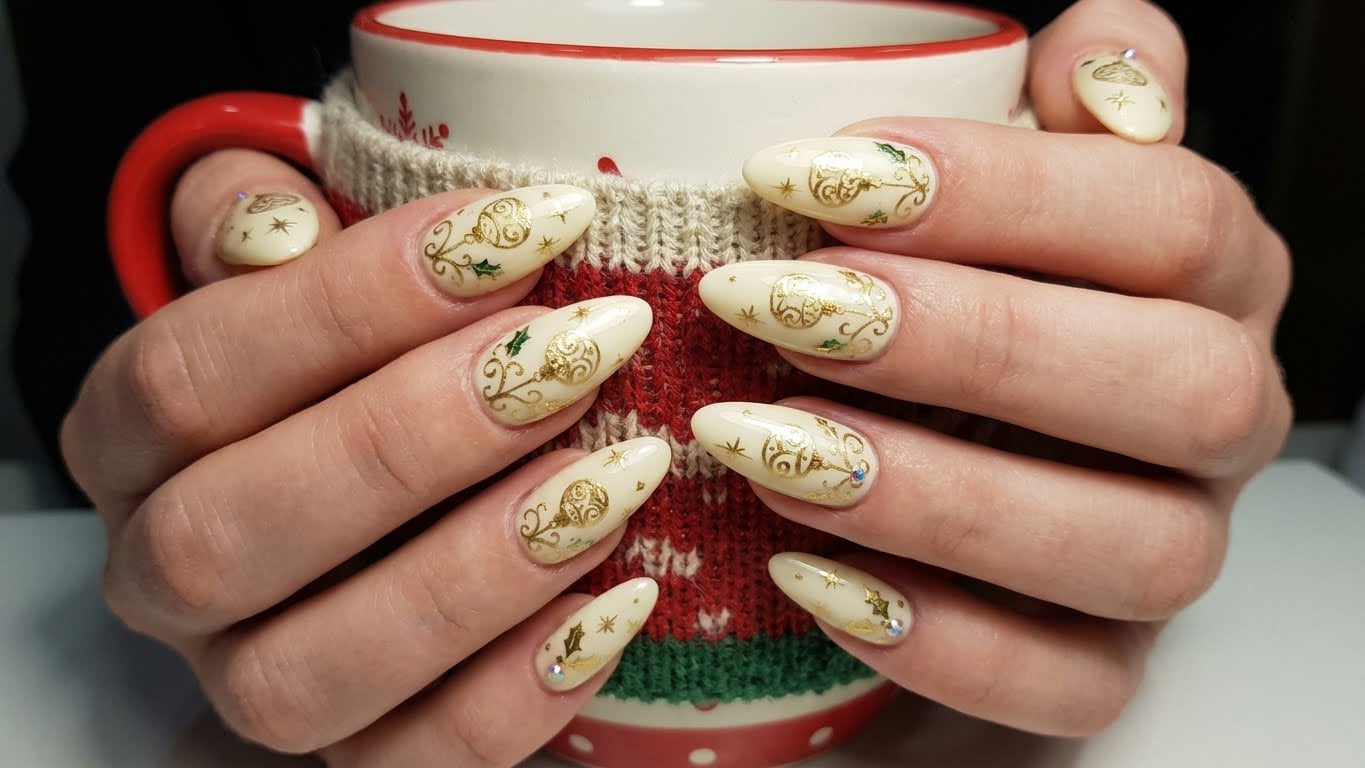
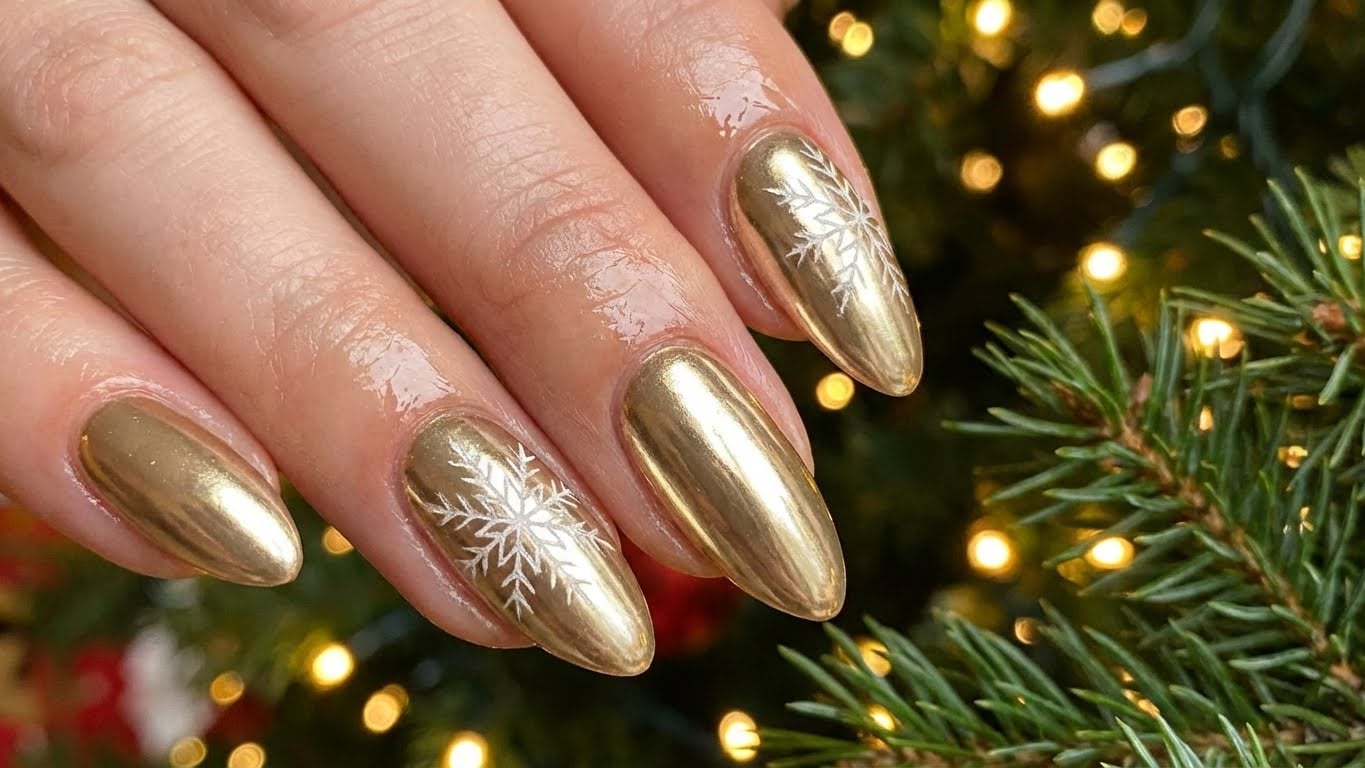
– Glitter snowflakes: Create intricate snowflakes using small glitters and a nail art brush.
– Glitter trees: Use large glitters to create a tree design, complete with branches and ornaments.
– Glitter snowmen: Create a fun and festive snowman design using small glitters and a nail art brush.
Expert Tips
Here are a few expert tips to help you achieve the perfect glitter holiday nails:
– Use a base coat: Apply a base coat to protect your nails and promote even glitter adhesion.
– Choose the right glitter: Select the right type of glitter for your design, taking into account the size and type of glitter you need.
– Seal with a top coat: Apply a top coat to seal in your glitter and prevent chipping or fading.
Conclusion</hassistant
{
“title”: “A Guide to Glitter Holiday Nails: Tips, Tricks, and Inspiration

Related Posts