### Introduction
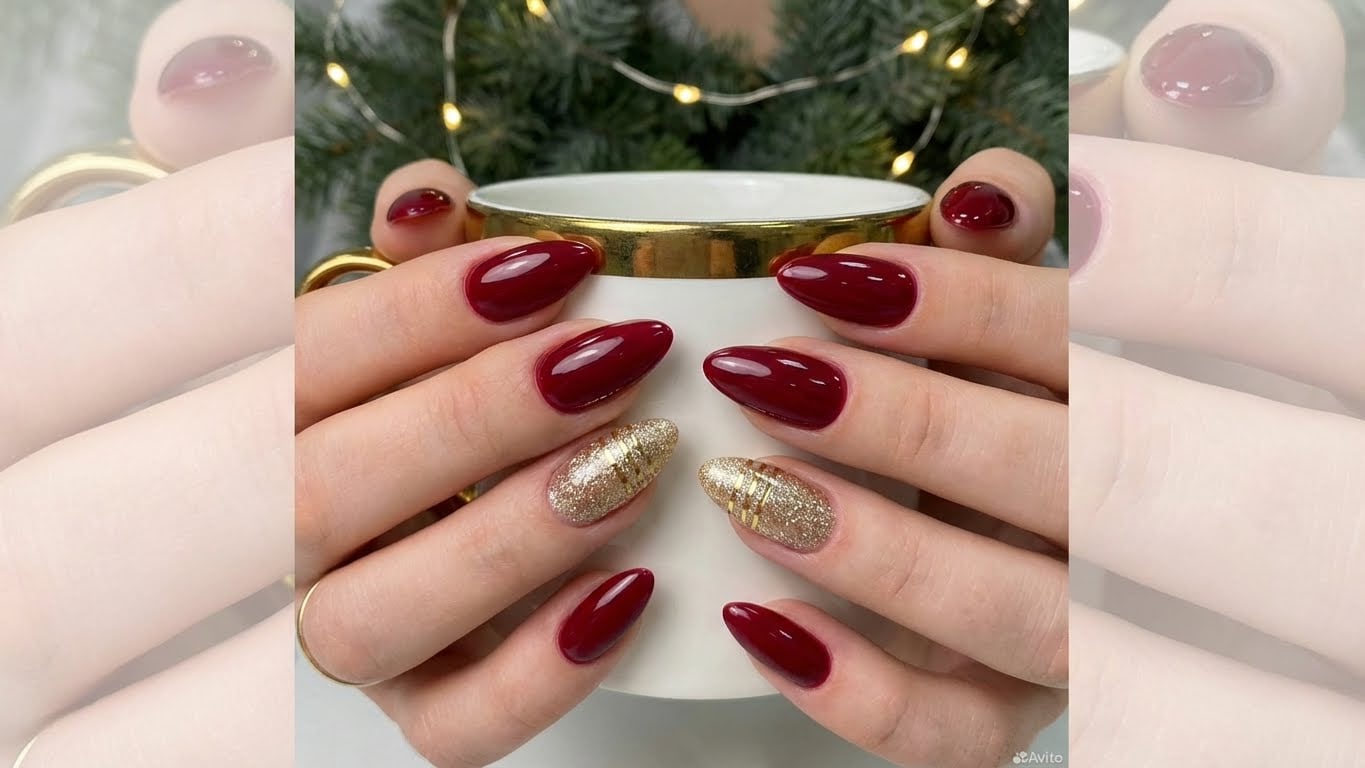
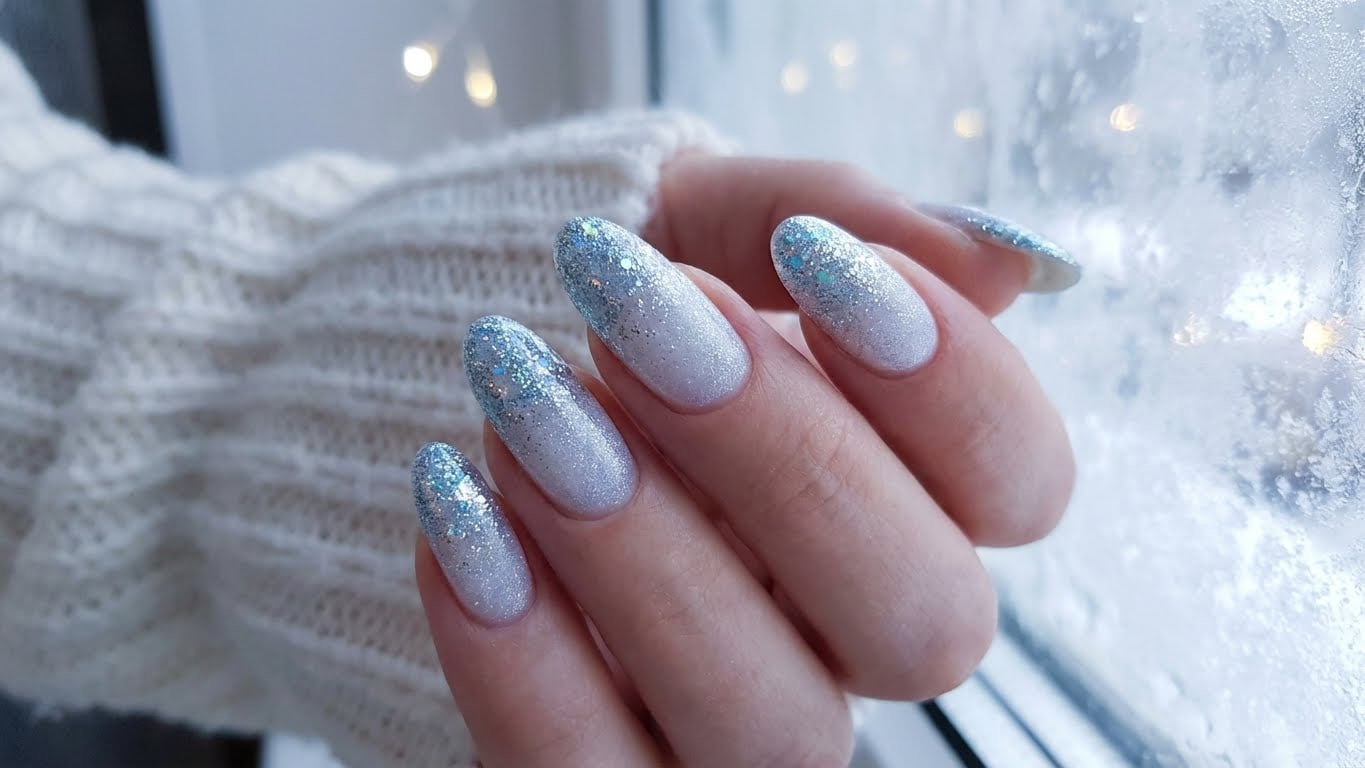
The holiday season is a time for sparkle, shine, and festive fun. What better way to get into the spirit than with a dazzling set of holiday nails? Glitter nails are a classic winter wonderland look that never goes out of style. In this guide, we’ll take you through the steps to create a show-stopping glitter holiday nail design that’s sure to impress.
### Preparing Your Nails
Before you start getting creative with glitter, you’ll need to prep your nails. Here’s a quick rundown on how to get your nails ready for a glitter holiday nail design:
* Remove any old nail polish with a nail polish remover.
* Shape and buff your nails to your desired shape.
* Apply a base coat to protect your nails and promote polish adhesion.
### Choosing the Right Glitter
With so many different types of glitter available, it can be overwhelming to choose the right one for your holiday nails. Here are a few factors to consider:
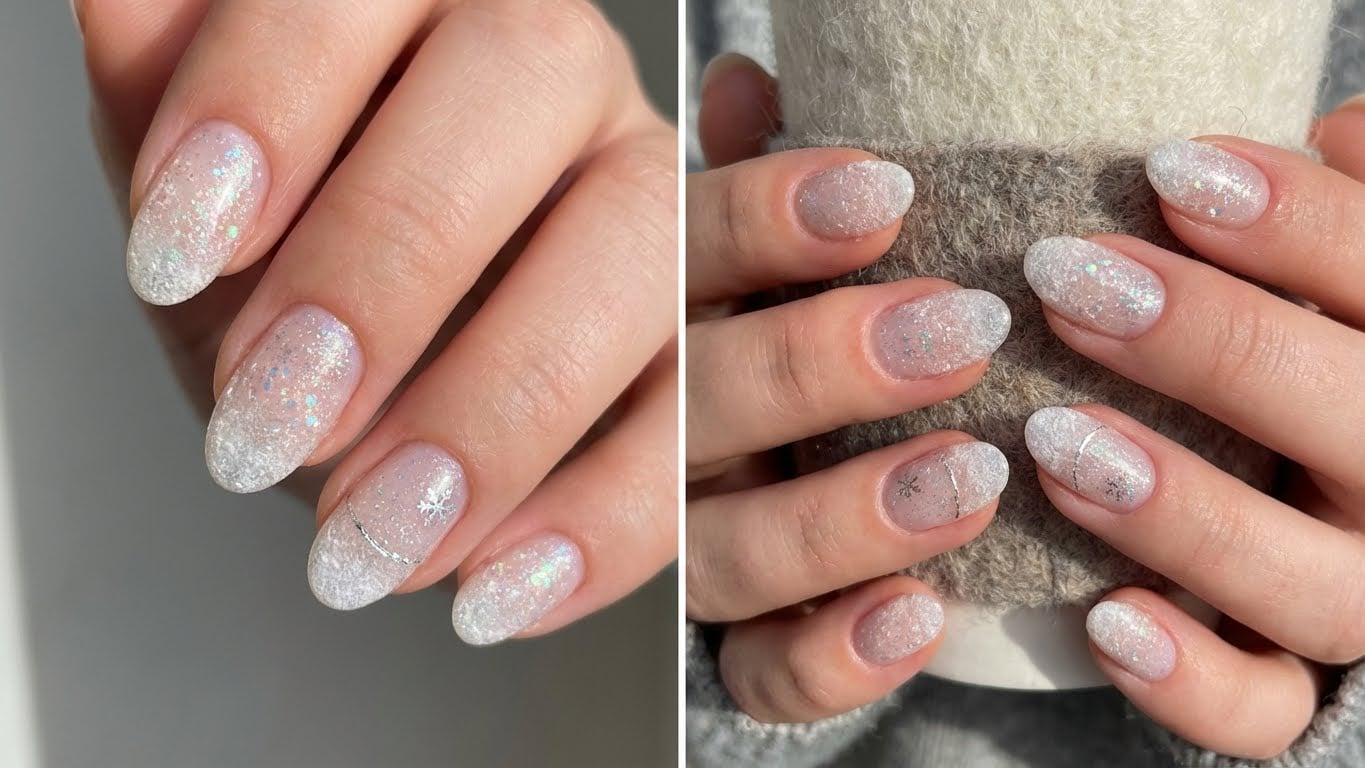
* **Glitter size**: Larger glitters can be more dramatic, but may be harder to work with. Smaller glitters are often easier to apply and create a more subtle look.
* **Glitter shape**: Round glitters create a smooth, even finish, while irregularly shaped glitters can add a fun, textured element to your design.
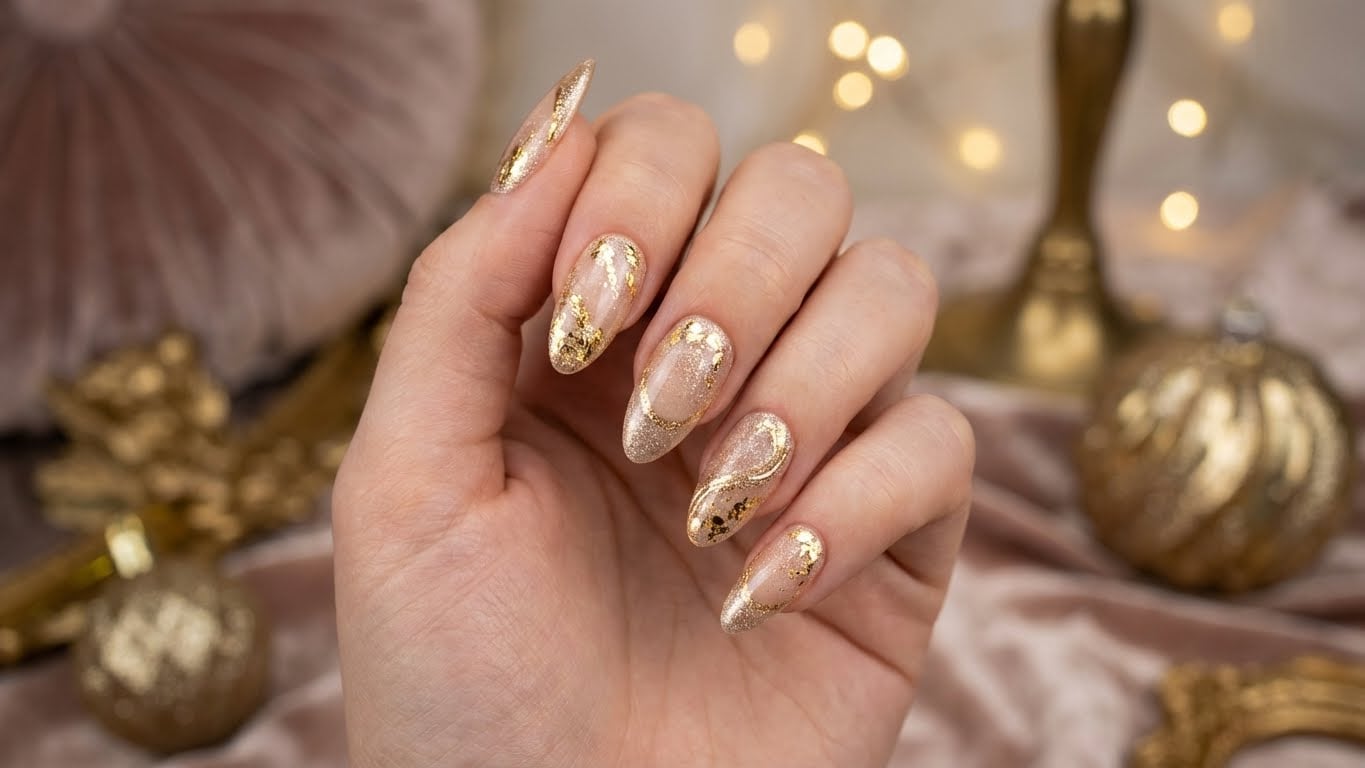
* **Glitter color**: Choose a glitter that complements your nail polish color. For a traditional holiday look, try pairing red or green glitters with a metallic or neutral polish.
### Applying Glitter
Now it’s time to get creative with glitter! Here’s how to apply glitter to your nails:
* **Glue**: Apply a small amount of clear glue to the back of a piece of glitter paper or a glue-on glitter strip. This will help the glitter stick to your nail.
* **Glittering**: Apply the glitter to your nail, smoothing it out with a lint-free wipe or a cotton swab. Make sure to cover the entire nail surface.
* **Sealing**: Apply a top coat to seal in the glitter and prevent it from chipping.
### Adding Finishing Touches
Once your glitter is applied and sealed, it’s time to add some finishing touches to your design. Here are a few ideas:
* **Nail art**: Use a nail art brush to add a pattern or design to your glitter nail. You can use nail polish, glitter, or even a nail art pen to create your design.
* **Rhinstones**: Add some extra sparkle with rhinestones or other embellishments.
* **Nail stickers**: Use nail stickers to add a fun, festive design to your nail.
### Tips and Tricks
Here are a few tips and tricks to help you achieve the perfect glitter holiday nails:
* **Use a dotting tool**: A dotting tool can help you apply glitter in a more precise, controlled way.
* **Tap off excess glitter**: After applying glitter, tap off any excess with a lint-free wipe or a cotton swab.
* **Be patient**: Applying glitter can be a bit messy and time-consuming. Be patient and take your time to achieve the best results.
### Conclusion
With these steps, you’re ready to create your own stunning glitter holiday nails. Remember to have fun and be creative with your design. Don’t be afraid to experiment and try new things – after all, that’s what the holiday season is all about!”
“### FAQ
*q*: What’s the best way to remove glitter from my nails?
*a*: To remove glitter from your nails, try using a nail polish remover to dissolve the glue. You can also use a gentle scrubber or a lint-free wipe to gently remove excess glitter.

Related Posts