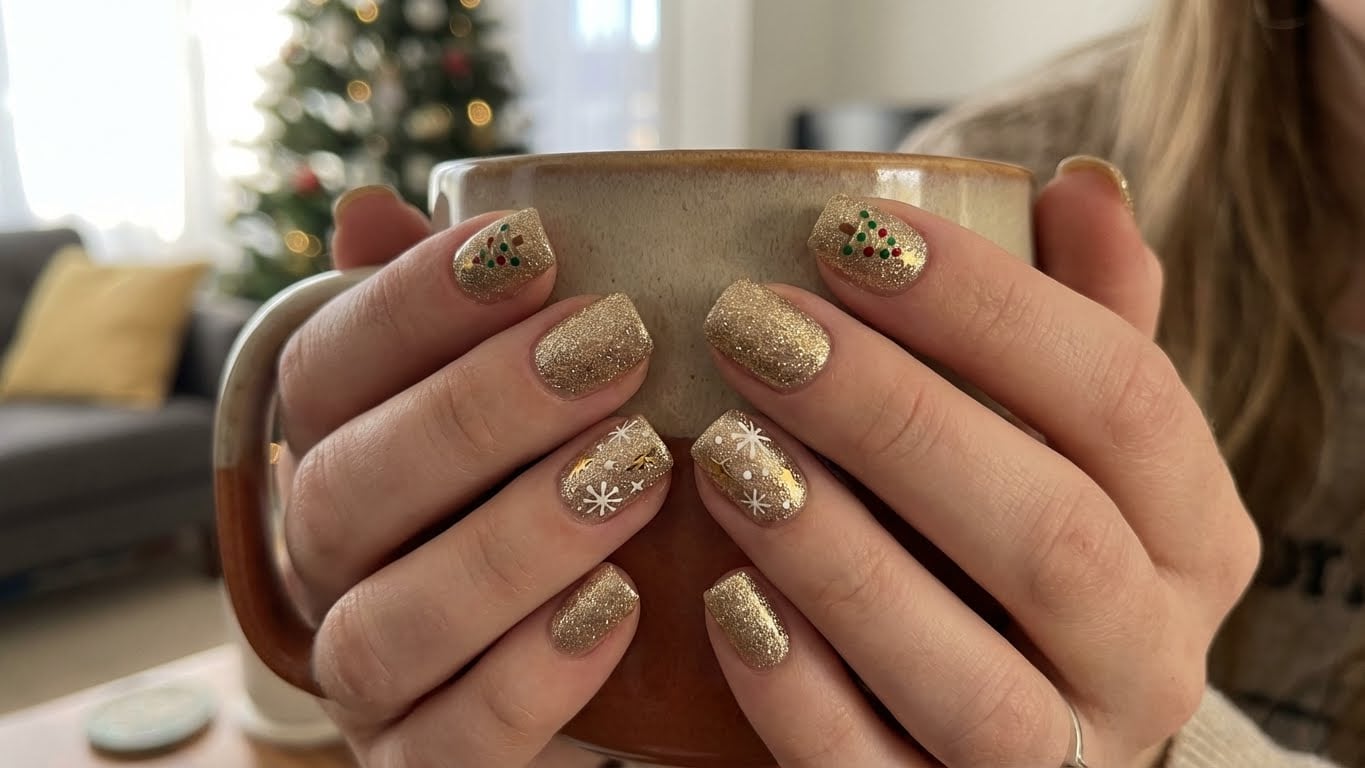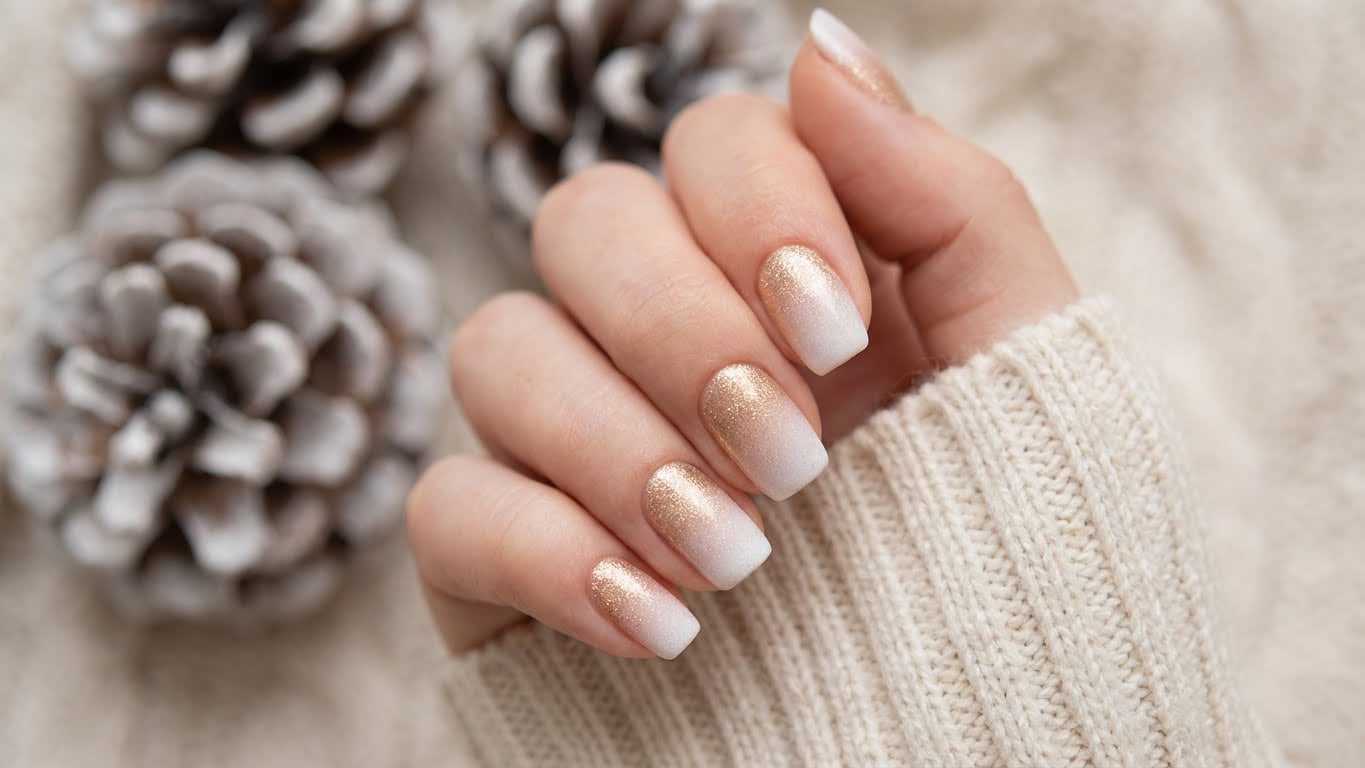
Why Glitter Holiday Nails are a Must-Try
Getting into the holiday spirit has never been easier. One of the best ways to add some sparkle to your season is with glitter holiday nails. Whether you’re attending a festive party or just want to get into the mood, this fun and easy DIY project is sure to make you shine.
The Benefits of Glitter Holiday Nails
Not only are glitter holiday nails a great way to express your holiday style, but they’re also a fun and creative way to spend time with friends and family. Plus, with a little practice, you can achieve a professional-looking finish at home.
Materials Needed
Before you begin, make sure you have the following materials on hand:
– Nail polish remover
– Base coat
– Glitter nail polish (choose a few different colors for a unique look)
– Top coat
– Nail polish brush
– Cuticle oil
– Nail glue
– Glitter nail polish strips (optional)
Step 1: Prep Your Nails
To ensure your glitter holiday nails last as long as possible, start by prepping your nails. Remove any old nail polish with a good nail polish remover and push back your cuticles. This will give you a clean slate to work with.
Step 2: Apply Base Coat
Next, apply a thin layer of clear base coat to each of your nails. This will help protect your nails and prevent staining.
Step 3: Apply Glitter Nail Polish
Now it’s time for the fun part – applying your glitter nail polish! Dip the brush into the bottle and wipe off any excess polish on the rim of the bottle. Apply a thin layer of glitter polish to each of your nails, starting at the center and working your way out towards the tips. Be sure to let each layer dry completely before adding more polish.
Step 4: Add a Second Coat (Optional)
If you want a more intense glitter look, you can apply a second coat of glitter polish. Just be sure to let the first layer dry completely before adding more polish.
Step 5: Apply Top Coat
Once you’ve achieved your desired glitter effect, apply a thin layer of clear top coat to seal everything in place.
Step 6: Add a Final Touch with Glitter Strips (Optional)
If you want to add an extra touch of sparkle to your glitter holiday nails, consider using glitter nail polish strips. These pre-made strips are easy to apply and come in a variety of different designs.
Step 7: Finish with Cuticle Oil
Finally, finish off your glitter holiday nails with a good cuticle oil. This will help keep your nails and cuticles hydrated and healthy-looking.
Conclusion
With these easy steps, you can achieve the perfect glitter holiday nails at home. Whether you’re a seasoned nail artist or a DIY novice, this fun and easy project is sure to bring a smile to your face. So why not give it a try and get into the holiday spirit with sparkling glitter nails?
FAQ: Can I Use Glitter Nail Polish on Acrylic Nails?
Yes, you can use glitter nail polish on acrylic nails. However, be sure to apply a base coat first to ensure the polish adheres properly to the acrylic surface. Additionally, consider using a glitter top coat to help prevent the glitter from lifting off the nail.
Get Started with Your Glitter Holiday Nails Today!
With a little practice and patience, you can achieve a professional-looking finish at home. So why not get started today and add some sparkle to your holiday season?
FAQ
Can I use glitter nail polish on acrylic nails?
Yes, you can use glitter nail polish on acrylic nails. However, be sure to apply a base coat first to ensure the polish adheres properly to the acrylic surface. Additionally, consider using a glitter top coat to help prevent the glitter from lifting off the nail.

Related Posts