Introduction to Glitter Holiday Nails
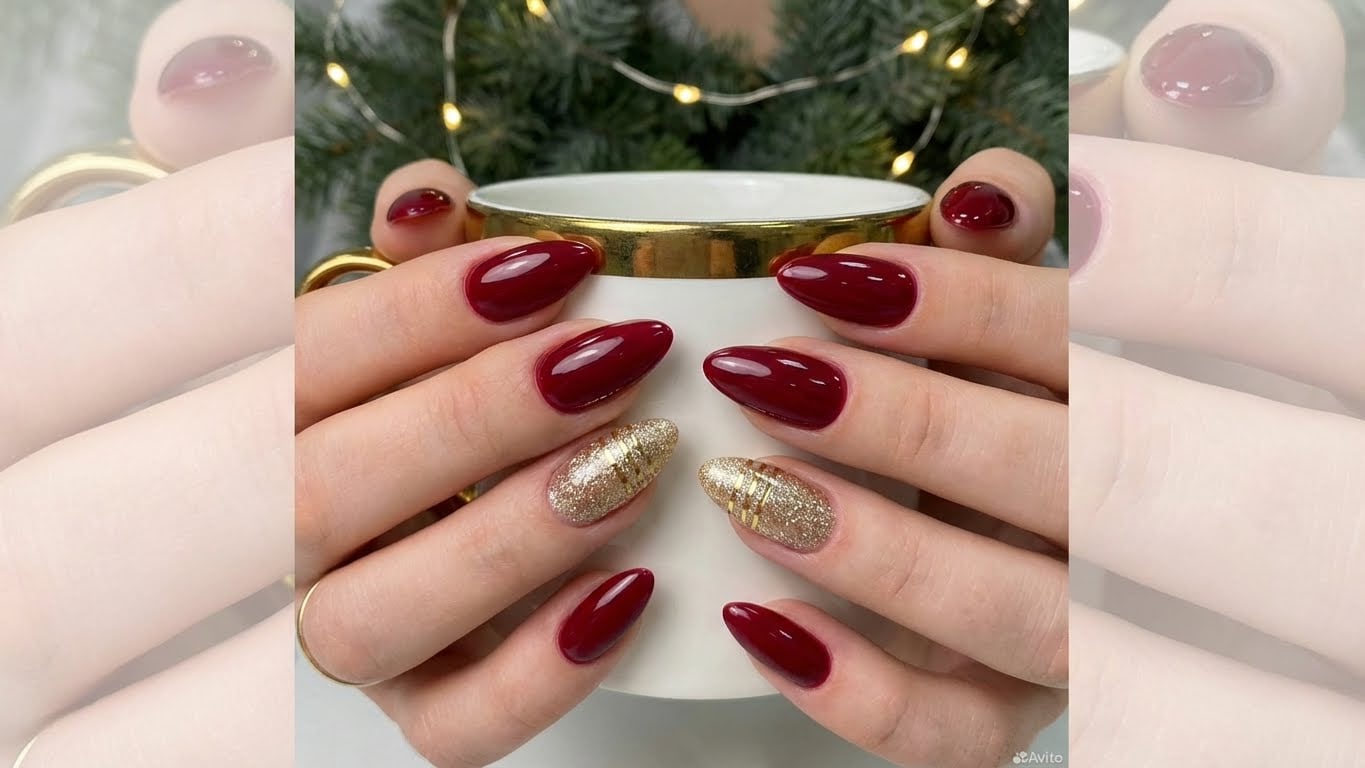
The holiday season is just around the corner, and with it comes the perfect opportunity to get creative with your nail art. Glitter holiday nails are a popular trend that adds a touch of festive fun to any look. In this article, we’ll take you through a step-by-step guide on how to achieve a stunning glitter manicure, complete with expert tips and tricks.
Materials Needed
To get started, you’ll need the following materials:
* Nail polish remover
* Nail clippers
* Nail file
* Cuticle pusher
* Cuticle oil
* Nail glue
* Glitter polish
* Top coat
* Nail art brush (optional)
Step 1: Prep Your Nails
Before you start applying glitter polish, make sure your nails are prepped and ready. Remove any old nail polish using a nail polish remover, and push back your cuticles using a cuticle pusher. Apply a small amount of cuticle oil to moisturize your cuticles and nail beds.
Step 2: Shape and File Your Nails
Use nail clippers to shape your nails to your desired shape. Then, use a nail file to smooth out any ridges or imperfections. Make sure to file in one direction only, from the cuticle to the tip of your nail.
Step 2.1: Use a Nail Buffer for a Smooth Finish
If you want to achieve a super-smooth finish, use a nail buffer to gently buff your nails. This will help remove any remaining ridges and leave your nails feeling smooth and silky.
Step 3: Apply Nail Glue
Apply a small amount of nail glue to the back of your nail to help the glitter polish adhere. Make sure to apply a thin layer, as too much glue can cause the glitter to clump or lift off the nail.
Step 4: Apply Glitter Polish
Using a nail art brush (if desired), apply a thin layer of glitter polish to your nails. Make sure to cover the entire nail surface, but avoid getting polish on your cuticles or skin.
Step 4.1: Use a Glitter Polish with a Built-In Top Coat
If you’re short on time, consider using a glitter polish that has a built-in top coat. This will save you from having to apply a separate top coat, and will also help extend the wear of your glitter manicure.
Step 5: Finish with a Top Coat
Once the glitter polish is dry, apply a thin layer of top coat to seal in the glitter and add shine to your nails. Make sure to apply a thin layer, as too much top coat can cause the glitter to become cloudy or dull.
Step 5.1: Add a Clear Glaze for Extra Shine
For an extra-shiny finish, apply a clear glaze over your top coat. This will add an extra layer of shine and help protect your nails from chipping or fading.
Expert Tips and Tricks
To achieve the best results with your glitter holiday nails, be sure to follow these expert tips and tricks:
* Use a base coat to help protect your nails and prevent staining.
* Apply a thin layer of glitter polish to avoid clumping or uneven coverage.
* Use a nail art brush to apply glitter polish for more precise control.
* Avoid using glitter polish on nails that are already chipped or damaged, as this can cause the glitter to lift off or become uneven.
* To make your glitter manicure last longer, avoid using harsh chemicals or detergents, and wear gloves when washing dishes or engaging in other activities that can dry out your nails.
FAQ
-
Q: How do I remove glitter polish from my nails?

A: To remove glitter polish, use a nail polish remover and gently scrape off the glitter using a cuticle pusher or a nail file. Be careful not to scratch your nails!
Conclusion
With these step-by-step instructions and expert tips, you’re ready to create your own stunning glitter holiday nails. Whether you’re a seasoned nail artist or a beginner, this guide has everything you need to get started. So why wait? Get creative and add some festive flair to your holiday look with glitter holiday nails!
FAQ
How do I remove glitter polish from my nails?
To remove glitter polish, use a nail polish remover and gently scrape off the glitter using a cuticle pusher or a nail file. Be careful not to scratch your nails!
Related Posts