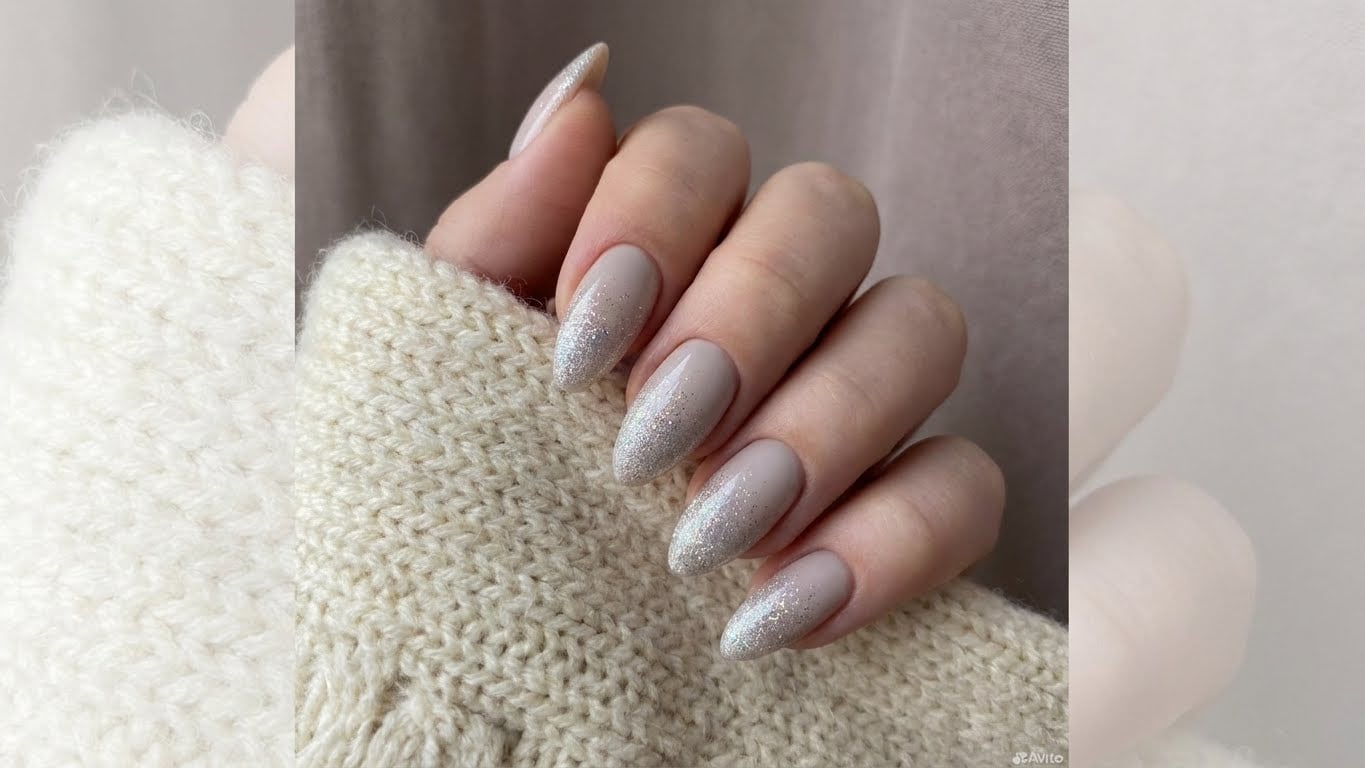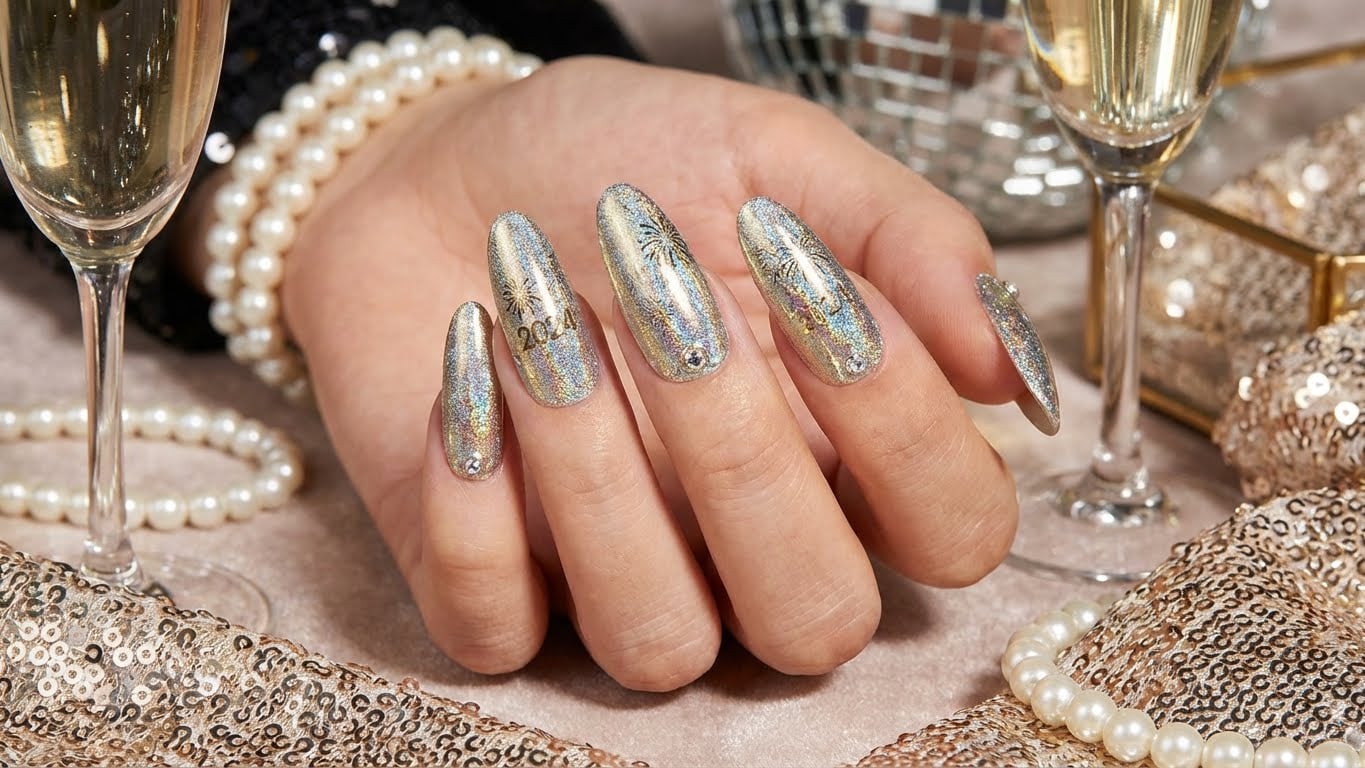
Dazzle This Christmas: How to Create Stunning Gold Christmas Nails
Get ready to shine this holiday season with a dazzling gold Christmas nail look. Whether you’re a seasoned nail artist or a DIY novice, this guide will walk you through the steps to achieve a stunning gold Christmas nail design.

Materials Needed
To create your gold Christmas nails, you’ll need the following materials:
- Base coat
- Nail polish in gold or metallic shades
- Nail polish remover
- Cotton balls or pads
- Nail art brush (optional)
- Gold glitter or nail stickers (optional)
Step 1: Prep Your Nails
Before you start, make sure to remove any old nail polish and push back your cuticles. This will ensure a smooth and even application of the gold polish.
Step 2: Apply Base Coat
Apply a thin layer of clear base coat to each nail. This will help protect your natural nail and prevent staining.
Step 3: Apply Gold Polish
Choose your gold or metallic polish and apply a thin layer to each nail. Make sure to let the first layer dry completely before applying additional coats.
Step 4: Add a Second Coat (Optional)
If you want a deeper, more metallic finish, apply a second coat of gold polish. Be careful not to apply too much polish, as this can cause the nail to become thick and heavy.
Step 5: Add Gold Glitter or Nail Stickers (Optional)
For an extra touch of sparkle, add gold glitter or nail stickers to your design. Use a nail art brush to apply the glitter or stickers, and make sure to let the adhesive dry completely before applying a top coat.
Step 6: Finish with Top Coat
Apply a thin layer of clear top coat to seal in your design and add shine.
Tips and Tricks
To ensure a long-lasting gold Christmas nail design, make sure to:
- Use a good quality base coat and top coat
- Apply thin layers of polish to prevent thickening
- Let each layer dry completely before applying additional coats
- Avoid using your nails as tools (e.g. opening packages, picking at things)
Get Creative with Your Design
Don’t be afraid to get creative with your gold Christmas nail design. Try adding different shapes, patterns, or textures to make your look truly unique.
Common Mistakes to Avoid
Here are some common mistakes to avoid when creating your gold Christmas nails:
- Applying too much polish, causing the nail to become thick and heavy
- Not letting each layer dry completely before applying additional coats
- Not using a good quality base coat and top coat
Conclusion
Creating stunning gold Christmas nails is easier than you think. With these simple steps and a few tips and tricks, you’ll be shining bright this holiday season.
FAQs
1. What type of gold polish is best for Christmas nails?
A: Choose a gold or metallic polish that’s specifically designed for nail art. These polishes are usually more durable and long-lasting than regular polish.
2. How do I prevent my gold polish from staining my nails?
A: Make sure to apply a good quality base coat and let it dry completely before applying the gold polish. This will help prevent staining and ensure a smooth application.
3. Can I use gold glitter nail polish instead of adding gold glitter on top?
A: Yes, you can use gold glitter nail polish instead of adding gold glitter on top. This will give you a more uniform and sparkly finish.
4. How do I remove gold polish from my nails?
A: Use a nail polish remover and cotton balls or pads to gently remove the gold polish. Be careful not to scratch your nails.
Keywords
gold christmas nails, holiday nail art, nail design, gold polish, metallic nails, nail art brush, gold glitter, nail stickers
FAQ
What type of gold polish is best for Christmas nails?
Choose a gold or metallic polish that's specifically designed for nail art. These polishes are usually more durable and long-lasting than regular polish.
How do I prevent my gold polish from staining my nails?
Make sure to apply a good quality base coat and let it dry completely before applying the gold polish. This will help prevent staining and ensure a smooth application.
Can I use gold glitter nail polish instead of adding gold glitter on top?
Yes, you can use gold glitter nail polish instead of adding gold glitter on top. This will give you a more uniform and sparkly finish.
How do I remove gold polish from my nails?
Use a nail polish remover and cotton balls or pads to gently remove the gold polish. Be careful not to scratch your nails.
Related Posts