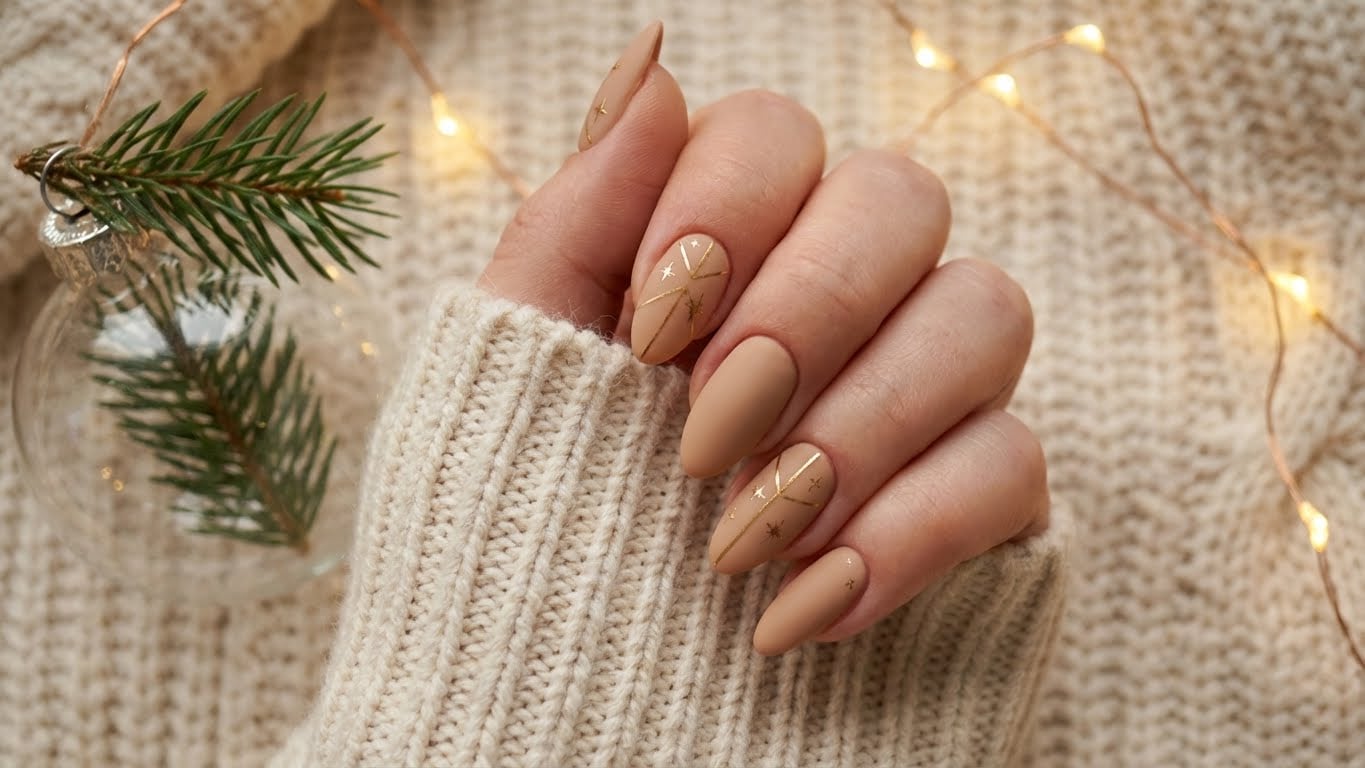
Introduction to Gold Christmas Nails
Gold Christmas nails are a festive twist on traditional holiday nail art. This look is perfect for those who want to add a touch of glamour and sophistication to their holiday party outfits. In this article, we’ll take you through the steps to create a beautiful gold Christmas nail design.
Materials Needed
Before we begin, make sure you have the following materials:
* A base coat
* A clear top coat
* A gold nail polish
* A nail polish remover
* Nail art brushes
* A nail art dotting tool (optional)
* A gold stamping plate (optional)
* Nail guides (optional)
Step 1: Prep Your Nails
The first step in creating gold Christmas nails is to prep your nails. Start by removing any old nail polish using a nail polish remover. Once your nails are clean, use a base coat to protect them from staining.
Step 2: Apply a Base Coat
Apply a thin layer of base coat to each nail, making sure to cover the entire surface. This will help the gold nail polish adhere evenly.
Choosing the Right Base Coat
When choosing a base coat, make sure it’s one that’s specifically designed for nail art. These base coats usually have a special formula that helps the nail polish adhere and lasts longer.
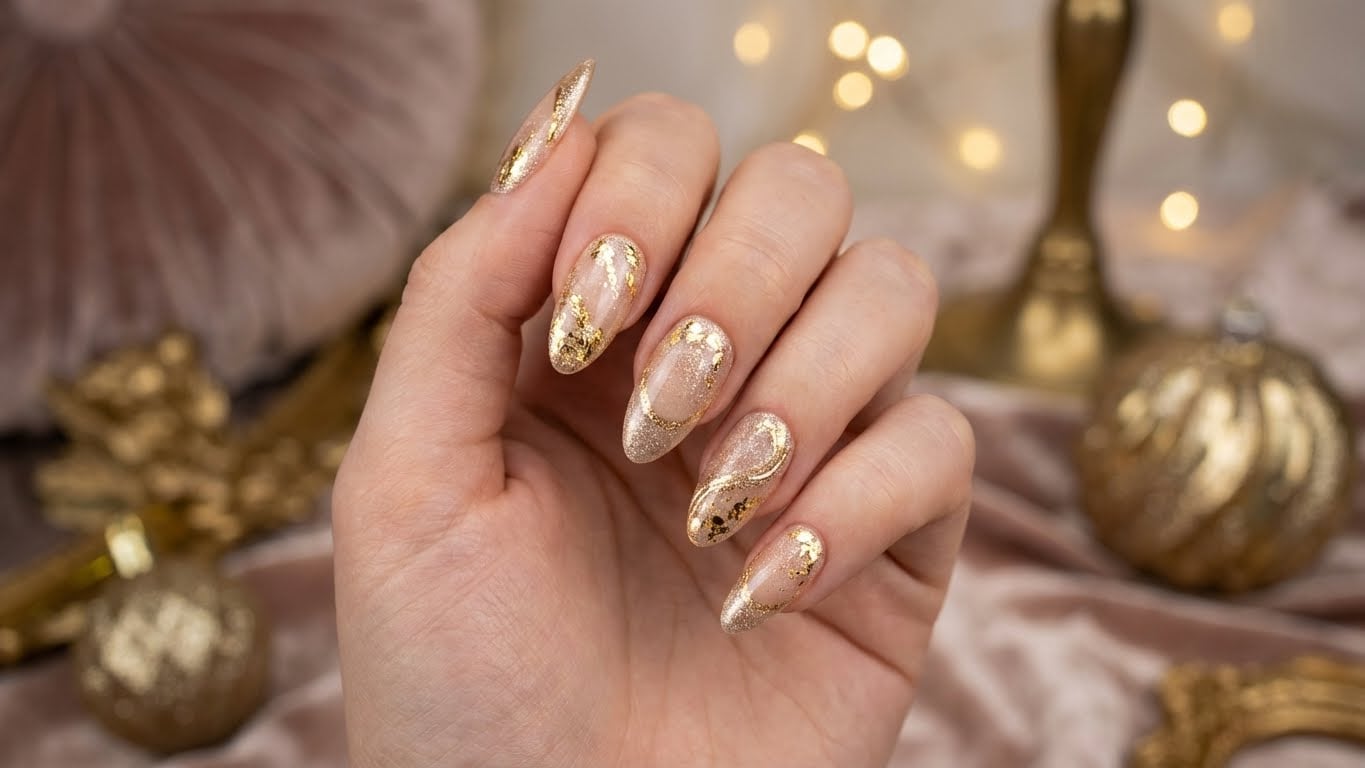
Step 3: Apply Gold Nail Polish
Once your base coat is dry, it’s time to apply the gold nail polish. Use a steady hand to apply a thin layer of polish to each nail, starting at the center and working your way out. Make sure to cover the entire surface of the nail.
Tips for Applying Gold Nail Polish
When applying gold nail polish, make sure to use a steady hand and work in thin layers. This will help prevent the polish from pooling at the cuticles or getting too thick.
Step 4: Add a Top Coat
Once your gold nail polish is dry, it’s time to add a top coat. Apply a thin layer of clear top coat to each nail, making sure to cover the entire surface.
Choosing the Right Top Coat
When choosing a top coat, make sure it’s one that’s specifically designed for nail art. These top coats usually have a special formula that helps the nail polish last longer and prevents chipping.
Step 5: Add a Finishing Touch
The final step in creating gold Christmas nails is to add a finishing touch. You can use a nail art dotting tool to add small dots or a gold stamping plate to create intricate designs.
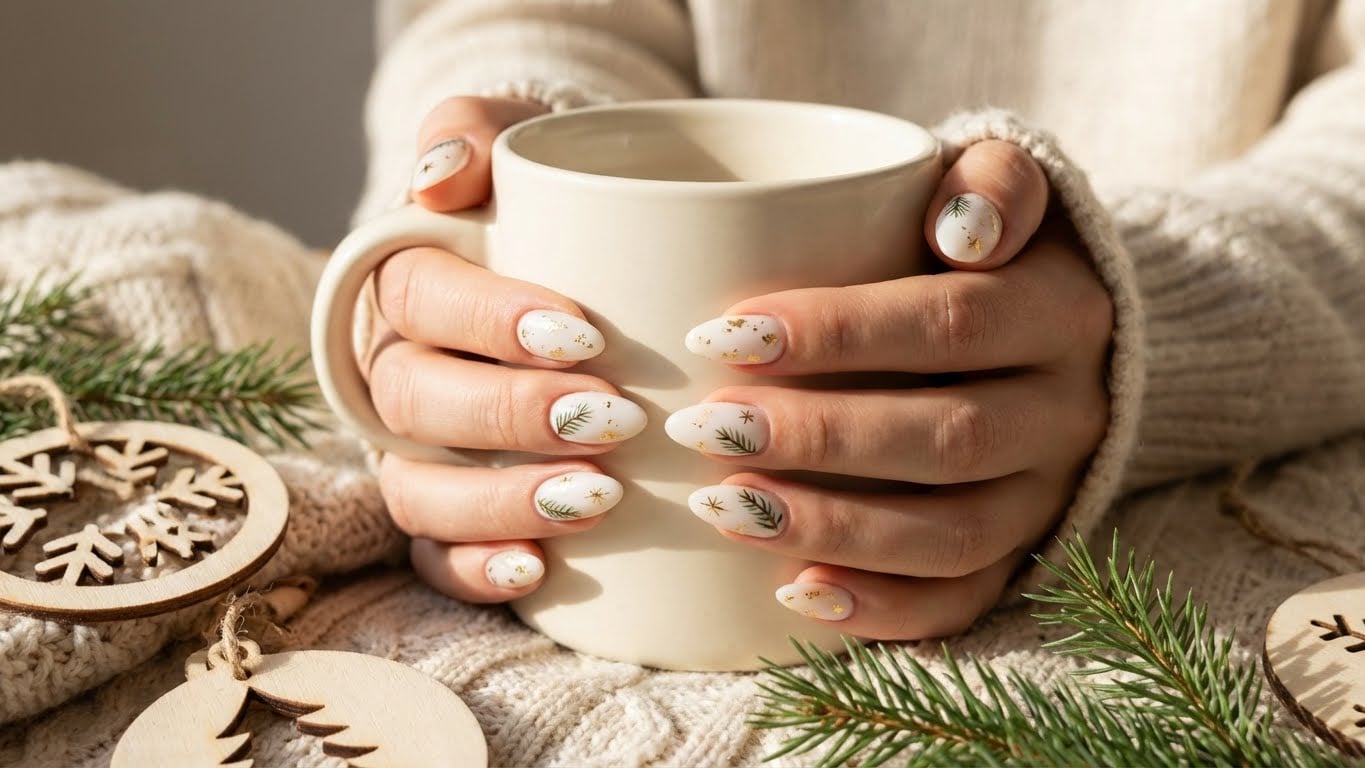
DIY Gold Christmas Nail Ideas
Here are a few DIY gold Christmas nail ideas to get you started:
* Create a snowflake design using a gold stamping plate
* Add small dots using a nail art dotting tool
* Use a nail guide to create a festive holiday design
* Experiment with different gold nail polish colors to create a unique look
Conclusion
Gold Christmas nails are a fun and easy way to add a touch of glamour to your holiday party outfits. With the right materials and a few simple steps, you can create a stunning gold Christmas nail design that’s sure to turn heads.
Frequently Asked Questions
Q: What type of gold nail polish should I use?
A: You can use any type of gold nail polish you like, but it’s best to use one that’s specifically designed for nail art.
Q: How do I make my gold nails last longer?
A: To make your gold nails last longer, make sure to use a base coat and a top coat. This will help the nail polish adhere and prevent chipping.
Q: Can I use a nail art brush to paint intricate designs?
A: Yes, you can use a nail art brush to paint intricate designs. However, make sure to use a steady hand and work in thin layers.
Q: How do I remove gold nail polish?
A: To remove gold nail polish, use a nail polish remover and be patient. It may take a few tries to get all of the polish off.
[Gold Christmas nails]
[Nail art]
[Holiday nail design]
[
{
“label”: “Best Nail Polish Remover”,
“url”: “https://www.amazon.com/Nail-Polish-Remover-Formula-1/dp/B00005N5VT/”,
“anchor”: “Get the best nail polish remover on Amazon”
}
]

Related Posts