
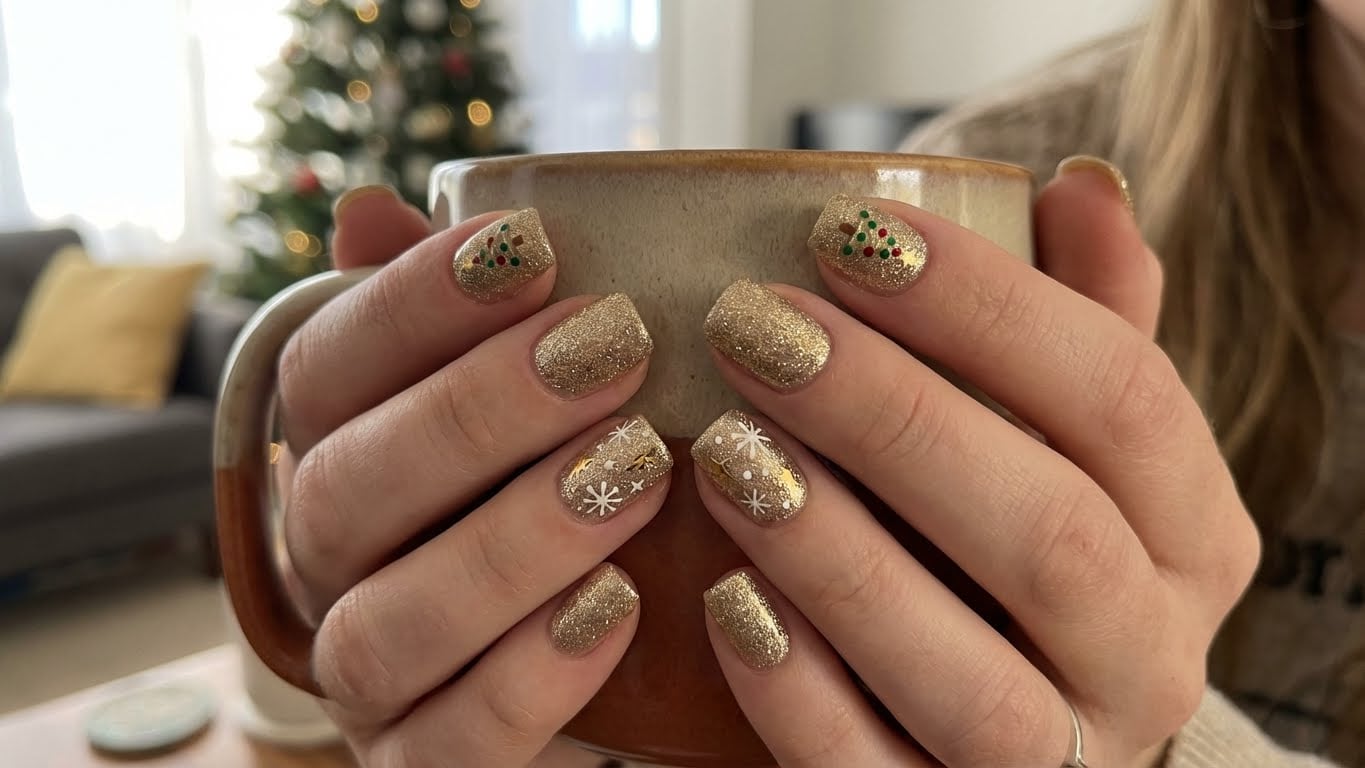
A Festive Twist on Classic Nail Art
Get into the holiday spirit by giving your nails a luxurious makeover with gold Christmas nails. This eye-catching design is perfect for the festive season and can be achieved with a few simple steps. In this guide, we’ll walk you through the process of creating stunning gold Christmas nails that are sure to turn heads.
Gather Your Supplies
Before you start, make sure you have all the necessary supplies within reach. You’ll need:
- Nail polish remover
- Base coat
- Gold polish ( choose a bright, shimmery shade)
- Red polish (for the berries)
- Green polish (for the foliage)
- Nail art brushes
- Nail dotting tool
- Top coat
Step 1: Prep Your Nails
Start by removing any old nail polish and pushing back your cuticles. Apply a base coat to protect your nails and help the polish adhere.
Step 1.1: Create a Base Color
Paint a thin layer of gold polish onto each nail, making sure to cover the entire surface. This will be the base color of your design.
Step 2: Add the Berries
Using a nail art brush, carefully paint small dots of red polish onto each nail, spaced evenly apart. These will represent the berries.
Step 2.1: Add the Foliage
Using a nail dotting tool, create small dots of green polish around each berry. This will give the illusion of foliage.
Step 3: Add the Final Touches
Seal your design with a top coat and let it dry completely. This will help the polish last longer and prevent chipping.
Step 3.1: Add a Gold Accent
Using a nail art brush, paint a small gold accent onto the tip of each nail. This will add a touch of glamour to your design.
Step 4: Finishing Touches
Once your design is complete, take a step back and admire your handiwork. You can add a clear top coat to seal the design and make it last longer.
Step 4.1: Tips and Variations
For a more subtle look, you can use a lighter gold polish or add a few more berries to each nail. To make your design more dramatic, you can use a darker gold polish or add more foliage.
FAQs
-
Q: What type of gold polish should I use?
A: Look for a shimmery, bright gold polish that will catch the light. You can also use a metallic gold polish for a more subtle look.
-
Q: Can I use a different color for the berries?
A: Yes, you can use any color you like for the berries. Try using a deep red or burgundy for a more dramatic look.
-
Q: How long does the design last?
A: With proper care, your gold Christmas nails can last up to a week. Make sure to use a base coat and top coat to help the polish last longer.
-
Q: Can I do this design on my own?
A: Yes, this design is easy to do on your own. Just make sure to take your time and be patient with the process.
Conclusion
With these easy-to-follow steps, you can create stunning gold Christmas nails that are sure to turn heads. Whether you’re looking for a subtle or dramatic look, this design is perfect for the holiday season. So why not give it a try and get into the festive spirit?
Related Posts


