Christmas is a time for magic, wonder, and glamour. What better way to get into the holiday spirit than with a show-stopping gold Christmas nail design?

A Brief History of Gold Christmas Nails
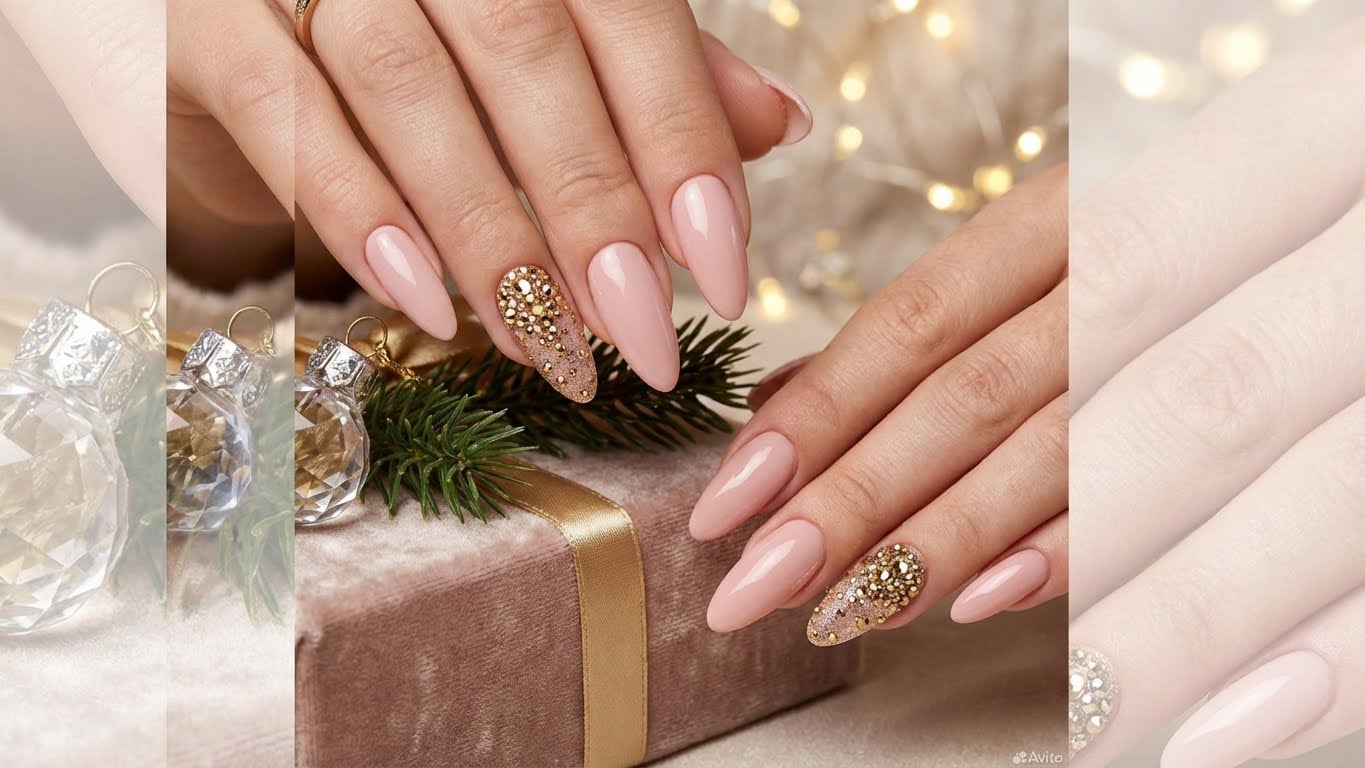
Gold has long been a popular choice for holiday nail art, and it’s easy to see why. The metallic finish adds a touch of luxury and sophistication to any look, while the festive red and green hues of the season provide the perfect contrast.
Materials Needed
To create a stunning gold Christmas nail design, you’ll need the following materials:
- Base coat
- Gold polish
- Red and green polish (optional)
- Nail art brushes
- Nail art dotting tool
- Nail polish remover
- Cotton balls or swabs
- Top coat
Step 1: Prep Your Nails
Before you start creating your gold Christmas nail design, it’s essential to prep your nails. Remove any old nail polish and push back your cuticles. Apply a base coat to protect your nails and promote even polish adhesion.
Step 2: Apply Gold Polish
Now it’s time to apply your gold polish. Use a nail polish brush to apply a thin coat to each nail, making sure to cover the entire surface. Allow the polish to dry completely before moving on to the next step.
Step 3: Add Red and Green Accents (Optional)
If you want to add some extra festive flair to your gold Christmas nail design, now’s the time to do it. Use a nail art brush to paint small red and green dots or stripes onto your nails. You can also use a nail art dotting tool to create intricate designs.
Step 4: Seal with Top Coat
Finally, it’s time to seal your gold Christmas nail design with a top coat. This will help protect your polish and add a glossy finish to your nails.
Popular Gold Christmas Nail Designs
There are countless ways to create a stunning gold Christmas nail design. Here are a few ideas to get you started:
- Classic Gold: A simple, elegant design featuring a solid gold finish.
- Gold and Red Stripe: A bold, eye-catching design featuring alternating stripes of gold and red.
- Gold and Green Snowflake: A delicate, intricate design featuring intricate snowflakes in gold and green.
Tips and Tricks
Here are a few tips and tricks to help you create the perfect gold Christmas nail design:
- Use a base coat to protect your nails and promote even polish adhesion.
- Apply thin coats of polish to prevent drips and unevenness.
- Use a nail art brush to create intricate designs and details.
- Don’t be afraid to experiment and try new things!
Conclusion
With these easy steps and tips, you’re ready to create a stunning gold Christmas nail design that’s sure to turn heads. Whether you’re a seasoned nail artist or a beginner, this guide has everything you need to get started.
FAQs
- Q: What’s the best way to remove gold polish?
A: To remove gold polish, use a nail polish remover and a cotton ball or swab. Gently rub the polish off your nails, starting at the cuticle and working your way down.
- Q: Can I use a gold glitter polish instead of a solid gold finish?
A: Yes, you can use a gold glitter polish instead of a solid gold finish. This will add a fun, textured element to your nail design.
- Q: How do I create intricate designs and details?
A: To create intricate designs and details, use a nail art brush and a dotting tool. You can also use a nail art stamp or a nail art wheel to add patterns and textures.
- Q: What’s the best way to protect my nails?
A: To protect your nails, use a base coat and a top coat. This will help prevent chipping and fading, and keep your nails looking healthy and shiny.
Related Posts


