Introduction to Gold Christmas Nails
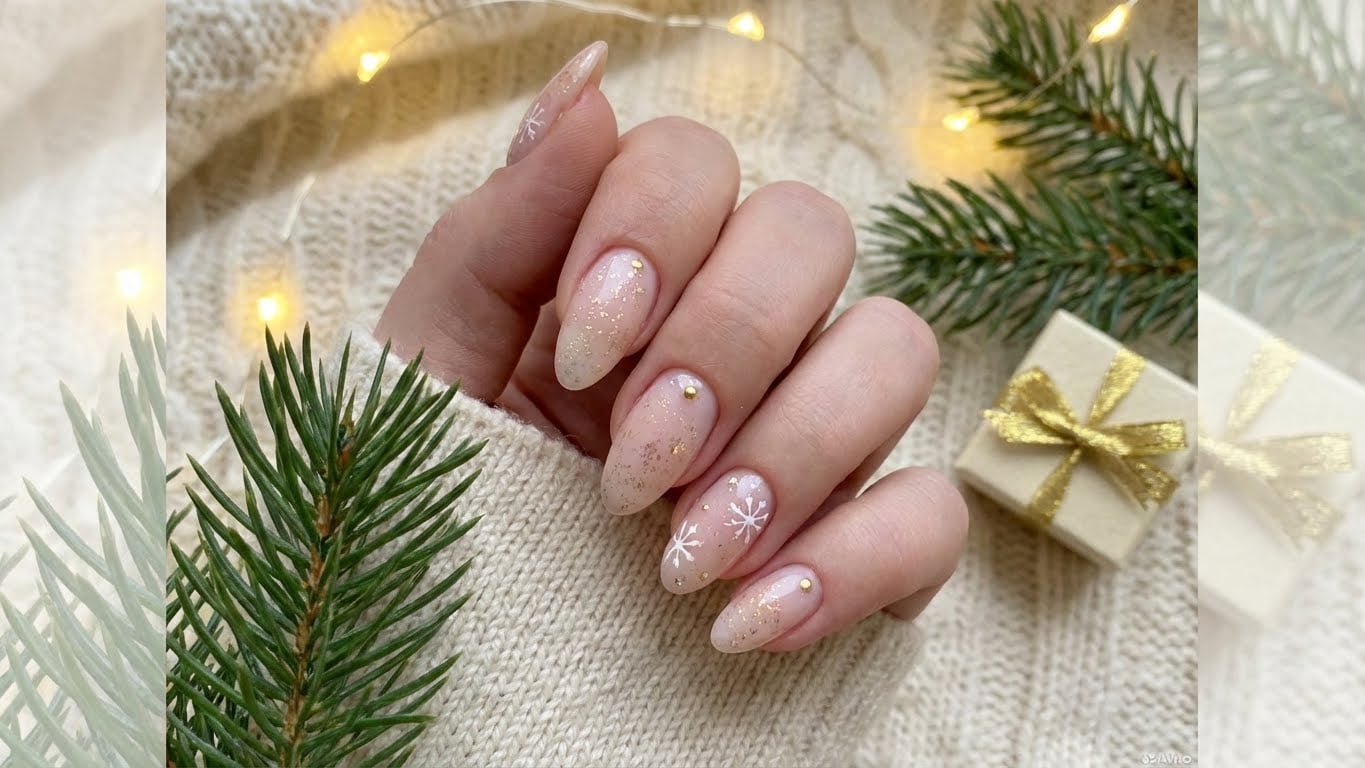
Gold Christmas nails are a timeless holiday trend that can elevate any festive look. Whether you’re a nail art enthusiast or a beginner, our step-by-step guide will walk you through the process of creating these stunning nails at home.
Materials Needed
Before we begin, make sure you have the following materials:
* Nail polish remover
* Nail clippers
* Nail file
* Cuticle pusher
* Cuticle nippers
* Base coat
* Gold nail polish (choose your desired shade)
* Nail art brush
* Nail glue
* Gold leaf or foil
* Sealant top coat
Step 1: Prepare Your Nails
To achieve perfect gold Christmas nails, it’s essential to start with clean and shaped nails.
1. Remove any old nail polish using a nail polish remover.
2. Use nail clippers to trim and shape your nails to your desired shape.
3. File your nails to smooth out any ridges or imperfections.
4. Use a cuticle pusher to gently push back your cuticles.
5. Trim any excess cuticles using cuticle nippers.
Step 2: Apply Base Coat and Gold Polish
Now that your nails are prepared, it’s time to apply a base coat and gold polish.
1. Apply a thin layer of clear base coat to each nail to protect your natural nail and create a smooth surface for polish.
2. Choose your desired gold nail polish shade and apply a thin layer to each nail. Make sure to allow the first layer to dry completely before applying a second layer for a more opaque finish.
Step 3: Add Nail Art Details
To take your gold Christmas nails to the next level, add some nail art details using a nail art brush and gold leaf or foil.
1. Use a nail art brush to paint a thin line of gold polish along the edge of your nail or create a festive design.
2. Cut a small piece of gold leaf or foil and apply it to the center of your nail using a small amount of nail glue.
3. Use a nail art brush to paint a thin layer of clear top coat over the gold leaf or foil to seal it in place.
Step 4: Finish with a Sealant Top Coat
The final step is to apply a sealant top coat to protect your gold Christmas nails and add shine.
1. Apply a thin layer of clear sealant top coat to each nail to seal in the polish and protect your nails from chipping.
2. Allow the top coat to dry completely before applying a second layer for added shine.
FAQs
Q: What type of gold polish is best for Christmas nails?
A: Choose a high-quality gold polish that is specifically designed for nail art. Look for polishes that are formulated with long-lasting pigments and a smooth, even finish.
Q: Can I use gold leaf or foil on my natural nail?
A: Yes, you can use gold leaf or foil on your natural nail, but make sure to apply a thin layer of clear top coat over the gold leaf or foil to seal it in place and prevent it from lifting off.
Q: How long does gold polish last on my nails?
A: The longevity of gold polish on your nails depends on the quality of the polish and how well you care for your nails. With proper care, gold polish can last up to 5 days without chipping or fading.
Q: Can I get gold Christmas nails professionally done at a salon?
A: Yes, you can get gold Christmas nails professionally done at a salon. Many nail technicians offer custom nail art designs, including gold Christmas nails. Make sure to book an appointment in advance to avoid long wait times.
Tips and Variations
* To add a pop of color to your gold Christmas nails, try pairing them with a bold red or green polish.
* Use a gold glitter polish for a more festive look.
* Add some sparkle to your gold Christmas nails by using a nail art brush to paint a thin layer of clear top coat over a gold glitter polish.
* For a more subtle look, try pairing gold Christmas nails with a neutral polish.
* Experiment with different gold polish shades to find the one that works best for you.
Conclusion
With these simple steps, you can create stunning gold Christmas nails at home. Whether you’re a beginner or a nail art enthusiast, our guide has provided you with a comprehensive overview of how to achieve these beautiful nails. Don’t be afraid to experiment and try out different variations to make your gold Christmas nails truly unique.
FAQ
What type of gold polish is best for Christmas nails?
Choose a high-quality gold polish that is specifically designed for nail art. Look for polishes that are formulated with long-lasting pigments and a smooth, even finish.

Can I use gold leaf or foil on my natural nail?
Yes, you can use gold leaf or foil on your natural nail, but make sure to apply a thin layer of clear top coat over the gold leaf or foil to seal it in place and prevent it from lifting off.
How long does gold polish last on my nails?
The longevity of gold polish on your nails depends on the quality of the polish and how well you care for your nails. With proper care, gold polish can last up to 5 days without chipping or fading.
Can I get gold Christmas nails professionally done at a salon?
Yes, you can get gold Christmas nails professionally done at a salon. Many nail technicians offer custom nail art designs, including gold Christmas nails. Make sure to book an appointment in advance to avoid long wait times.
Related Posts


