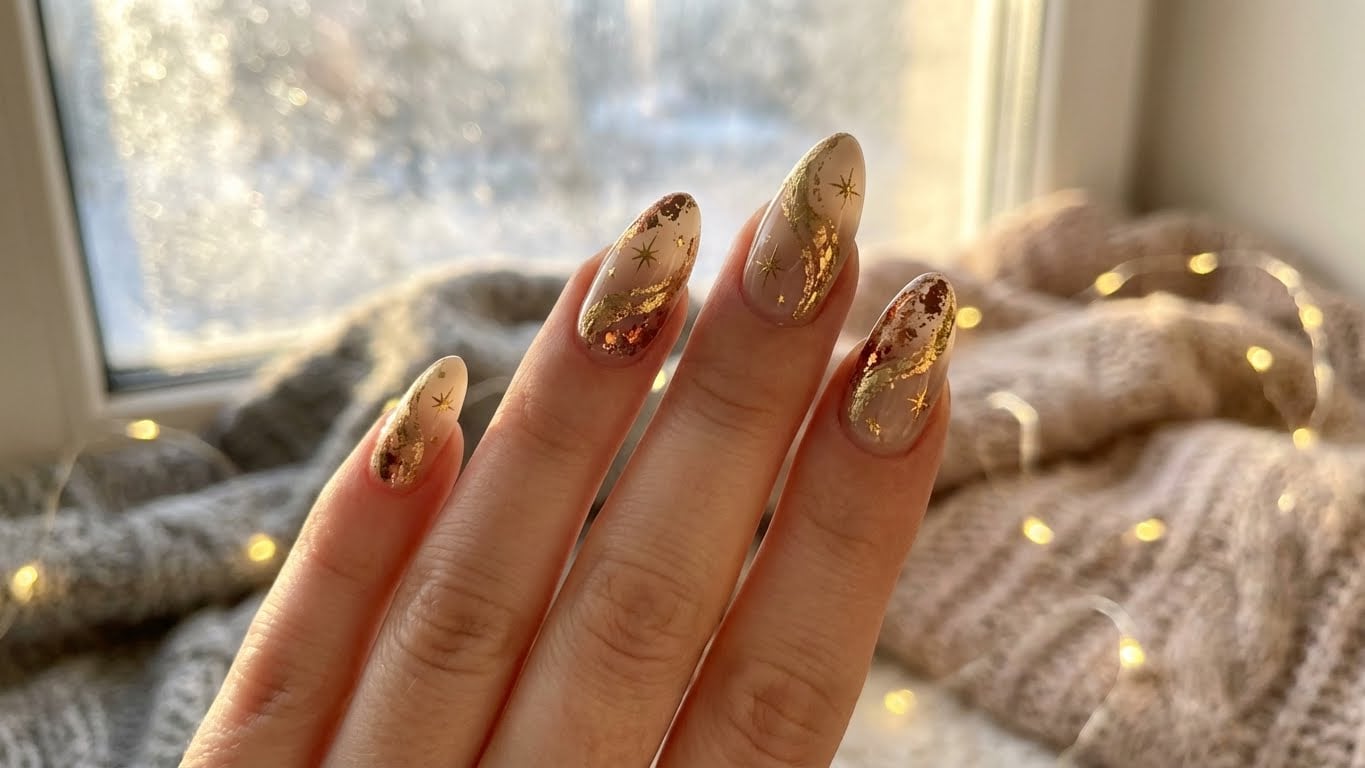
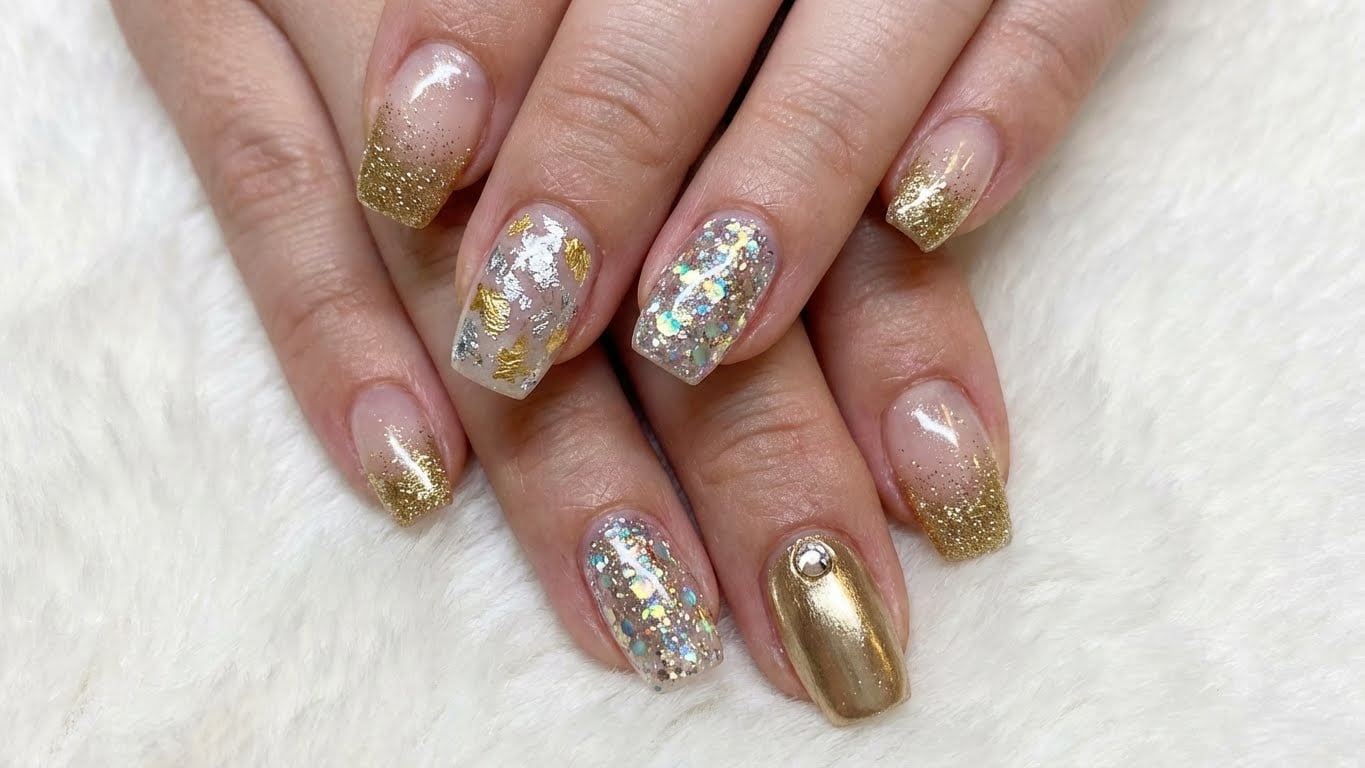
Introduction to Gold Christmas Nails
Gold Christmas nails are a festive and glamorous way to celebrate the holiday season. Whether you’re attending a party or just want to add some extra cheer to your daily routine, this look is sure to impress. In this guide, we’ll walk you through the steps to create a beautiful gold Christmas nail design at home.
Materials Needed
Before we begin, make sure you have the following materials:
* Nail polish remover
* Base coat
* Nail polish (gold or glitter)
* Top coat
* Nail art brush
* Nail polish cleanser
* Nail files
* Cuticle oil
Step 1: Prep Your Nails
Start by removing any old nail polish and pushing back your cuticles. Use a nail file to shape your nails to your desired shape. This will ensure a smooth surface for your nail polish to adhere to.
Step 1.1: Remove Old Nail Polish
Apply a generous amount of nail polish remover to a cotton ball and gently rub it onto your nails. This should help loosen any old polish and make it easier to remove.
Step 1.2: Push Back Cuticles
Dampen a cotton ball with water and gently push back your cuticles. Be careful not to push too hard, as this can cause bleeding or irritation.
Step 2: Apply Base Coat
Apply a thin layer of clear base coat to each of your nails. This will help protect your nails and create a smooth surface for your nail polish to adhere to.
Step 3: Apply Gold or Glitter Polish
Using a nail polish brush, apply a thin layer of gold or glitter polish to each of your nails. You can choose a classic gold or go for a more dramatic look with a bold glitter polish. Make sure to let each layer dry completely before applying the next.
Step 3.1: Apply Multiple Coats
If you want a more intense gold or glitter look, you can apply multiple coats of polish. Just be sure to let each layer dry completely before adding the next.
Step 3.2: Use a Nail Art Brush for Details
If you want to add some extra details to your nail design, use a nail art brush to paint on some tiny details. You can add some festive holly leaves or berries to really get into the holiday spirit.
Step 4: Apply Top Coat
Once your polish is dry, apply a thin layer of clear top coat to each of your nails. This will help seal in your design and add shine to your nails.
Step 5: Finishing Touches
Finally, apply some cuticle oil to keep your cuticles hydrated and healthy. Use a nail file to smooth out any rough edges and shape your nails to your desired shape.
FAQs
Q: What type of polish is best for gold Christmas nails?
A: You can use either a classic gold polish or a glitter polish for a more dramatic look.
Q: How do I remove old nail polish?
A: Use a nail polish remover and a cotton ball to gently rub it onto your nails.
Q: Can I use a nail art brush for details?
A: Yes, a nail art brush is perfect for adding tiny details to your nail design.
Q: How long does it take to dry?
A: Each layer of polish should take about 10-15 minutes to dry completely.
Conclusion
Gold Christmas nails are a fun and easy way to get into the holiday spirit. By following these steps, you can create a stunning look at home that’s sure to impress. Don’t forget to use a good quality nail polish remover, base coat, and top coat to ensure your design lasts all season long.
FAQ
What type of polish is best for gold Christmas nails?
You can use either a classic gold polish or a glitter polish for a more dramatic look.
How do I remove old nail polish?
Use a nail polish remover and a cotton ball to gently rub it onto your nails.
Can I use a nail art brush for details?
Yes, a nail art brush is perfect for adding tiny details to your nail design.
How long does it take to dry?
Each layer of polish should take about 10-15 minutes to dry completely.
Related Posts