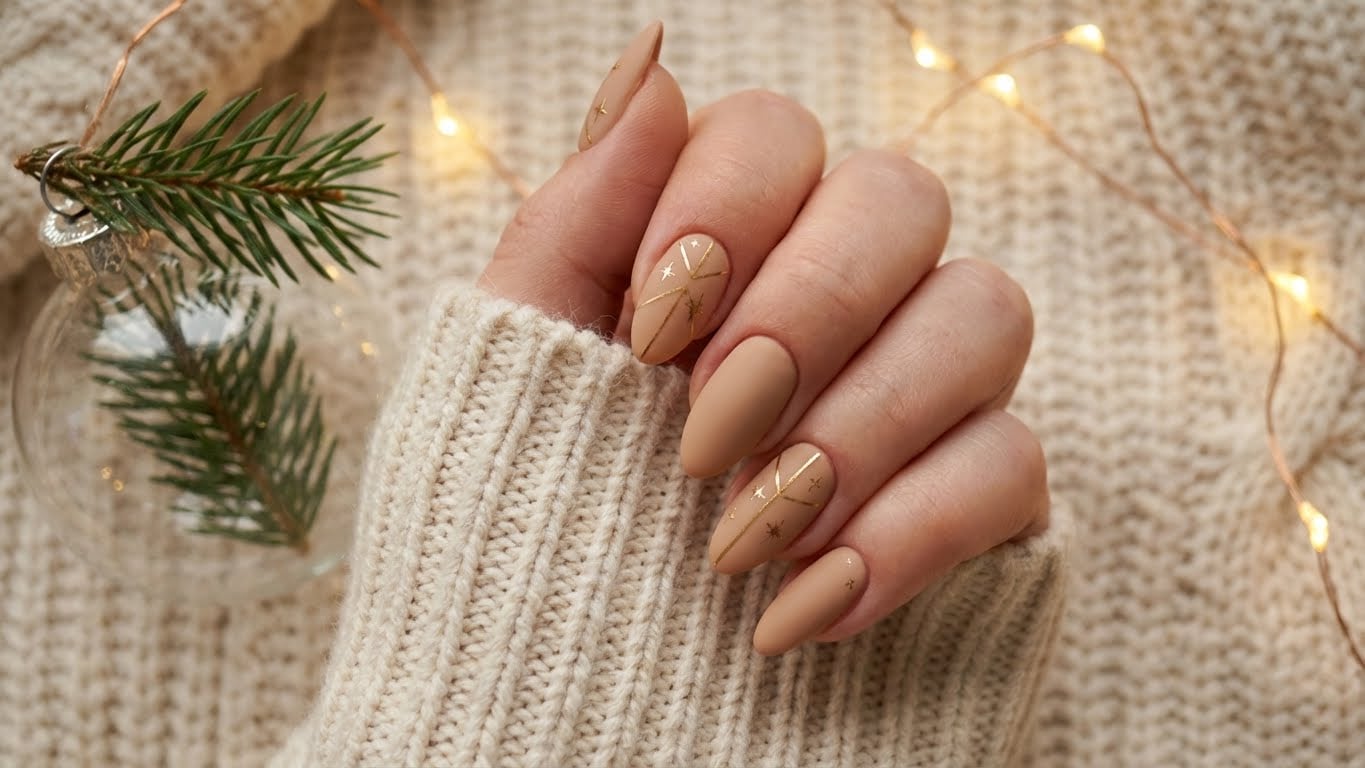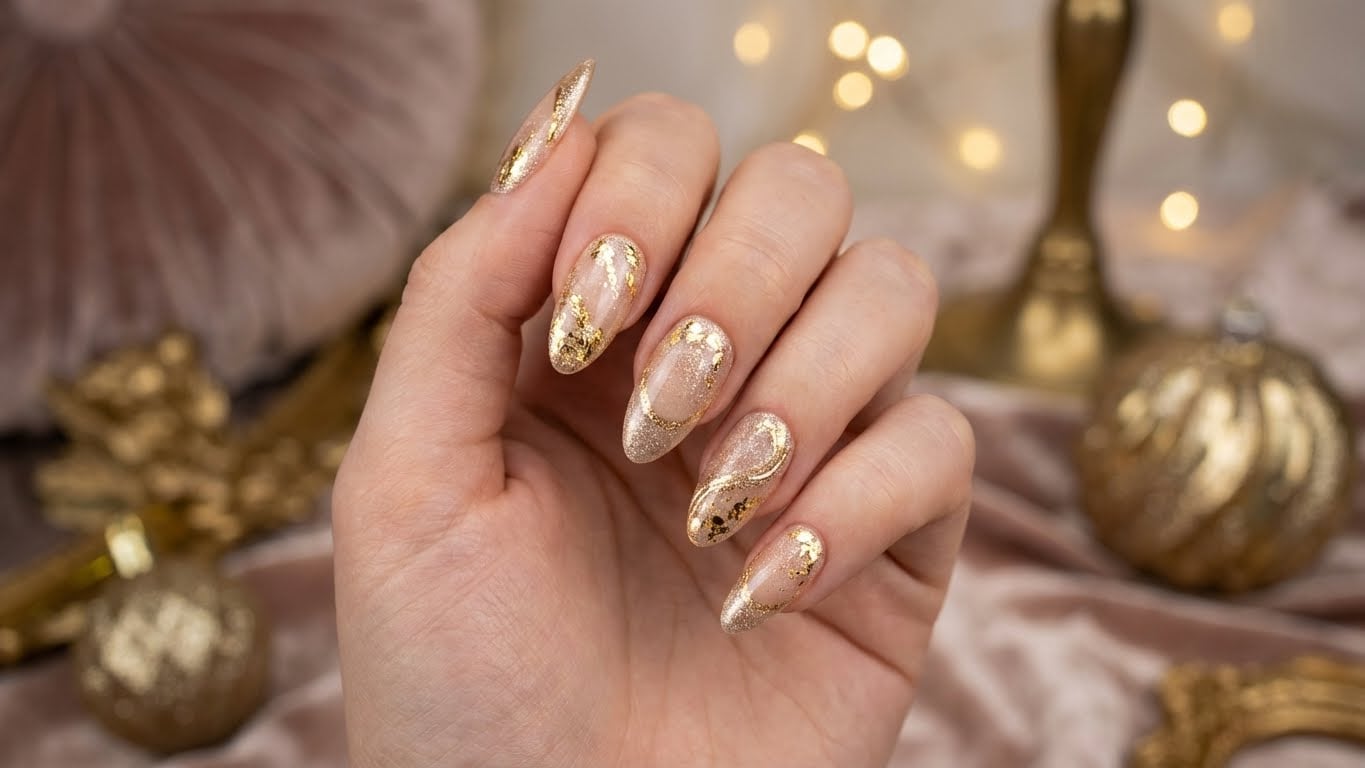
Elevate Your Holiday Look with Gold Christmas Nails
As the holiday season approaches, it’s time to think about how you can elevate your look to match the festive atmosphere. One of the most striking ways to do this is with gold Christmas nails. Not only do they add a touch of glamour to your overall appearance, but they can also be a conversation starter at any holiday gathering.

Why Gold Christmas Nails are a Must-Try
Gold Christmas nails are more than just a seasonal trend; they’re a classic look that can be tailored to suit any style or preference. Whether you opt for a bold, all-over gold manicure or a more subtle accent nail, this design is sure to make a statement. Here are just a few reasons why gold Christmas nails are a must-try:
- They add a touch of luxury to your holiday look.
- They can be paired with a variety of outfits, from cocktail dresses to cozy sweaters.
- They’re a great way to get into the holiday spirit and feel festive.
Preparation is Key: Preparing Your Nails for Gold Christmas Nails
Before you can start applying gold polish, you need to make sure your nails are in good condition. This involves preparing your nails for the application process. Here’s how to do it:
-
Remove any old nail polish from your nails using a nail polish remover.
-
Trim and shape your nails to your desired shape.
-
Use a nail file to smooth out any ridges or imperfections in your nails.
-
Soak your hands in a bowl of warm water to soften your cuticles.
-
Push back your cuticles using a cuticle pusher or an orange stick.
Applying Gold Christmas Nails: A Step-by-Step Guide
Now that your nails are prepared, it’s time to apply the gold polish. Here’s a step-by-step guide to help you achieve a flawless finish:
-
Apply a base coat to your nails to help the polish adhere and prevent staining.
-
Apply a thin layer of gold polish to each nail, starting in the center and working your way out towards the edges.
-
Use a nail polish brush to clean up any excess polish around your cuticles and nail bed.
-
Apply a top coat to seal in the polish and add shine.
Finishing Touches: Tips for a Flawless Finish
Once you’ve applied the gold polish, it’s time to add some finishing touches to achieve a flawless finish. Here are a few tips to keep in mind:
- Use a nail polish remover to clean up any excess polish around your cuticles and nail bed.
- Apply a top coat to seal in the polish and add shine.
- Use a cuticle oil to keep your cuticles moisturized and healthy.
FAQs: Gold Christmas Nails
- {“q”: “How do I remove gold Christmas nails?”, “a”: “To remove gold Christmas nails, use a nail polish remover to dissolve the polish, then gently scrape off the remaining polish with a cuticle pusher or an orange stick.”}
- {“q”: “Can I use gold Christmas nails for other occasions?”, “a”: “Yes, gold Christmas nails can be worn for other occasions, such as New Year’s Eve or a formal event.”}
- {“q”: “How do I prevent gold Christmas nails from chipping?”, “a”: “To prevent gold Christmas nails from chipping, apply a top coat to seal in the polish and add shine, and avoid using your nails as tools.”}
- {“q”: “Can I do gold Christmas nails at home?”, “a”: “Yes, you can do gold Christmas nails at home using a nail polish kit and following the steps outlined in this guide.”}
Related Posts