A Guide to “Golden” Christmas Nails: Step-by-Step Tutorial
Introduction
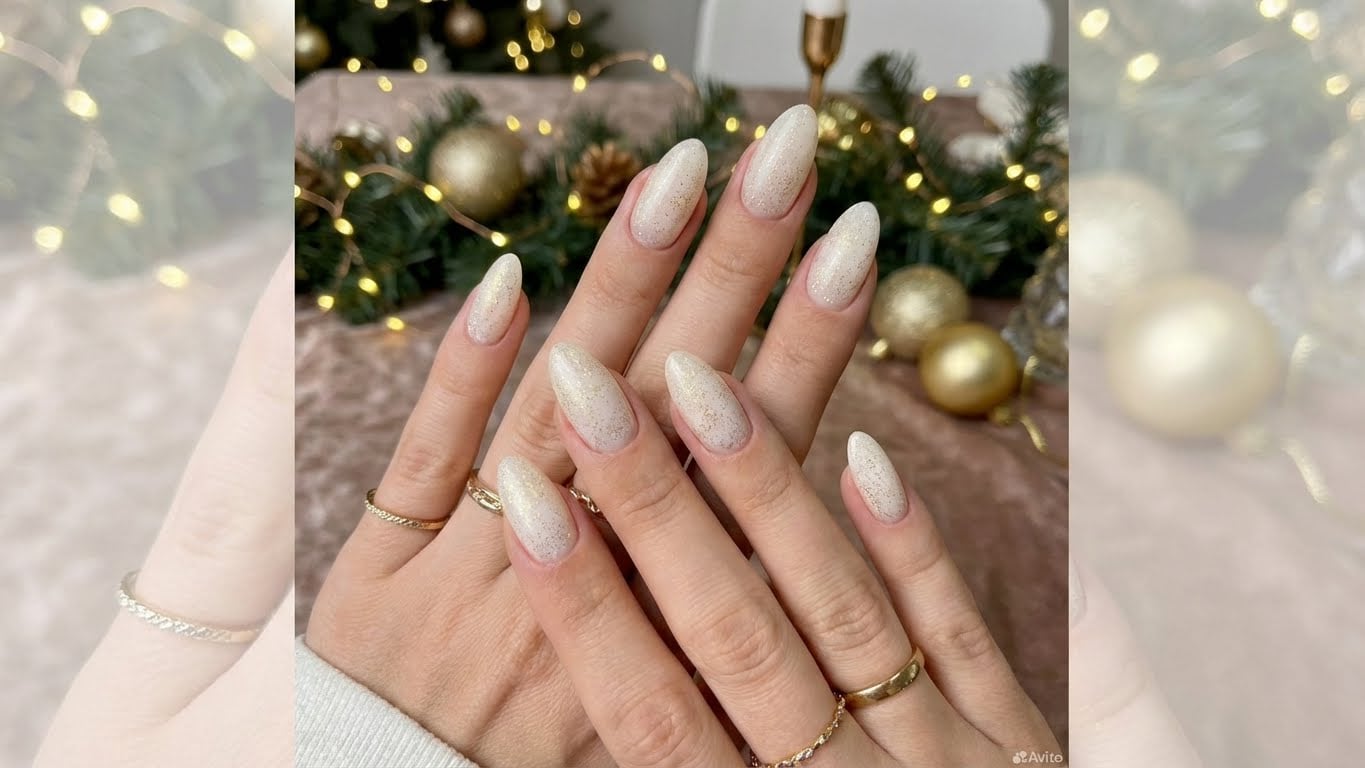
The holiday season is upon us, and what better way to get into the festive spirit than with some eye-catching Christmas nails? Golden Christmas nails are a popular trend this year, and for good reason. They’re easy to create, look stunning, and can add a touch of glamour to any outfit. In this guide, we’ll walk you through the steps to create your very own “golden” Christmas nails.
Materials Needed
Before we get started, let’s take a look at the materials you’ll need:
* Nail polish in a gold or champagne color (we recommend using a high-quality, long-wearing polish for the best results)
* Nail tips or nail guides (optional)
* Nail glue (optional)
* Nail art brushes
* Nail polish remover
* Cuticle oil
Step 1: Prep Your Nails
To start, make sure your nails are clean and free of any oils or lotions. This will ensure that your polish adheres properly. Use a nail polish remover to wipe down your nails, and then apply a thin layer of cuticle oil to moisturize your nails and cuticles.
Step 2: Apply a Base Coat
Next, apply a thin layer of clear base coat to each of your nails. This will help your polish adhere and prevent staining.
Step 3: Apply the Gold Polish
Now it’s time to apply the gold polish. Use a nail polish brush to apply a thin layer of polish to each of your nails. Start at the center of your nail and work your way outwards, making sure to cover the entire nail surface. Be careful not to apply too much polish, as this can lead to a thick, uneven finish.
Step 4: Add a Top Coat
Once you’ve applied the gold polish, use a nail polish brush to apply a thin layer of clear top coat to each of your nails. This will help seal in the polish and add shine.
Step 5: Add Nail Art (Optional)
If you want to add some extra flair to your nails, now’s the time to do it. Use nail art brushes to paint on any designs or patterns you like. You can use gold or silver polish to create intricate designs, or stick to a simple stripe or dot pattern.
Finishing Touches
Once you’ve applied the top coat, use a lint-free wipe to remove any excess polish from around your cuticles and nail bed. Apply a thin layer of cuticle oil to moisturize your cuticles and nails, and you’re done!
Tips and Tricks
Here are a few tips and tricks to keep in mind when creating your golden Christmas nails:
* Use a high-quality polish that’s long-wearing and chip-resistant.
* Apply thin layers of polish to prevent a thick, uneven finish.
* Use a nail art brush to create intricate designs and patterns.
* Don’t be afraid to experiment with different colors and designs to find a look that’s all your own.
Conclusion
And that’s it! With these simple steps, you can create your very own golden Christmas nails. Whether you’re looking for a quick and easy manicure or a more elaborate nail design, this guide has got you covered. So go ahead, get creative, and show off your holiday spirit with some stunning golden Christmas nails.
FAQs
Q: What type of polish should I use for golden Christmas nails?
A: We recommend using a high-quality, long-wearing polish in a gold or champagne color.
Q: How do I prevent my golden Christmas nails from chipping?
A: To prevent chipping, make sure to apply thin layers of polish and use a high-quality, long-wearing polish.
Q: Can I use nail tips or nail guides to create a more intricate design?
A: Yes, you can use nail tips or nail guides to create a more intricate design. Simply apply the polish to the tip or guide, and then remove it once the polish is dry.
Q: How do I remove excess polish from around my cuticles and nail bed?
A: Use a lint-free wipe to gently remove excess polish from around your cuticles and nail bed.
Keywords
* Golden Christmas nails
* Nail art
* Christmas nails
* Holiday nails
* Nail polish
Affiliate Links
[]
FAQ
What type of polish should I use for golden Christmas nails?
We recommend using a high-quality, long-wearing polish in a gold or champagne color.

How do I prevent my golden Christmas nails from chipping?
To prevent chipping, make sure to apply thin layers of polish and use a high-quality, long-wearing polish.
Can I use nail tips or nail guides to create a more intricate design?
Yes, you can use nail tips or nail guides to create a more intricate design. Simply apply the polish to the tip or guide, and then remove it once the polish is dry.
How do I remove excess polish from around my cuticles and nail bed?
Use a lint-free wipe to gently remove excess polish from around your cuticles and nail bed.