
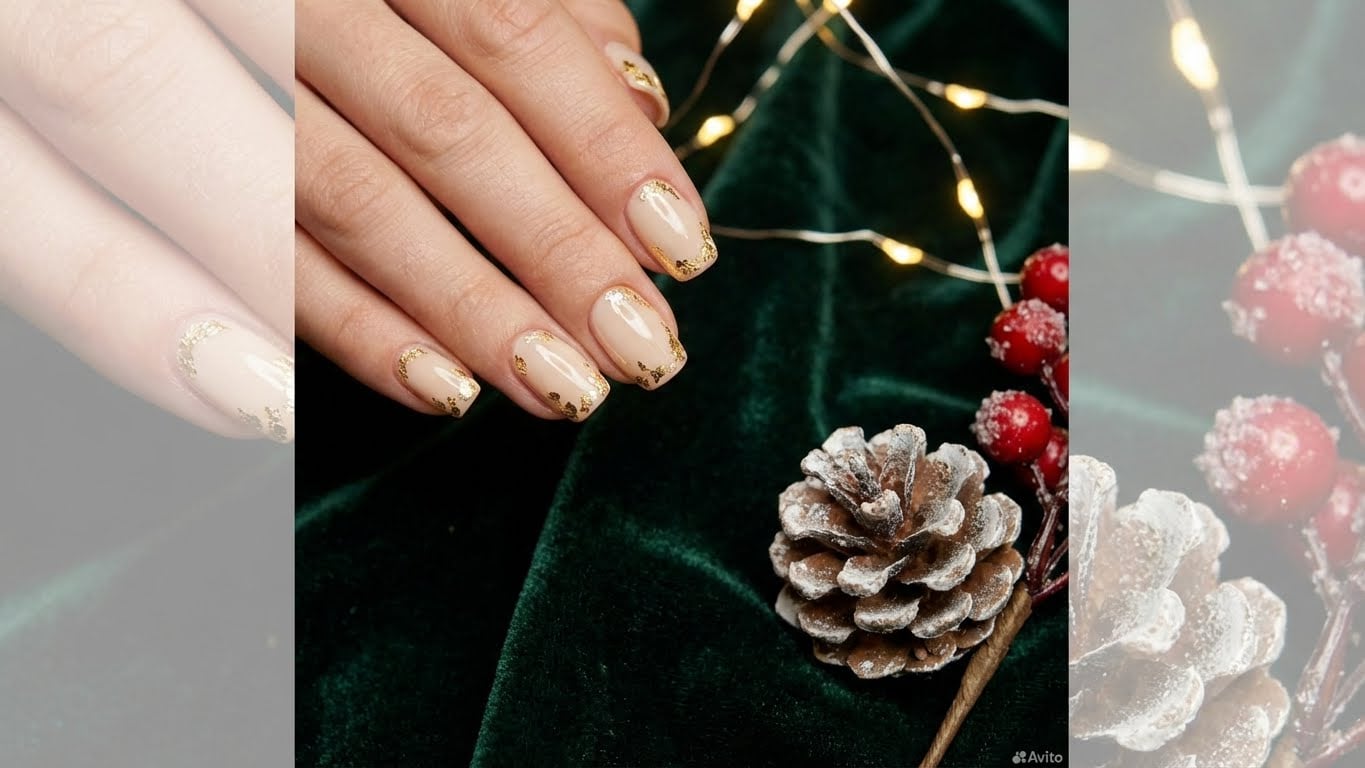
Get Red Carpet Ready: How to Create Stunning Gold Christmas Nails
Christmas is just around the corner, and you want to make a statement with your holiday look. Why not start with your nails? Gold Christmas nails are a timeless and elegant choice that’s perfect for the season. In this tutorial, we’ll show you how to create a stunning gold Christmas nail design that’s sure to turn heads.
Materials Needed
- Clear nail polish
- Gold nail polish
- Gold glitter polish
- Nail art brush
- Nail dotting tool
- Nail polish remover
- Base coat
- Top coat
Step 1: Prep Your Nails
Before you start creating your gold Christmas nail design, make sure your nails are prepped and ready. Remove any old nail polish and push back your cuticles. Apply a base coat to protect your nails and promote even polish adhesion.
Step 2: Apply a Gold Base Coat
Use a gold nail polish to create a base coat for your design. This will give your nails a subtle shine and set the tone for the rest of your design.
Step 3: Add a Gold Glitter Accent
For a touch of extra sparkle, use a gold glitter polish to add a small accent to your nail. You can use a nail art brush to paint a small triangle or a dot onto your nail.
Step 4: Add a Gold Glitter Tip
Use a gold glitter polish to add a glitter tip to the end of your nail. This will give your nails a fun and festive look that’s perfect for the holiday season.
Step 5: Seal with Top Coat
Finish off your gold Christmas nail design by applying a top coat to seal in your design and add shine.
Adding a Personal Touch
To take your gold Christmas nail design to the next level, consider adding a personal touch. You can use a gold polish to write a holiday message on your nail or add a small gold ornament decoration.
Conclusion
Creating a stunning gold Christmas nail design is easier than you think. With just a few simple steps and some basic materials, you can create a look that’s sure to turn heads. Whether you’re heading to a holiday party or just want to elevate your everyday look, these gold Christmas nails are a must-try.
Frequently Asked Questions
-
Q: Can I use a different type of glitter polish for my gold Christmas nail design?
A: Yes, you can use a different type of glitter polish for your gold Christmas nail design. However, keep in mind that the type of glitter polish you use may affect the overall look of your design.
-
Q: How long does it take to create a gold Christmas nail design?
A: It can take anywhere from 15-30 minutes to create a gold Christmas nail design, depending on the complexity of the design and your level of experience.
-
Q: Can I use a different type of nail polish for my gold Christmas nail design?
A: Yes, you can use a different type of nail polish for your gold Christmas nail design. However, keep in mind that the type of nail polish you use may affect the overall look of your design.
-
Q: How do I remove gold glitter polish from my nails?
A: To remove gold glitter polish from your nails, use a gentle nail polish remover and a lint-free wipe. Be sure to follow the instructions on the remover carefully to avoid damaging your nails.
Keywords
- Gold Christmas nails
- Nail art
- Glitter polish
- Gold nail polish
- Christmas nail design
FAQ
Can I use a different type of glitter polish for my gold Christmas nail design?
Yes, you can use a different type of glitter polish for your gold Christmas nail design. However, keep in mind that the type of glitter polish you use may affect the overall look of your design.
How long does it take to create a gold Christmas nail design?
It can take anywhere from 15-30 minutes to create a gold Christmas nail design, depending on the complexity of the design and your level of experience.
Can I use a different type of nail polish for my gold Christmas nail design?
Yes, you can use a different type of nail polish for your gold Christmas nail design. However, keep in mind that the type of nail polish you use may affect the overall look of your design.
How do I remove gold glitter polish from my nails?
To remove gold glitter polish from your nails, use a gentle nail polish remover and a lint-free wipe. Be sure to follow the instructions on the remover carefully to avoid damaging your nails.
Related Posts


