New Year’s Eve is just around the corner, and what better way to celebrate than with a show-stopping nail design? Whether you’re going for a classic look or something more avant-garde, we’ve got you covered with these 8 New Year’s Eve nails ideas that are sure to sparkle the night.
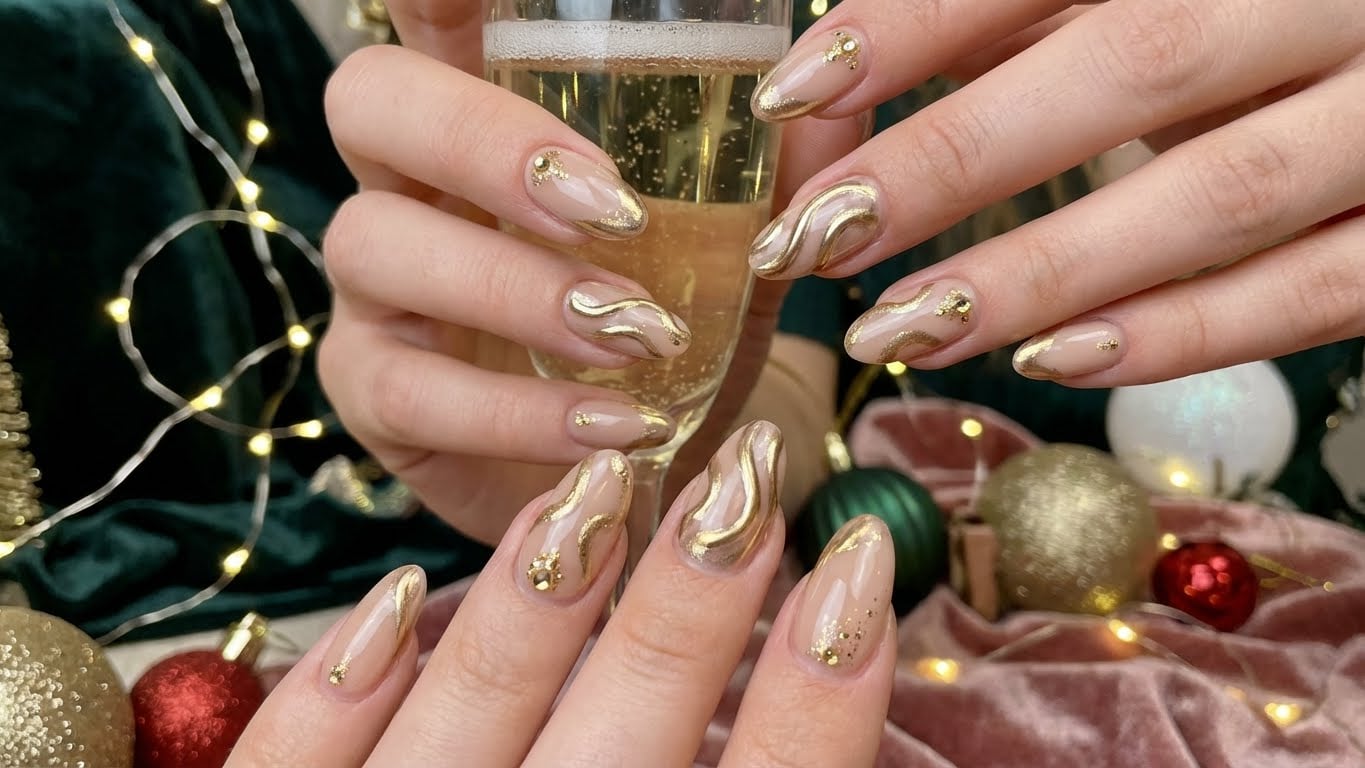
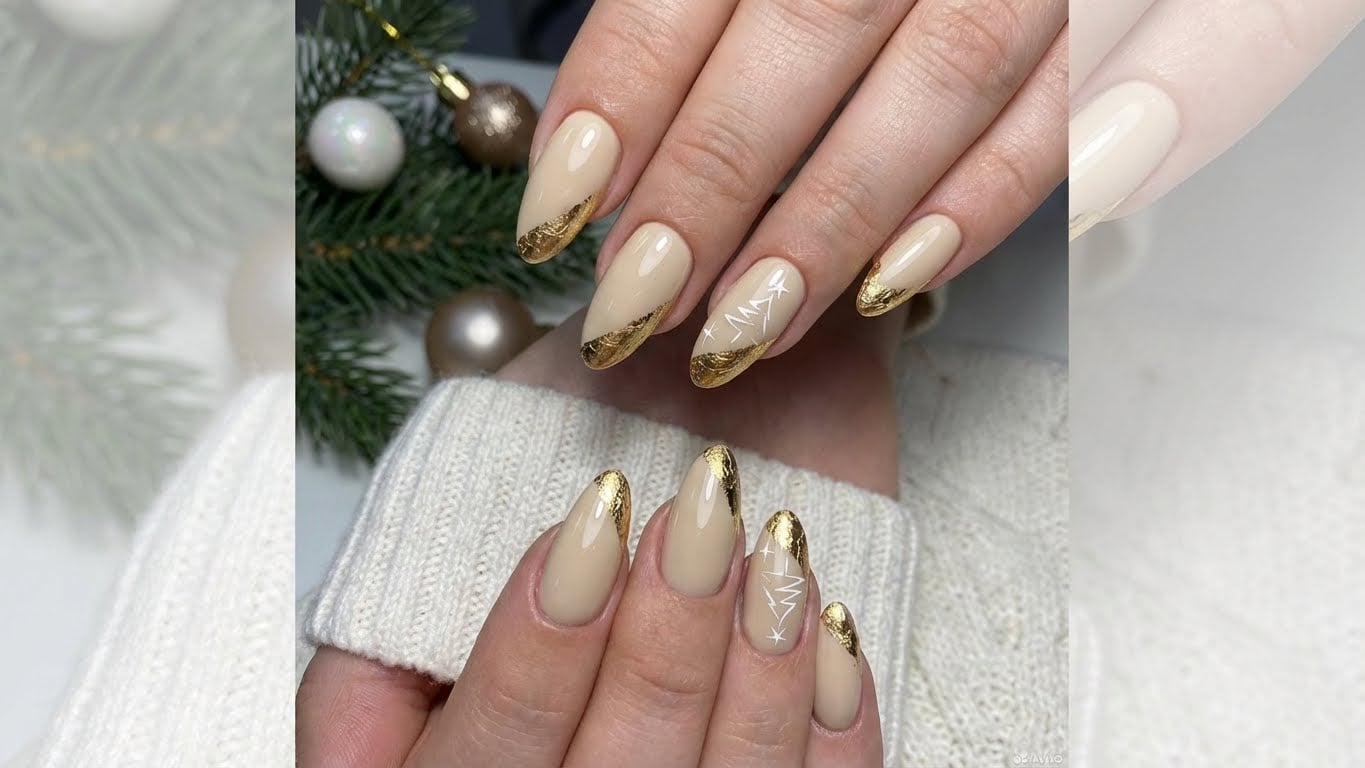
1. Metallic New Year’s Eve Nails
Start the countdown with a metallic finish that’s sure to make a statement. Try a sleek silver or gold polish and add some subtle sparkle with a glitter topcoat. This look is perfect for a night out on the town or a New Year’s Eve party.
2. Holographic Nails for a Galactic Celebration
Get ready to blast off into the new year with holographic nails that are out of this world. These eye-catching nails feature a holographic finish that shimmers and shines in the light, perfect for a cosmic celebration.
3. Glitter Bomb Nails for a Sparkling Look
Take your New Year’s Eve nails to the next level with a glitter bomb design. This look features a base coat of clear polish, followed by a layer of glitter polish and topped off with a glossy finish. It’s the perfect way to add some extra sparkle to your look.
4. Ombre Nails for a Dramatic Effect
Make a statement with ombre nails that graduate from one color to another. This dramatic look is perfect for a New Year’s Eve party, and can be customized with any color combination you like.
5. Chrome Nails for a Mirror-Like Finish
Get a mirror-like finish with chrome nails that are sure to turn heads. This sleek and modern look is perfect for a night out on the town or a New Year’s Eve celebration.
6. Iridescent Nails for a Shimmering Effect
Shimmer and shine with iridescent nails that feature a holographic finish with a rainbow of colors. This look is perfect for a New Year’s Eve party, and can be customized with any color combination you like.
7. Glitter Accent Nails for a Pop of Color
Add some extra sparkle to your look with glitter accent nails. This look features a base coat of clear polish, followed by a layer of glitter polish on the tips of your nails. It’s the perfect way to add some personality to your look.
8. Holographic Glitter Nails for a Truly Unforgettable Look
End the year with a bang with holographic glitter nails that are truly unforgettable. This look features a holographic finish with a layer of glitter polish on top, perfect for a New Year’s Eve celebration that you’ll never forget.
Getting Ready for the Big Night
Before you start getting ready for the big night, make sure you have all the necessary tools and materials. Here are a few essentials you’ll need:
- Nail polish remover
- Nail clippers
- Nail file
- Nail buffer
- Nail polish
- Nail polish topcoat
- Glitter polish
- Holographic polish
- Chrome polish
- Iridescent polish
Step-by-Step Guide to Creating Your New Year’s Eve Nails
Now that you have all the necessary tools and materials, it’s time to get creative and start designing your New Year’s Eve nails. Here are the step-by-step instructions for each of the 8 looks:
Step 1: Prep Your Nails
Begins by prepping your nails by removing any old nail polish and pushing back your cuticles. Use a nail file to shape your nails and a nail buffer to smooth out any ridges or imperfections.
Step 2: Apply Base Coat
Apply a base coat to each of your nails to help protect them and create a smooth surface for your polish to adhere to.
Step 3: Apply Polish
Apply a coat of polish to each of your nails, depending on the look you’re going for. Make sure to let each coat dry completely before adding the next.
Step 4: Add Glitter or Holographic Finish
For looks that feature glitter or a holographic finish, apply a layer of glitter polish or holographic polish on top of your base coat. Use a brush to apply the polish and make sure to cover the entire nail surface.
Step 5: Finish with Topcoat
Finish off your look by applying a coat of topcoat to each of your nails. This will help seal in your polish and add shine to your nails.
Step 6: Add Accents (Optional)
For looks that feature accents, such as glitter or holographic polish on the tips of your nails, apply a coat of polish to the tips of your nails and then add the glitter or holographic polish on top.
Step 7: Finish with a Final Coat of Topcoat
Finish off your look by applying a final coat of topcoat to each of your nails. This will help seal in your polish and add shine to your nails.
Step 8: Add Personality to Your Look (Optional)
Finally, add some personality to your look by adding a few accents, such as rhinestones or nail stickers. This is a great way to customize your look and make it truly unique.
Conclusion
And there you have it, 8 New Year’s Eve nails ideas that are sure to sparkle the night. Whether you’re going for a classic look or something more avant-garde, we’ve got you covered with these easy-to-follow steps and tips. So go ahead, get creative, and ring in the new year with a look that’s truly unforgettable.
Keywords
New Year’s Eve nails, metallic nails, holographic nails, glitter nails, ombre nails, chrome nails, iridescent nails, glitter accent nails, holographic glitter nails
Related Posts