New Year’s Eve Nails Ideas: A Guide to Sparkling DIY Designs
Are you ready to kick off the new year in style? One of the best ways to do this is by trying out some amazing New Year’s Eve nails ideas. From classic and elegant to bold and eye-catching, we’ve got a range of DIY designs to help you shine.
Choosing the Perfect Color Scheme
When it comes to New Year’s Eve nails, you’ll want to choose a color scheme that’s both festive and sophisticated. Here are a few tips to help you get started:
* Go for a classic combination of red and gold. These colors are synonymous with luxury and celebration, making them perfect for New Year’s Eve.
* Consider a bold and bright color scheme, featuring shades of pink, purple, or blue. These colors are sure to make a statement and add a pop of fun to your nails.
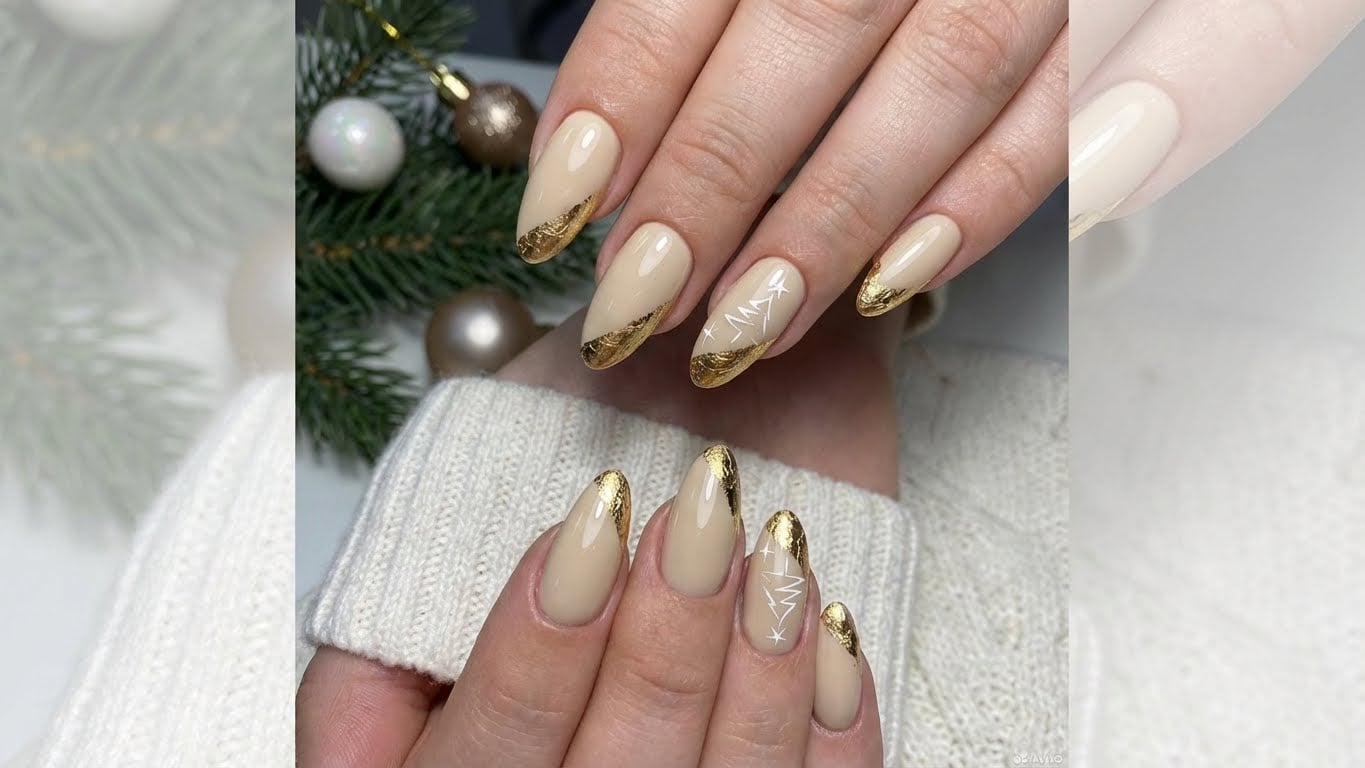
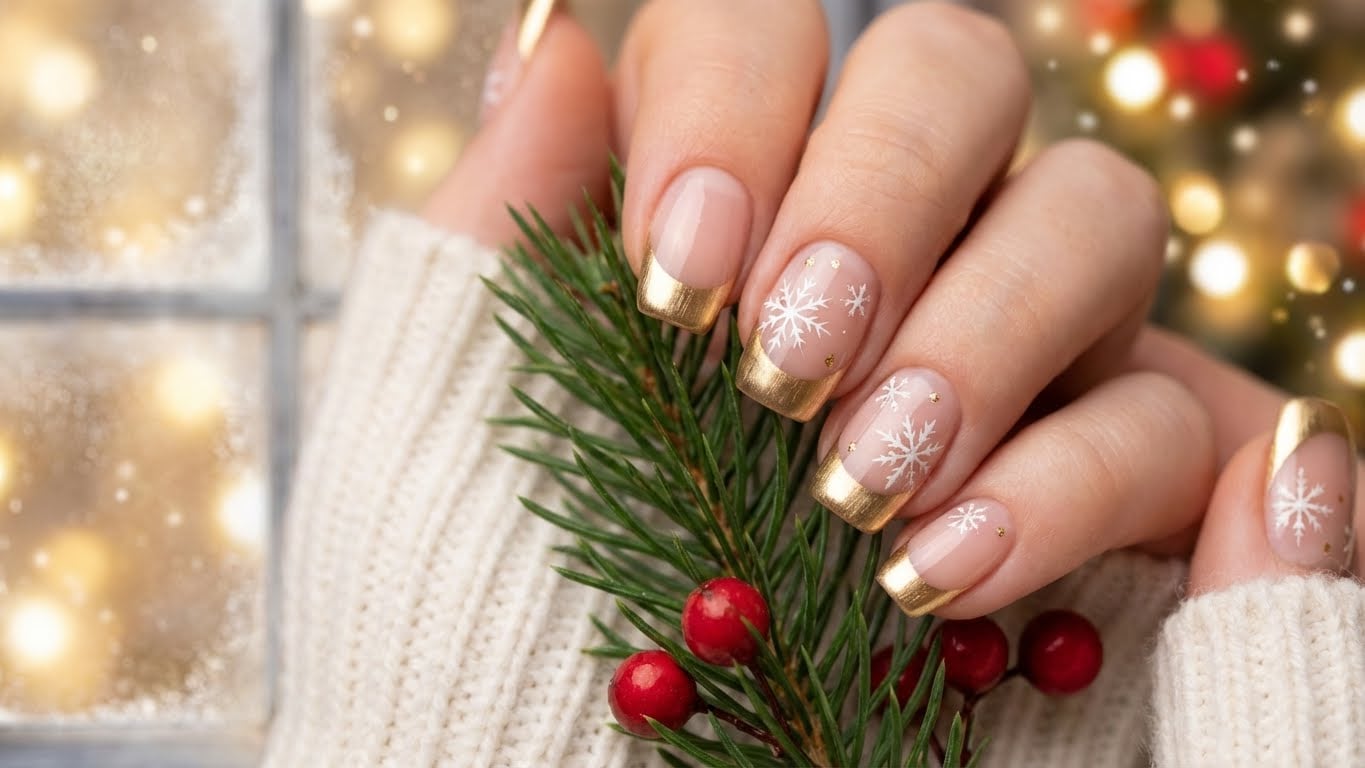
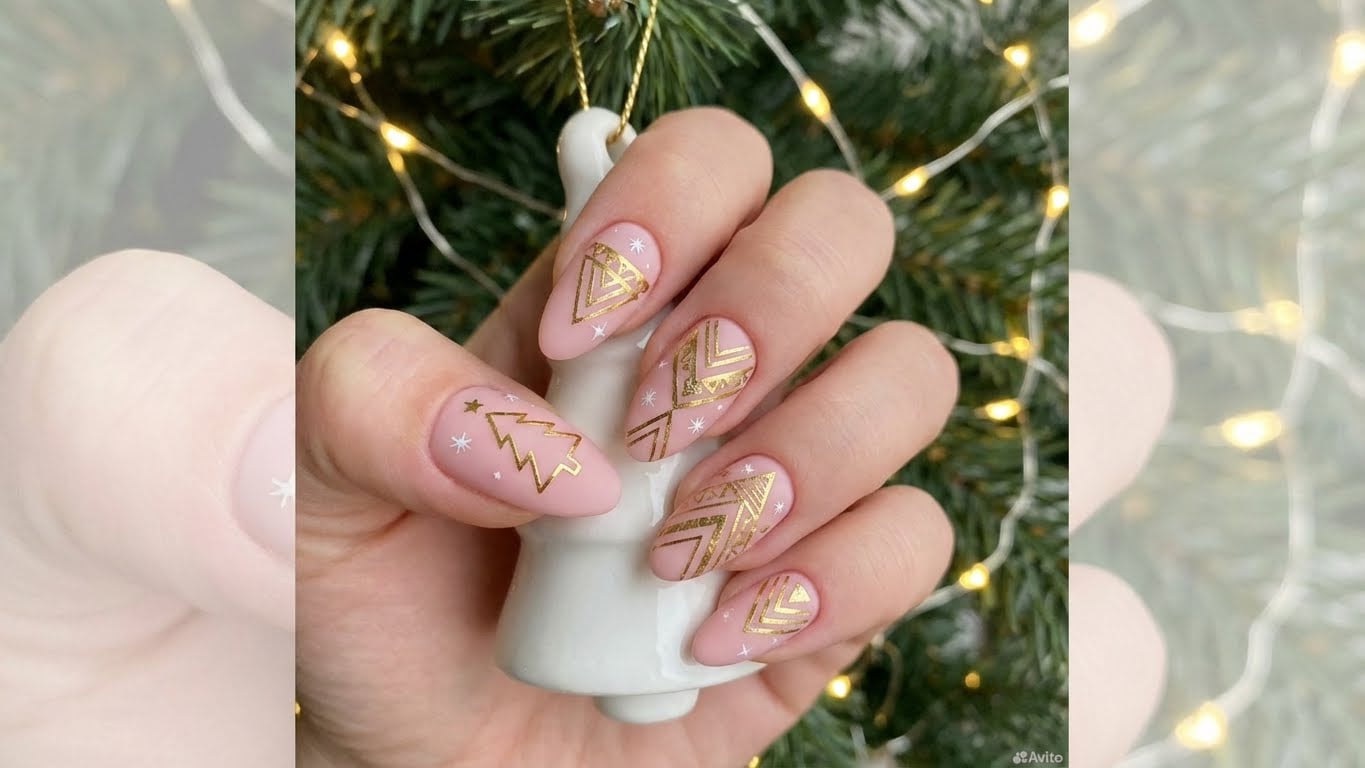
* If you want to go for something a bit more subtle, try pairing a neutral color with a metallic accent. This will add a touch of glamour to your nails without overwhelming the senses.
DIY Nail Art Designs for New Year’s Eve
Now that you’ve chosen your color scheme, it’s time to start thinking about nail art designs. Here are a few ideas to get you started:
* Glittering Glitz: This design features a base coat of clear polish, topped with a thick layer of glitter. You can use a variety of glitters, from fine and sparkly to chunky and bold.
* New Year’s Eve Ball: This design features a small ball or circle in the center of the nail, surrounded by a ring of glitter or rhinestones. You can use a nail art brush to paint the ball, or try using a dotting tool to create a fun and playful design.
* Confetti Nails: This design features a base coat of clear polish, topped with a layer of colorful confetti. You can use a variety of colors and shapes, from small and delicate to large and bold.
Step-by-Step Guide to Creating a DIY New Year’s Eve Nail Design
Ready to get started on your DIY New Year’s Eve nail design? Here’s a step-by-step guide to help you create a stunning look:
* Start by prepping your nails. Remove any old polish and push back your cuticles to create a clean and smooth surface.
* Apply a base coat to protect your nails and promote polish adhesion.
* Choose your color and apply a coat of polish. You can use a classic red or go for something more bold and bright.
* If you’re using glitter or rhinestones, now’s the time to apply them. You can use a nail art brush or a dotting tool to create a fun and playful design.
* Finish off your look with a top coat to seal in your design and add shine.
Tips and Tricks for a Professional Finish
Want to take your DIY New Year’s Eve nail design to the next level? Here are a few tips and tricks to help you achieve a professional finish:
* Use a nail art brush to create clean and precise lines.
* Experiment with different glitters and rhinestones to find the perfect combination for your design.
* Don’t be afraid to get creative and try out new techniques. After all, that’s what the new year is all about!
Conclusion
And there you have it – a guide to creating stunning New Year’s Eve nails ideas. From classic and elegant to bold and eye-catching, we’ve got a range of DIY designs to help you shine. So why not give one of these designs a try and start the new year off in style? With a little creativity and some basic nail art supplies, you’ll be sure to make a statement and ring in the new year in style.

Related Posts