As the clock strikes midnight and the fireworks light up the sky, you want to feel like a million bucks. One way to elevate your New Year’s Eve look is with a show-stopping nail design. In this guide, we’ll walk you through some easy-to-create and dazzling New Year’s Eve nail ideas that are sure to turn heads.

Get Inspired by the Stars
Why not start the year off with a celestial nail design? Inspired by the night sky, these designs feature swirling patterns of blue and purple hues, reminiscent of a starry night. To create your own starry night effect, use a nail polish that shifts between these colors and add some subtle sparkle with a glitter top coat.
Step-by-Step Guide to a Starry Night Nail Design
- Start by applying a base coat to protect your nails.
- Apply two coats of a blue or purple polish, allowing the first coat to dry completely before adding the second.
- Use a nail art brush to add some subtle star patterns to your nails, using a small amount of polish to create a soft, ombre effect.
- Finish off with a glitter top coat to add some extra sparkle.
Ring in the New Year with a Bold Color
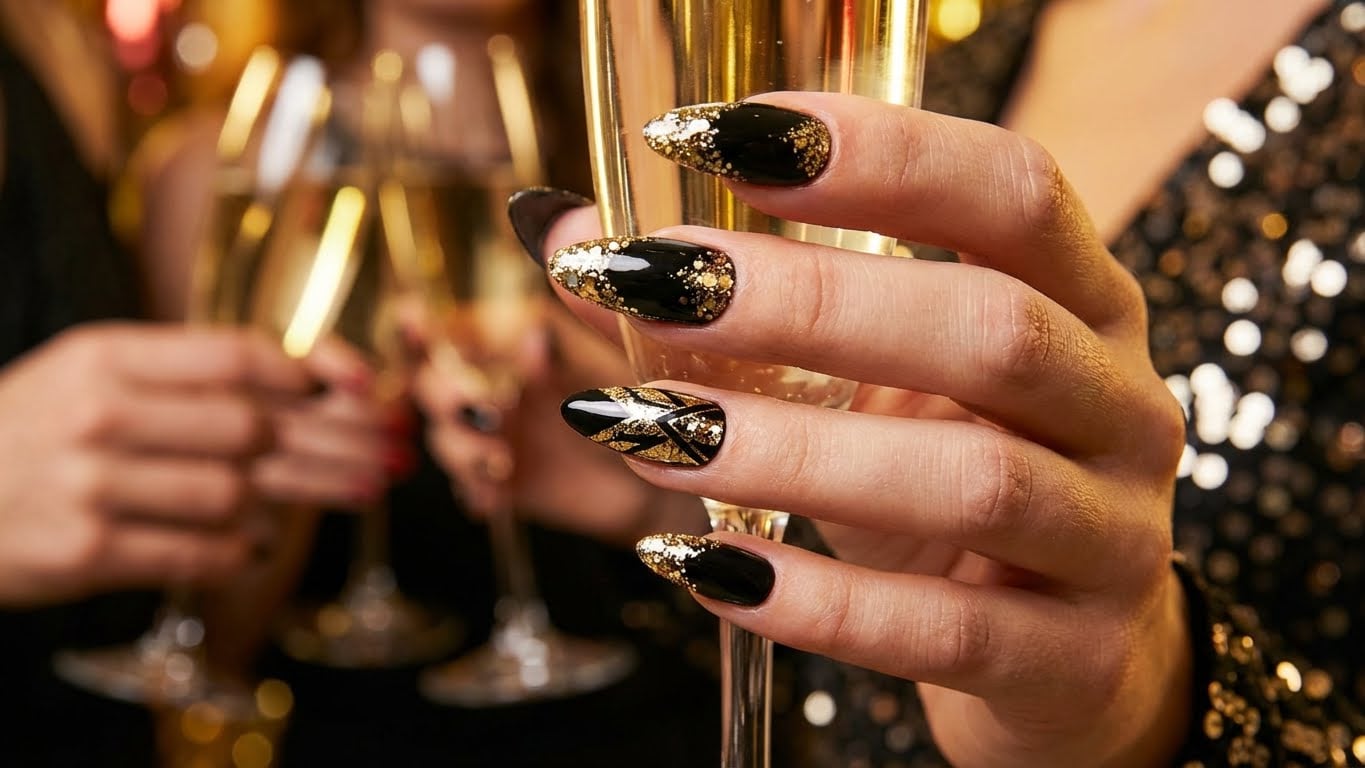
For a bolder look, why not try a bright and bold nail color? Red, gold, and silver are all classic choices for New Year’s Eve, and can be easily mixed and matched to create a unique look. To add some extra sparkle, try using a glitter polish or a nail stamp with a metallic design.
Step-by-Step Guide to a Bold Color Nail Design
- Start by applying a base coat to protect your nails.
- Apply two coats of a bold polish, allowing the first coat to dry completely before adding the second.
- Use a nail stamp to add some metallic accents to your nails, or apply a glitter polish to add some extra sparkle.
- Finish off with a top coat to seal in your design.
Add Some Extra Glamour with Glitter
Glitter polish is a great way to add some extra sparkle to your nail design. You can use it on its own or mix it with a bold polish for a unique effect. To create a glitter nail design, start by applying a base coat, followed by a thin layer of glitter polish. Finish off with a top coat to seal in your design.
Step-by-Step Guide to a Glitter Nail Design
- Start by applying a base coat to protect your nails.
- Apply a thin layer of glitter polish, using a nail brush to spread it evenly.
- Finish off with a top coat to seal in your design.
Get Creative with Nail Art
Nail art is a great way to add some extra personality to your nail design. You can use nail polish, nail art brushes, and even dotting tools to create a unique and eye-catching design. To get started, try using a nail art brush to paint a simple design onto your nail, such as a stripe or a dot.
Step-by-Step Guide to a Nail Art Design
- Start by applying a base coat to protect your nails.
- Use a nail art brush to paint a simple design onto your nail, such as a stripe or a dot.
- Finish off with a top coat to seal in your design.
Conclusion
With these easy-to-create and dazzling New Year’s Eve nail ideas, you’ll be sure to turn heads on December 31st. Whether you’re a seasoned nail artist or a beginner, these designs are perfect for anyone looking to add some extra sparkle to their look. So why not get creative and try out one of these designs for yourself? Your nails – and your New Year’s Eve look – will thank you!
Related Posts


