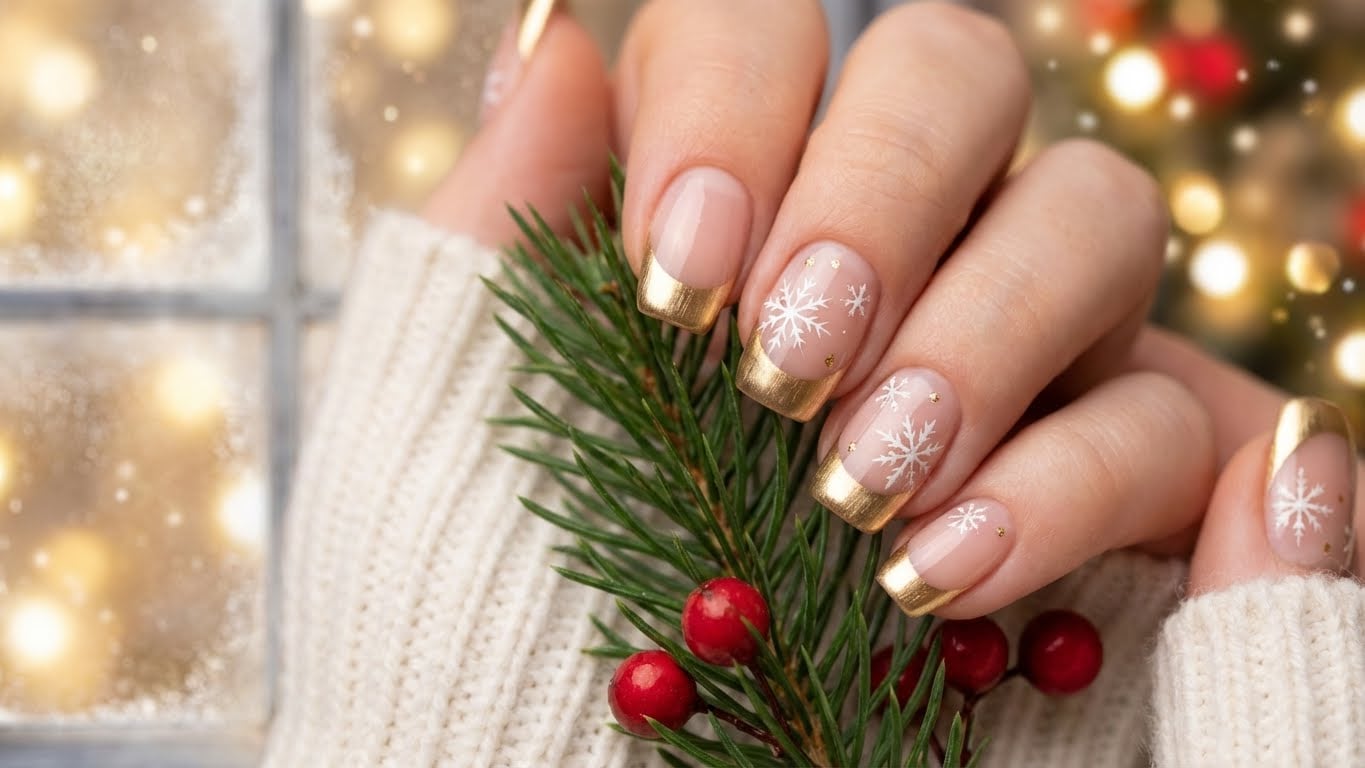
As the clock ticks closer to midnight on New Year’s Eve, you want to look and feel your absolute best. One way to do this is with a show-stopping nail design that will leave everyone green with envy. In this article, we will walk you through some of the most popular New Year’s Eve nails ideas, along with step-by-step tutorials to help you achieve the look. So grab your nail polish, and let’s get started!

The Basics of New Year’s Eve Nails
New Year’s Eve nails are all about glamour, sophistication, and a touch of sparkle. To achieve this look, you can start with a classic French manicure or a bold, bright nail color. From there, you can add some extra flair with glitter, rhinestones, or other embellishments. The key is to keep things simple yet elegant, so don’t be afraid to experiment and find what works best for you.
1. Classic Glitter Nails
Glitter nails are a timeless favorite, and for good reason. They add a touch of sparkle and shine to any outfit, and can be paired with just about anything. To create a classic glitter nail design, you’ll need:
- Nail polish in a neutral color (such as beige or clear)
- Glitter polish in a metallic color (such as silver or gold)
- Nail glue
- Rhinestones or nail stickers (optional)
Start by applying a base coat to protect your nails, then apply a neutral-colored polish to each nail. While the polish is still wet, sprinkle some glitter polish on top. Use a nail polish brush to spread the glitter evenly, making sure to stay within the nail bed. Allow the polish to dry completely before applying a top coat.
For an extra touch of sparkle, you can add some rhinestones or nail stickers to each nail. Simply apply a small amount of nail glue to the back of the rhinestone or sticker, and press it onto the nail. Hold for a few seconds to secure it in place.
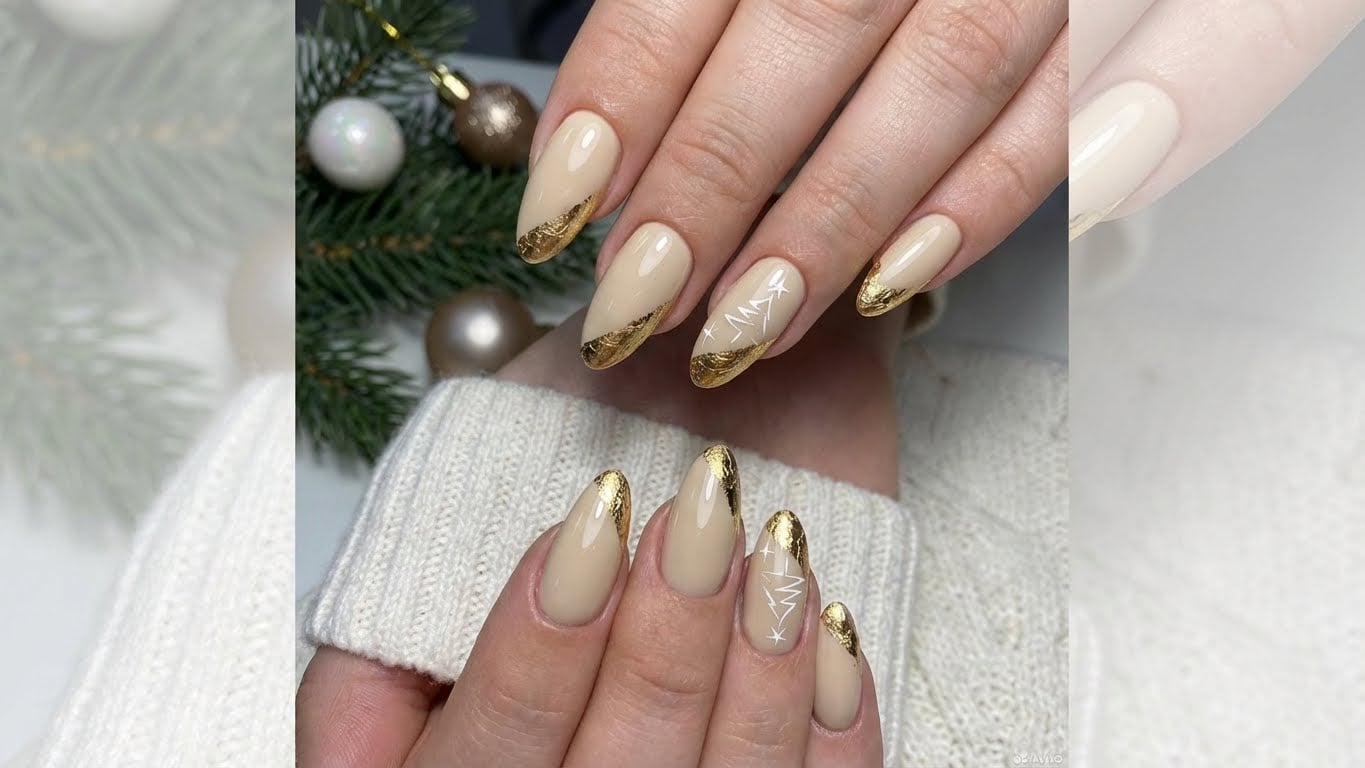
2. Metallic Nails
Metallic nails are a great way to add some edge to your New Year’s Eve look. They can be paired with just about anything, from a flowy evening gown to a sleek jumpsuit. To create a metallic nail design, you’ll need:
- Nail polish in a metallic color (such as silver or gold)
- Nail glue
- Rhinestones or nail stickers (optional)
Start by applying a base coat to protect your nails, then apply a metallic-colored polish to each nail. Use a nail polish brush to spread the polish evenly, making sure to stay within the nail bed. Allow the polish to dry completely before applying a top coat.
For an extra touch of glamour, you can add some rhinestones or nail stickers to each nail. Simply apply a small amount of nail glue to the back of the rhinestone or sticker, and press it onto the nail. Hold for a few seconds to secure it in place.
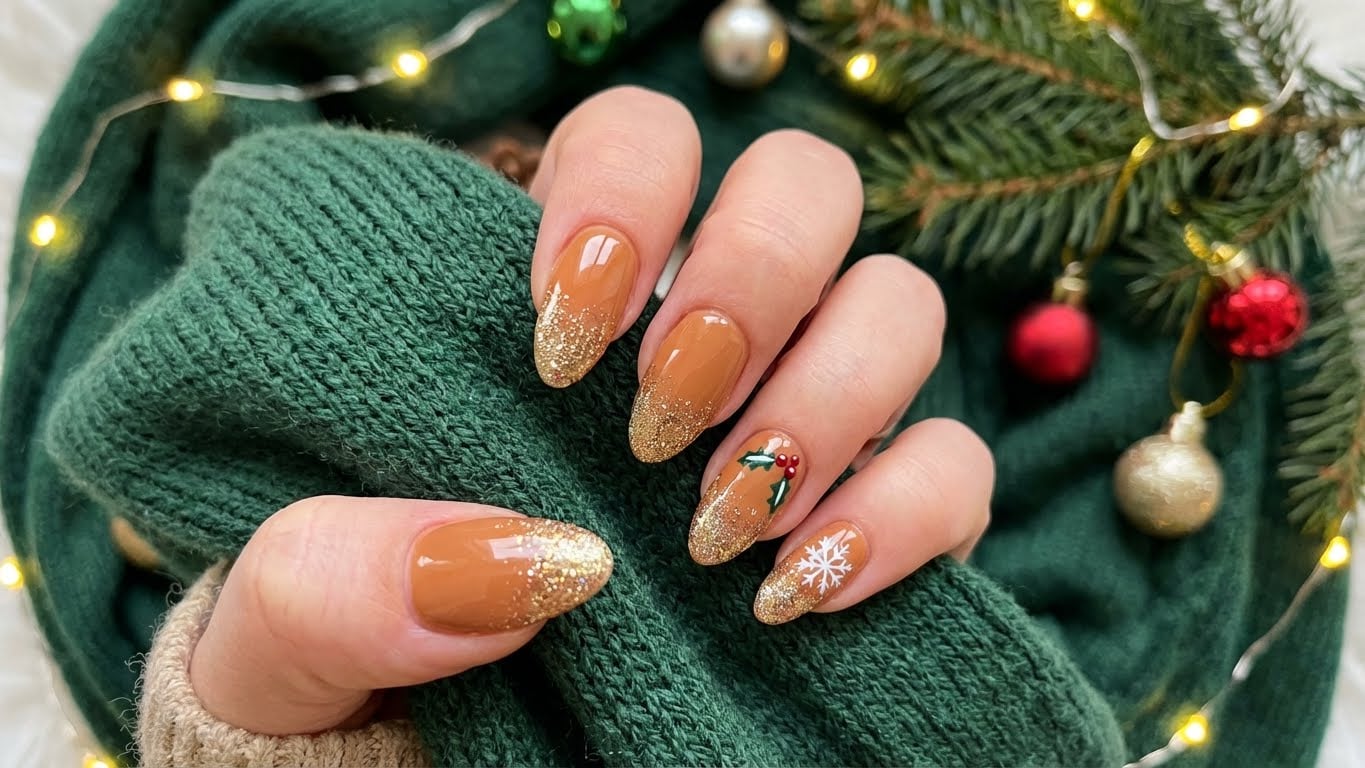
3. Ombre Nails
Ombre nails are a great way to add some visual interest to your New Year’s Eve look. They can be paired with just about anything, from a flowy evening gown to a sleek jumpsuit. To create an ombre nail design, you’ll need:
- Nail polish in three different colors (such as blue, purple, and pink)
- Nail glue
- Rhinestones or nail stickers (optional)
Start by applying a base coat to protect your nails, then apply a light layer of the lightest-colored polish to each nail. Use a nail polish brush to spread the polish evenly, making sure to stay within the nail bed. Allow the polish to dry completely before applying a second layer of polish. For the final layer, apply the darkest-colored polish to each nail, starting at the cuticle and working your way down. Use a nail polish brush to spread the polish evenly, making sure to stay within the nail bed.
For an extra touch of glamour, you can add some rhinestones or nail stickers to each nail. Simply apply a small amount of nail glue to the back of the rhinestone or sticker, and press it onto the nail. Hold for a few seconds to secure it in place.
4. 3D Nails
3D nails are a great way to add some extra flair to your New Year’s Eve look. They can be paired with just about anything, from a flowy evening gown to a sleek jumpsuit. To create a 3D nail design, you’ll need:
- Nail polish in a neutral color (such as beige or clear)
- Glue
- Nail stickers or rhinestones
Start by applying a base coat to protect your nails, then apply a neutral-colored polish to each nail. While the polish is still wet, use a nail sticker or rhinestone to create a 3D design. Apply a small amount of glue to the back of the sticker or rhinestone, and press it onto the nail. Hold for a few seconds to secure it in place.
5. Nail Art
Nail art is a great way to add some extra flair to your New Year’s Eve look. It can be paired with just about anything, from a flowy evening gown to a sleek jumpsuit. To create a nail art design, you’ll need:
- Nail polish in a variety of colors
- Nail stickers or rhinestones
- Glue
Start by applying a base coat to protect your nails, then apply a neutral-colored polish to each nail. Use a nail polish brush to create a design on the nail. For a more intricate design, you can use a nail sticker or rhinestone to add extra details. Apply a small amount of glue to the back of the sticker or rhinestone, and press it onto the nail. Hold for a few seconds to secure it in place.
Conclusion
Creating the perfect New Year's Eve nails can be a daunting task, but with these easy-to-follow tutorials, you can achieve a show-stopping look that will leave everyone sparkling. From classic glitter to modern metallic, we've got you covered with these step-by-step guides. So grab your nail polish, and let the countdown to midnight begin!
Keywords
- New Year's Eve nails
- Nail designs
- Nail art
- Glitter nails
- Metallic nails
- Ombre nails
- 3D nails
Related Posts